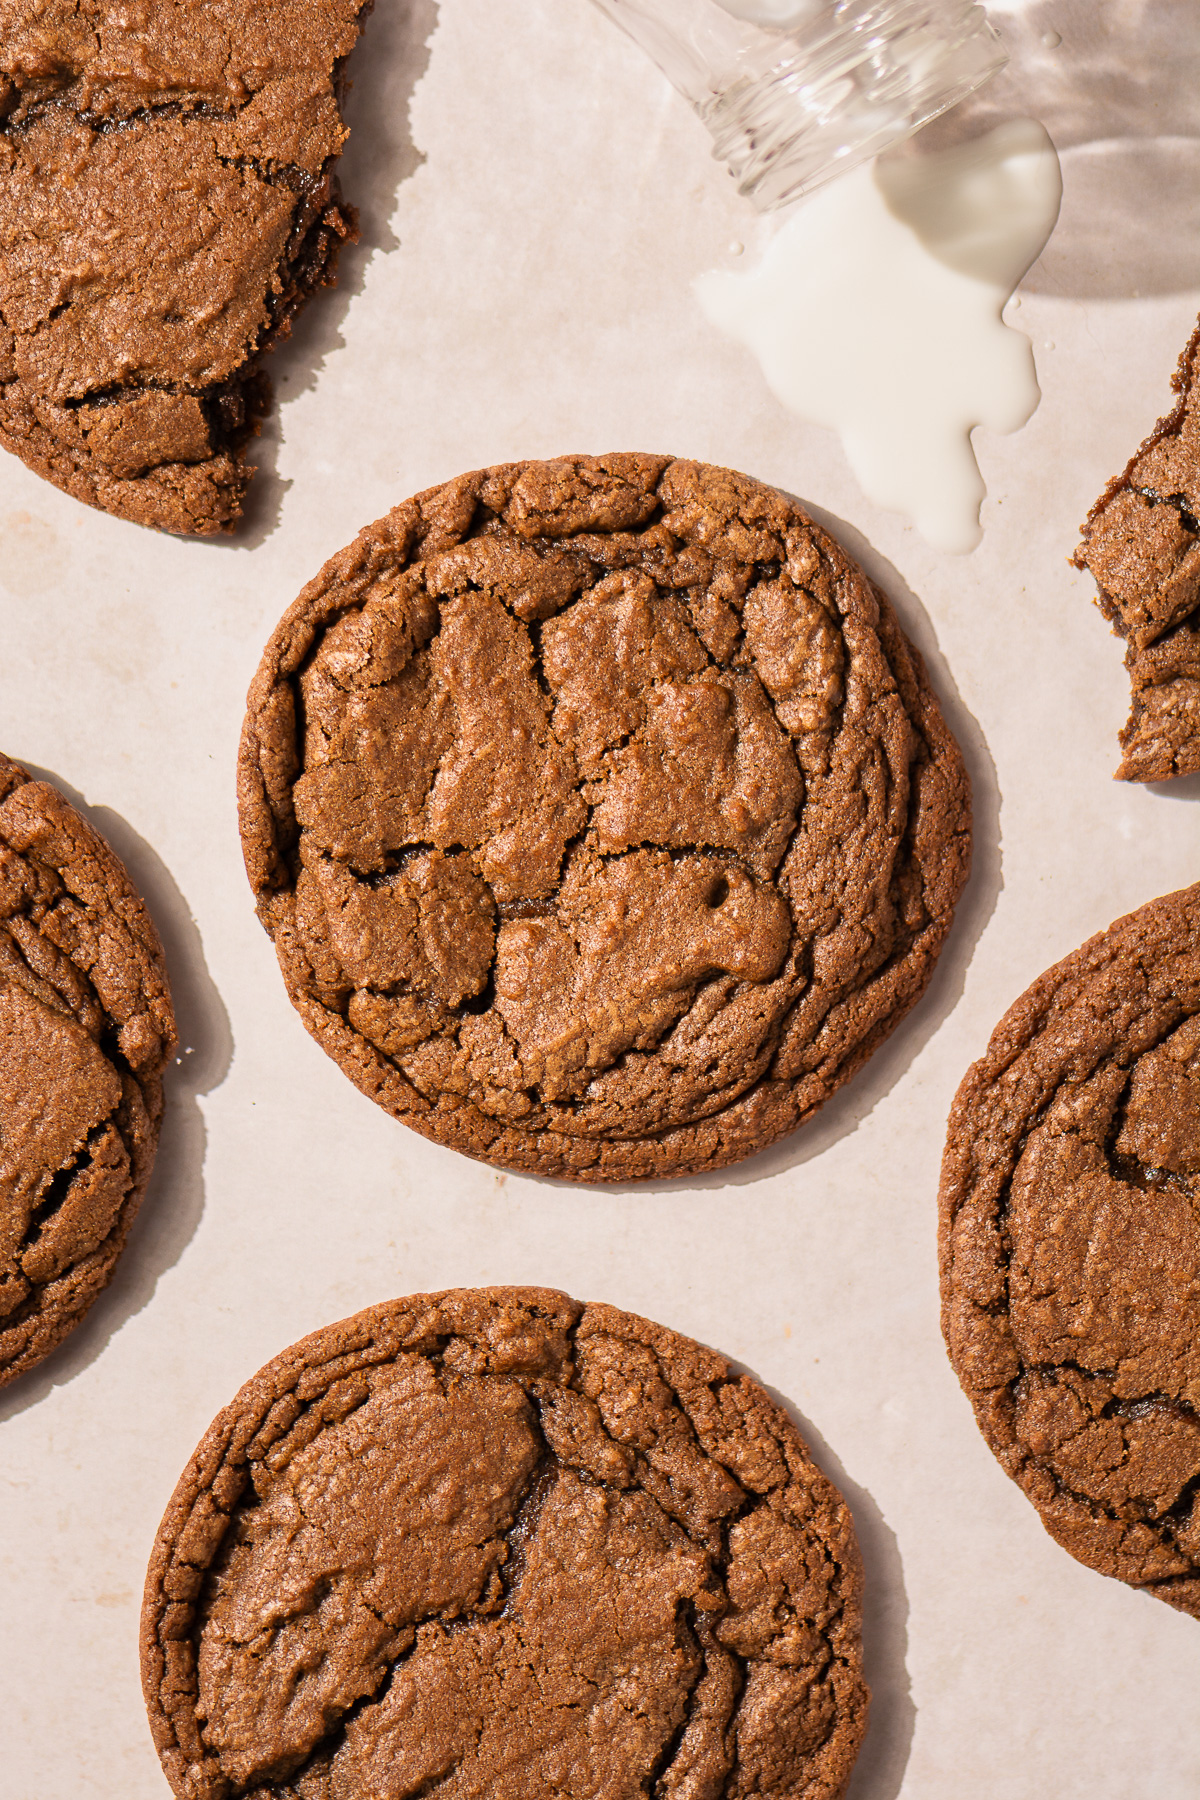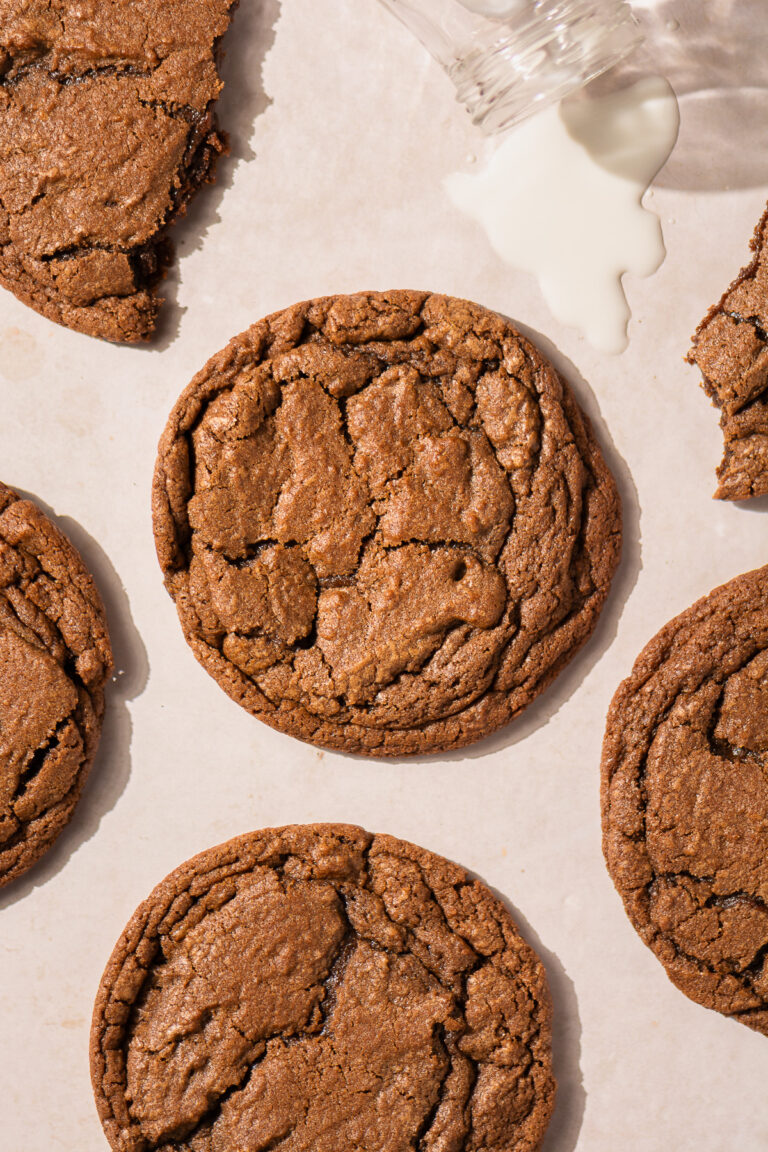
Chocolate Lava Cookies
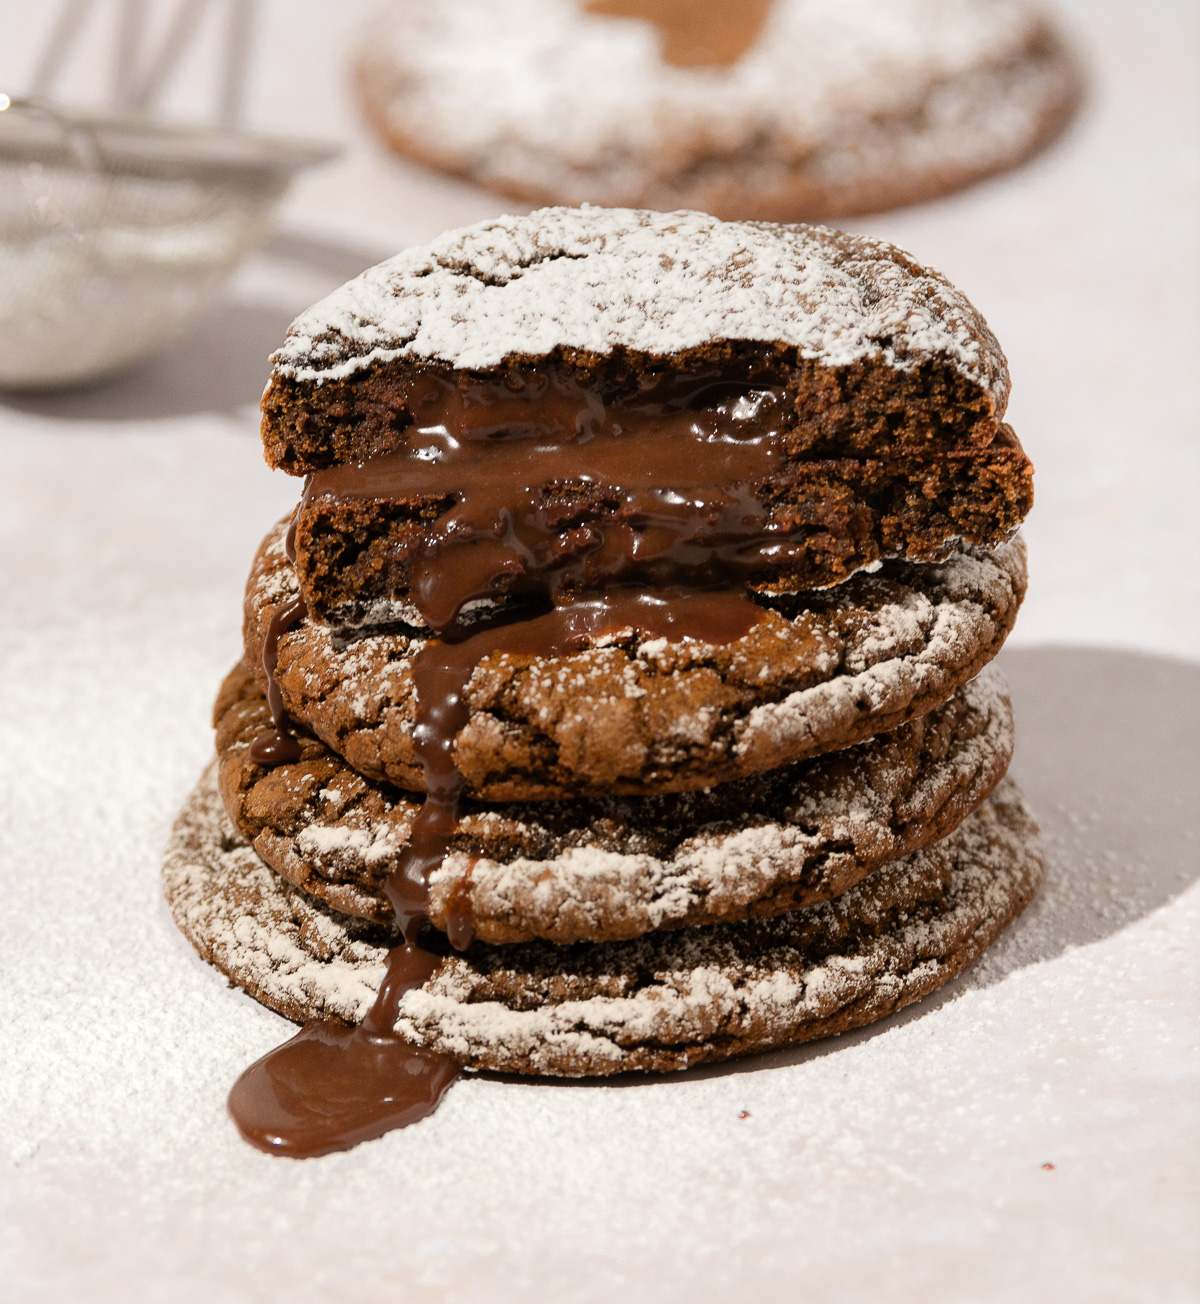
If you're a chocolate lover, you will absolutely fall in love with these delicious chocolate lava cookies! Think of them as the best of both worlds! They are the best of two classic desserts-the rich, chewy texture of a chocolate cookie and the irresistible molten center of a classic chocolate lava cake that oozes with every bite.
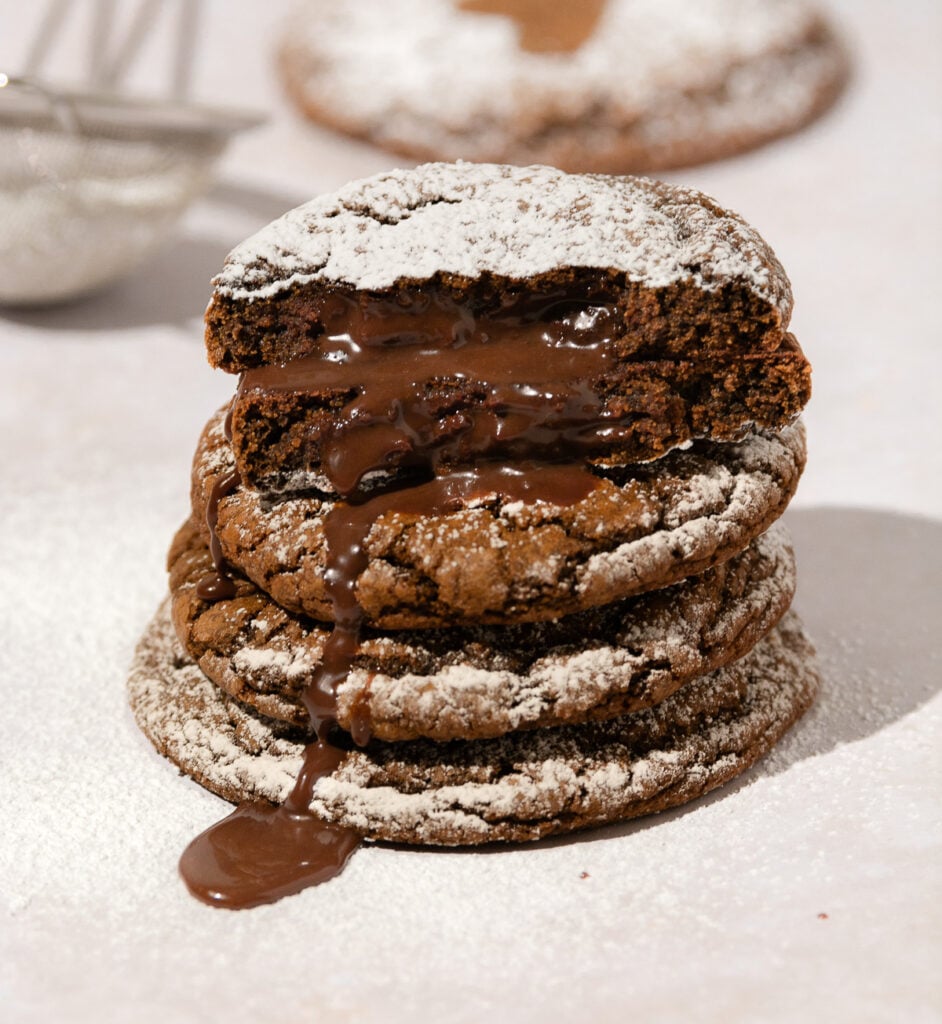
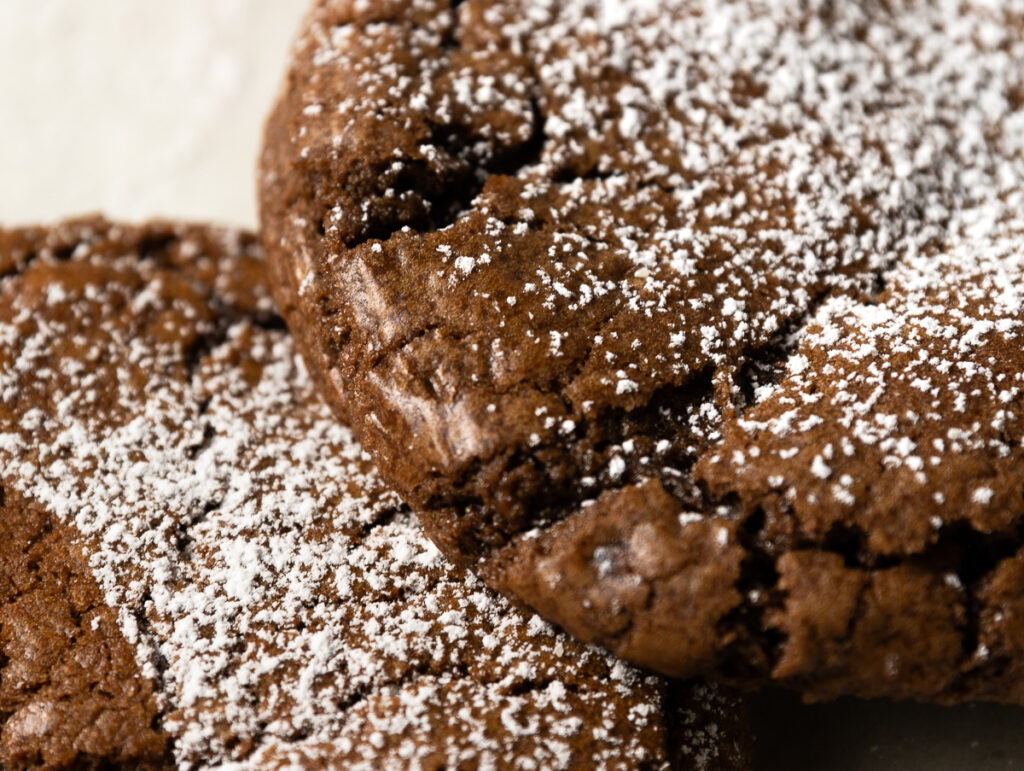
While inspired by Crumbl Molten Lava Cookies, this recipe gives Crumbl cookies a run for their money! It takes all the indulgence of chocolate and transforms it into a handheld, bakery-style treat you can make right at home. With a crackly top, deep chocolate flavor, and a warm, gooey middle, these gourmet chocolate lava cookies are the ultimate dessert.
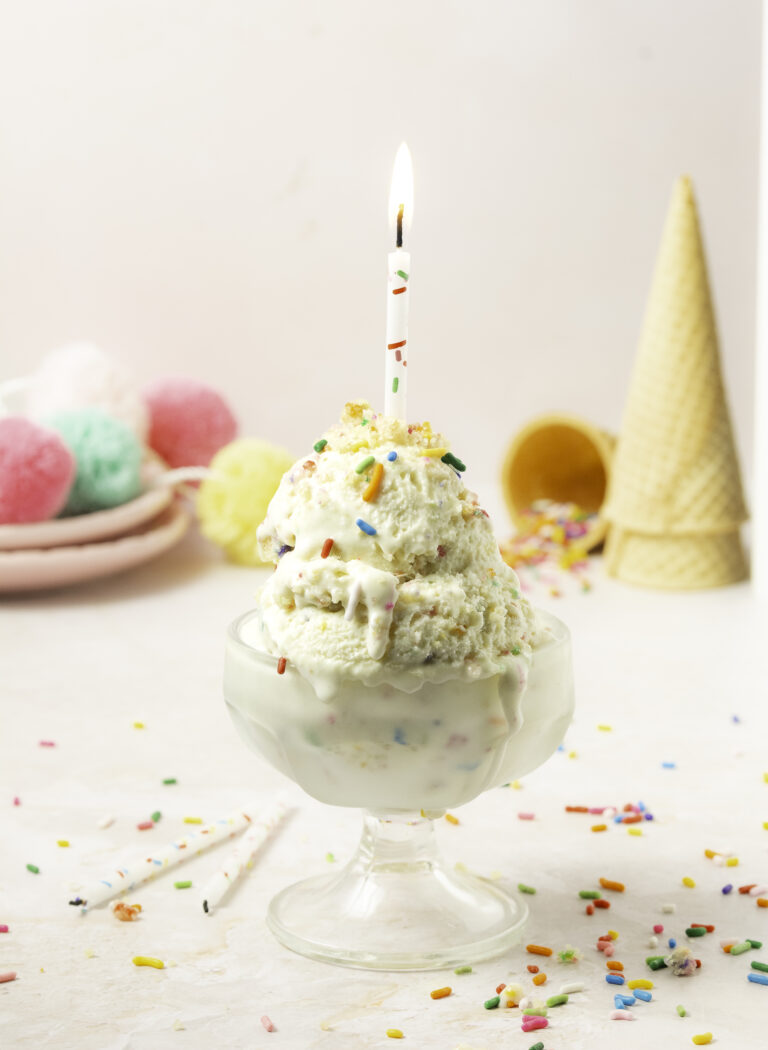
Dust them with powdered sugar or a generous scoop of vanilla ice cream for an extra touch of sweetness or simply enjoy them straight from the oven - there's no wrong answer here. This cookie recipe is pure chocolate perfection!
Looking for something simpler? This fudge brownie cookies recipe are easy and ready in under 30 minutes!
Key Ingredients
Flour. I use a blend of all-purpose flour and cake flour for most of my cookie recipes. All-purpose flour provides enough structure for the cookie to hold its shape and envelope the "lava" filling. Cake flour lowers the gluten percentage of the cookie helping to make the cookies soft.
Cocoa powder. Used to flavor the cookie dough. Regular cocoa powder is what this recipe calls for but dutch process cocoa powder can be substituted as well.
Sugar. As with the flour most of my cookie recipes use a blend of white sugar & brown sugar. White granulated sugar works with the flour to make the cookies sturdy while tenderizing the texture & adding the necessary sweetness. Brown sugar is incorporated mainly so that the cookies are chewy but it also complements the deep chocolate flavor.
Unsalted butter. Helps carry flavor in this cookie while tenderizing the crumb. Also the water content in the butter acts as a solvent for the sugar which ultimately give the cookies a crackle top, similar to brownies. Also used the "lava" filling to lower the melting temperature of the chocolate.
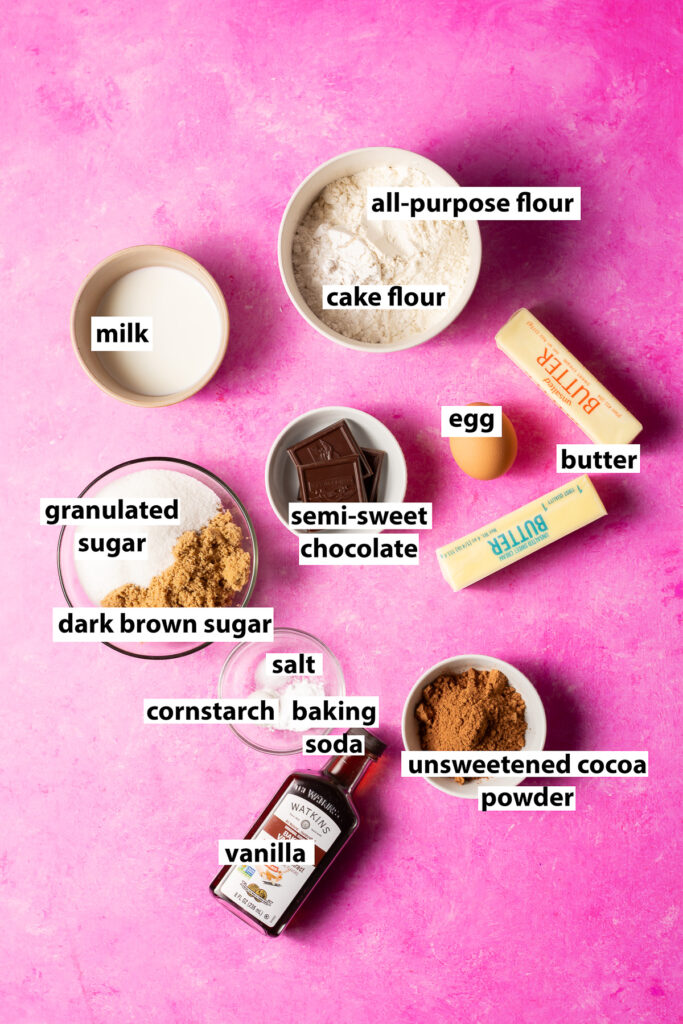
Egg. Binds all the ingredients together
Cornstarch. Ensures chewy chocolate cookies even after cooling.
Baking soda. Gives the cookies a fudgier texture compared to baking powder which would make them more cakey. Also helps to balance the acidity from the cocoa powder.
Semi-sweet chocolate. Used for the "lava" center since it will have a smoother melt compared to milk chocolate and is not as bitter as bittersweet chocolate. Chocolate chips and chocolate chunks from the bar are both acceptable for this cookie recipe!
Whole milk. Used in the lava filling to soften the mixture so it oozes. Used over heavy cream so that the mixture isn't oily. Feel free to sub in skim milk!
Top Tips for Chocolate Lava Cookies
- Start with room temperature ingredients. This is especially important for the egg since the water content will help to dissolve the sugar which is what gives the cookies a crackly top like brownies!
- Keep the lava centers cold until you are ready to form the cookies. For the lava effect to be successful the filling has to melt readily however, if it is already at room temperature it may exceed the optimal temperature during baking causing the chocolate to separate from the fat.
- Dissolve the sugar in the melted butter as much as possible and then ensure that it is completely dissolved after you add the egg. As the moisture in the recipe evaporates during baking it leaves behind a thin, shiny & crackly top typically sought for on brownies!
- Use gloves to assemble the cookies. This dough is sticky and requires a fair amount of manipulation. If you handle with your bare hands, your body heat will start soften the dough which is not optimal. Food-safe gloves help to put a barrier between your body heat and the cookies.
- Use an oven thermometer! I can't recommend one enough for my baking recipes. It takes out the guess work since your oven can have hot spots or run hotter (or cooler) than the displayed reading. A precise temperature is especially important for this recipe since it will dictate whether the cookies spread just enough or too much, are overdone or perfect or if the lava filling is perfectly creamy or separated and oily. I use this one since it's display is outside of the oven making it easy for quick reads that don't involve burning a finger or singeing an eyebrow.
- For optimal experience serve warm or reheat right before serving. The lava filling will solidify once the cookie completely cools. To soften it again & get the irresistible molten chocolate center reheat in the microwave for 5-10 seconds.
- Don't place the cookie dough on an already hot/warm pan. Doing this will cause the cookies to spread more and you risk the lava filling oozing out. I always have at least 2 cookie baking sheets or sheet pans ready since my recipes usually bake 8-10 and to account for spacing.
How to Make the Chocolate Lava Cookies
Make the Lava filling
Step 1. Start by making the chocolate fudge sauce for the "lava" filling. Heat the butter and milk in a small bowl until the butter is completely melted.
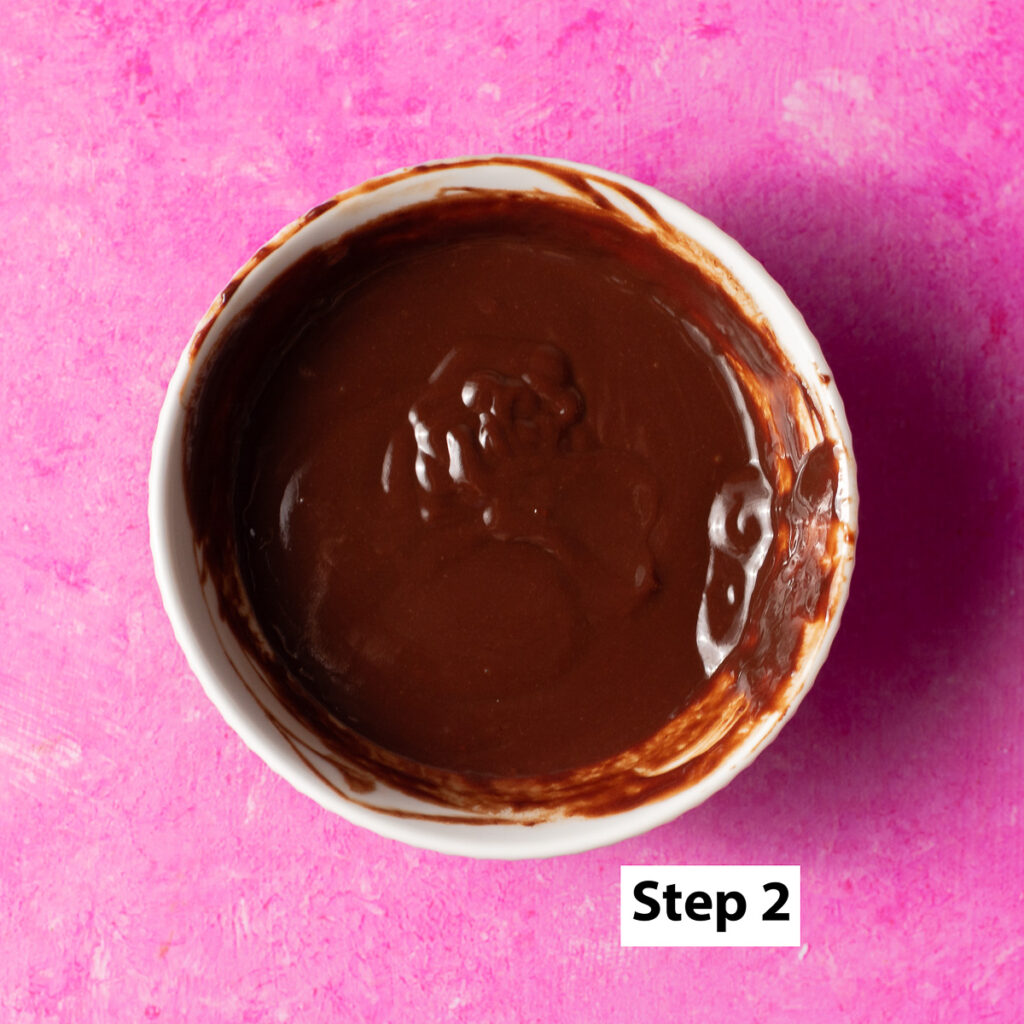
Step 2. While the butter mixture is still hot, add the semi-sweet chocolate and stir until completely smooth. Cover with lid or plastic wrap and refrigerate to harden until moldable (about 10-15 minutes).
Alternatively, you could place it in the freezer for a faster set but be careful not to forget about it because it will be extremely difficult to scoop and form into balls.
Make the Chocolate Cookie Dough
Step 3. Preheat your oven to 400°F and while the lava filling sets, start making the cookie dough. Add the all-purpose flour, cake flour, cocoa powder, baking soda, salt & cornstarch to a bowl and stir to evenly distribute all the ingredients.
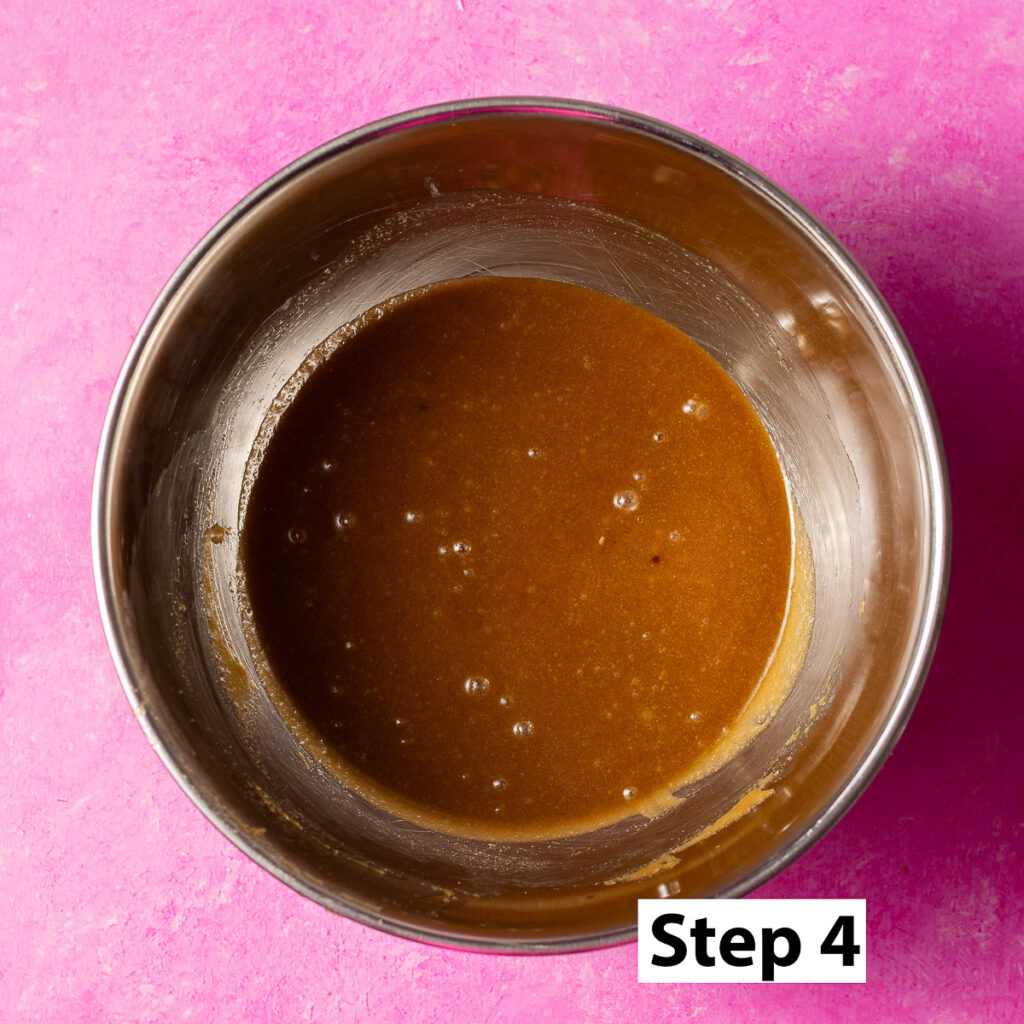
Step 4. In a large bowl (that is microwave-safe), heat the butter until completely melted then add the granulated and brown sugars and mix until smooth. Try to dissolve the sugar as much as possible at this point as this is what will give the cookies that iconic shiny & crackly top like brownies.
Step 5. Add the vanilla extract and the egg and mix again until the sugar is dissolved. A little undissolved sugar is fine since the concentration of sugar in relation to liquid is quite high.
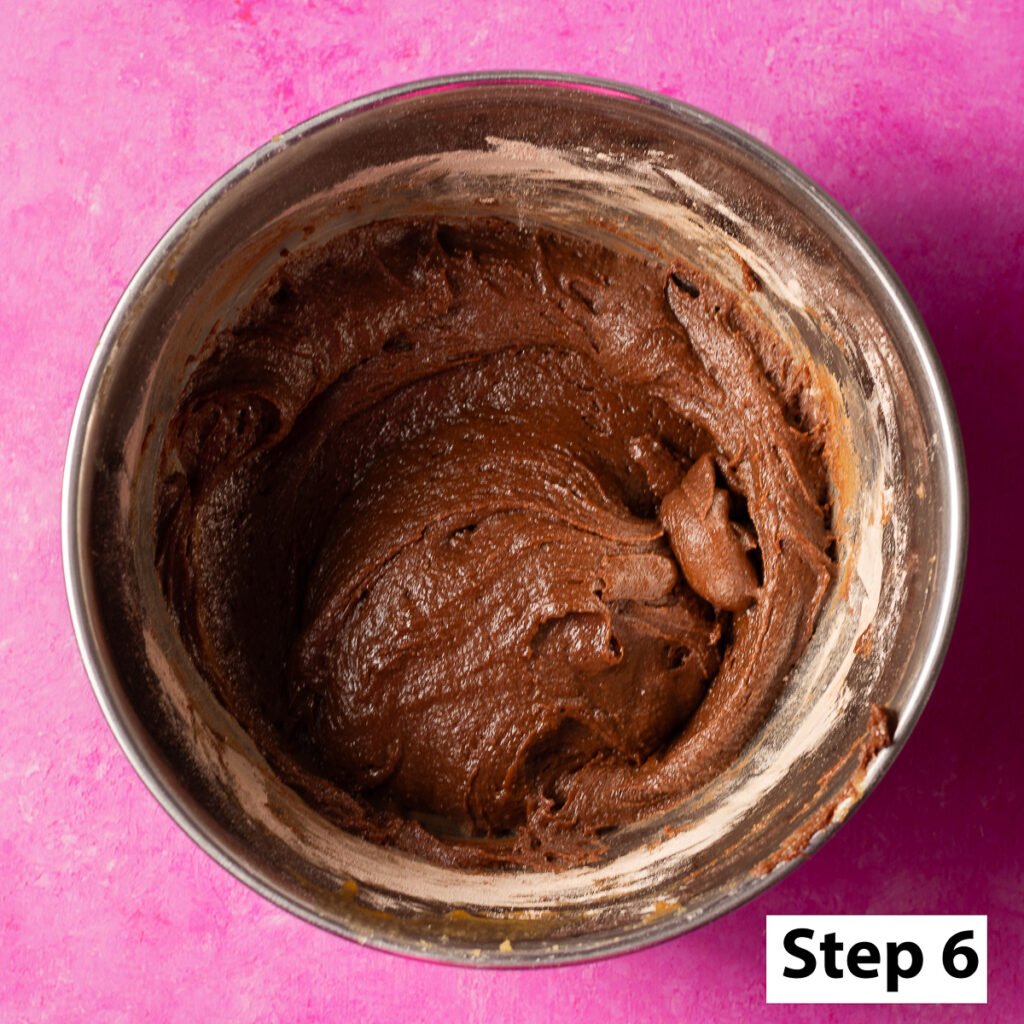
Step 6. Add the dry ingredients from earlier and fold in only until there are no more dry spots. Be careful not to over mix at this step as this could results in cookies that are more cake-like and dry.
Step 7. Allow the cookie dough to chill in the refrigerator for 5-10 minutes.
Step 8. While the cookie dough chills, form the lava filling into 8 equally-sized balls with gloved hands. The mixture should be firm but scoopable - similar to cold chocolate ganache. You may use a small cookie scoop for this step to assist in getting a spherical shape and minimize the amount heat transferred from your hands to the chocolate fudge balls during handling.
Assemble the Chocolate Lava Cookies
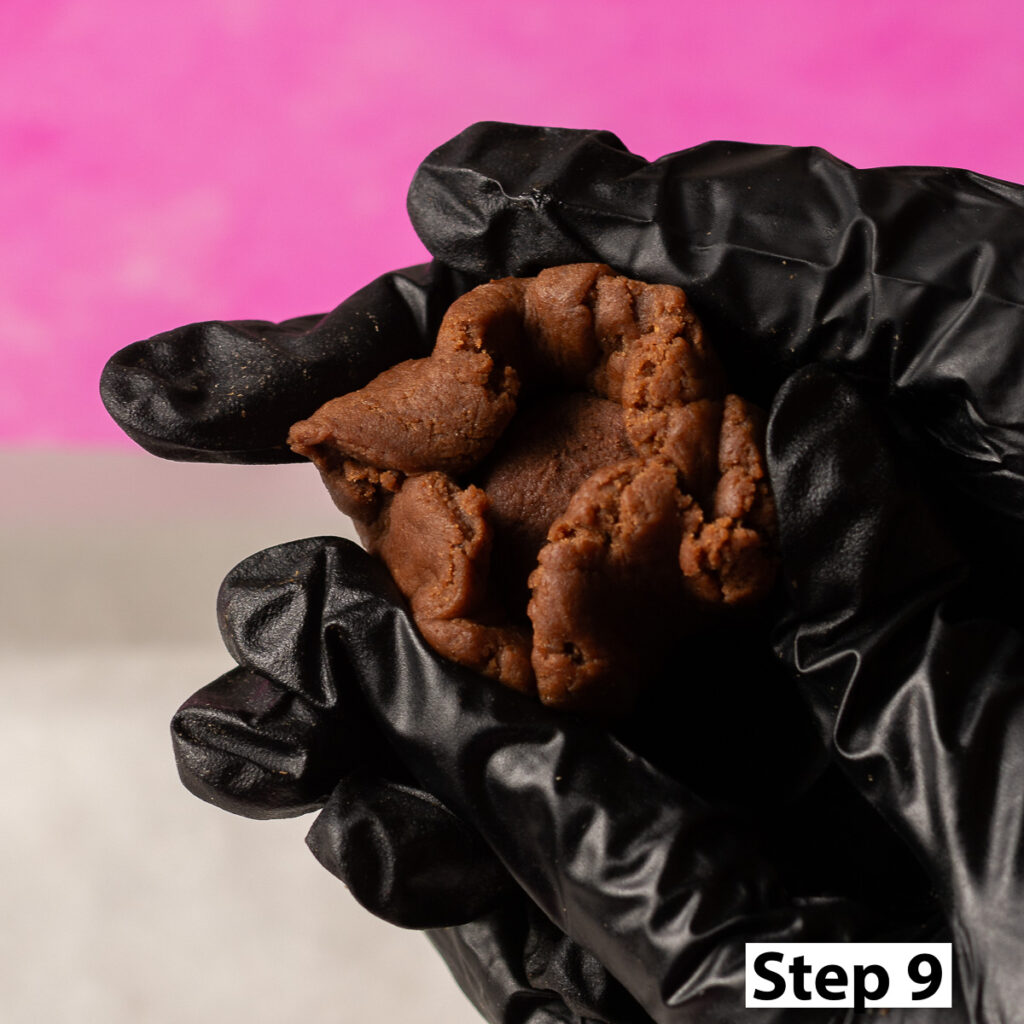
Step 9. Assemble the cookies by portioning the cookie dough into 8 equally-sized balls. Take a cookie dough ball in a gloved hand & flatten it. Place the lava filling balls from the previous step in the center then start to fold the the dough over the filling then roll lightly between your palms ensuring the lava center is completely covered.

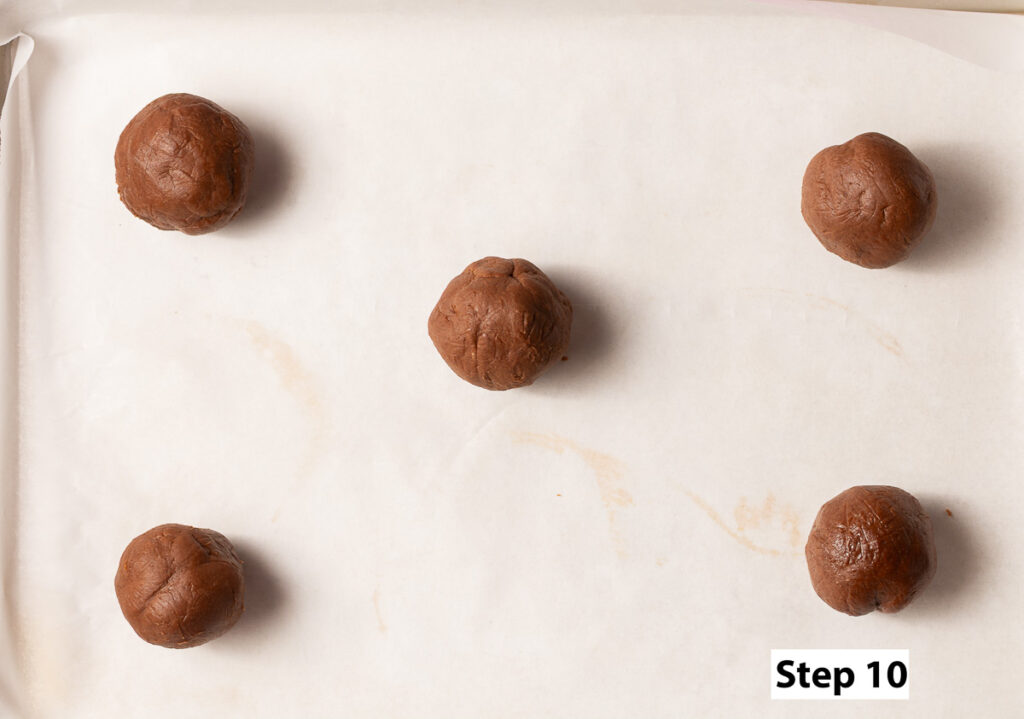
Step 10. Arrange the assembled chocolate lava cookies on a cookie sheet lined with parchment paper allowing for at least 2 inches of space around each. Be sure to use a cool baking sheet given that you will likely need to bake on a separate baking tray to allow for adequate spacing of the cookies.
Step 11. Bake the cookies for exactly 9 minutes at 400°F on the middle rack of your oven.
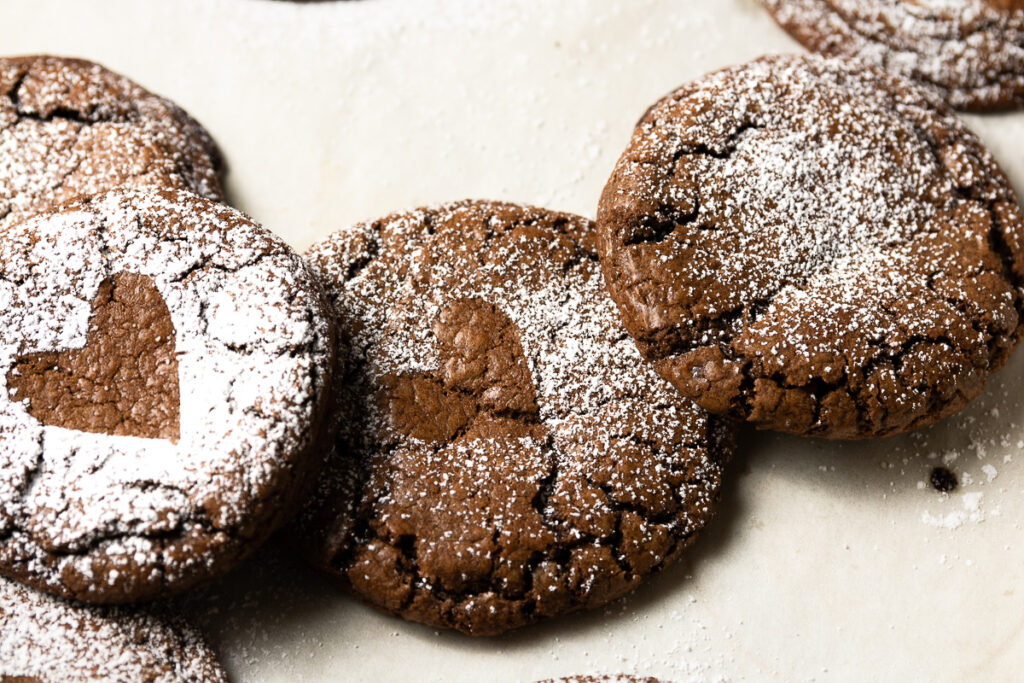
Step 12. Allow to cool slightly but serve warm for the best oozy molten chocolate center. Enjoy plain or dust lightly with confectioner's/icing sugar!
Store in an air-tight container for up to 5 days for optimal taste and texture!
What's the difference between semi-sweet & bittersweet chocolate?
The cocoa solid & cocoa butter percentages. Semi-sweet & bittersweet chocolate are types of dark chocolate.
There are three main categories of chocolate - white chocolate, milk chocolate & dark chocolate. These categories are mostly defined by the cocoa solid content of the chocolate. As the ratio of cocoa solids to cocoa butter increases the flavor of chocolate will become slightly more bitter. The chocolate will also melt more readily as the cocoa butter content decreases as this is one of the main ingredients that help bars keep their shape.
- White chocolate has no cocoa solids, contributing to its white color but has at least 20% cocoa butter.
- Milk chocolate needs to be at least 10% cocoa solids in the US but this minimum percentage is higher in other countries. For example, in the UK the required amount is at least 25% so a UK-prepared milk chocolate bar may be less sweet and darker in color than you're used to. Milk chocolate will also have a higher sugar content and, like the name suggests, have some milk incorporated.
- Dark chocolate. Has at least 50% cocoa solids and has more of a bitter taste. Since it typically has a shorter list of ingredients compared to milk chocolate and much less cocoa butter by percentage, dark chocolate melts more readily and often has a smoother melt on its own.
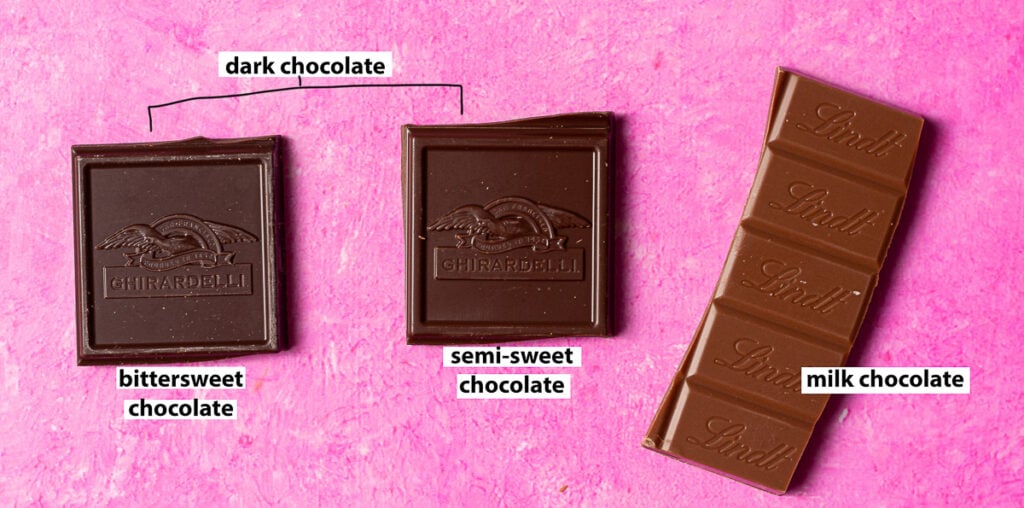
Semi-sweet chocolate tends to be within the 50-59% cocoa range while bittersweet chocolate will be at least 60%. For this recipe, semi-sweet chocolate works best as it isn't too bitter but also doesn't have a large percentage of cocoa butter so it will melt more readily for the "lava" filling.
Frequently Asked Questions
- Why is this recipe in grams? For optimal texture of the cookie and consistency of the molten center, it's important for measurement to be consistent - especially for replicable results! Grams are also a smaller unit of measurement than ounces so they are more precise!
- Can I substitute milk chocolate for dark chocolate? I don't recommend it. Since milk chocolate has a higher cocoa butter content it is more resistant to melting so you likely won't get the perfect oozing center that you would using semi-sweet chocolate. If you're worried about a bitter taste, don't be! The added milk & butter to the lava filling help to balance any bitterness for a perfectly delicious cookie!
- Can I substitute regular cocoa powder for dutch processed? Absolutely! The cookie itself will taste just a smidge sweeter and it will have a much darker color than if regular cocoa powder was used.
Ingredients
Equipment
Method
- Heat the butter and milk in a small bowl until the butter is completely melted.
- While the butter mixture is still hot, add the semi-sweet chocolate and stir until completely smooth. Cover with lid or plastic wrap and refrigerate to harden until moldable (about 10-15 minutes).
- Preheat your oven to 400°F and while the lava filling sets, start making the cookie dough. Add the all-purpose flour, cake flour, cocoa powder, baking soda, salt & cornstarch to a bowl and stir to evenly distribute all the ingredients.
- In a large microwave-safe bowl heat the butter until completely melted then add the granulated and brown sugars and mix until smooth. Try to dissolve the sugar as much as possible at this point as this is what will give the cookies that iconic shiny & crackly top like brownies.
- Add the vanilla extract and the egg and mix again until the sugar again dissolves as much as possible. A little undissolved sugar is fine.
- Add the dry ingredients from earlier and fold in only until there are no more dry spots. Be careful not to over mix.
- Allow the cookie dough to chill in the refrigerator for 5-10 minutes.
- While the cookie dough chills, form the lava filling into 8 equally-sized balls with gloved hands. The mixture should be firm but scoopable - similar to cold chocolate ganache. You could use a small cookie scoop for this step to assist in getting a spherical shape and minimize the amount heat transferred from your hands to the chocolate fudge balls during handling.
- Assemble the cookies by portioning the cookie dough into 8 equally-sized balls. Take a cookie dough ball in a gloved hand & flatten it. Place the lava filling balls in the center then start to fold the the dough over the filling then roll lightly between your palms ensuring the lava center is completely covered.
- Arrange the assembled chocolate lava cookies on a cookie sheet lined with parchment paper allowing for at least 2 inches of space around each.
- Bake the cookies for exactly 9 minutes at 400°F on the middle rack of your oven.
- Allow to cool slightly but serve warm for the best oozy molten chocolate center. Enjoy plain or dust lightly with confectioner's/icing sugar!
- Store in an air-tight container for up to 5 days for optimal taste and texture!