Easy Small Batch Brownies in One Bowl
These small batch brownies are the perfect treat for those days when you need dessert but don't feel like doing the most. And as far as small batch recipes go-this one takes the cake (or, well… the brownie)! For these quick & easy brownies everything comes together in just one bowl, five simple steps, and 2-3 minutes! Before you know it, you've got a small batch of rich, fudgy brownies ready to devour - -perfect for satisfying those chocolate cravings in a pinch!
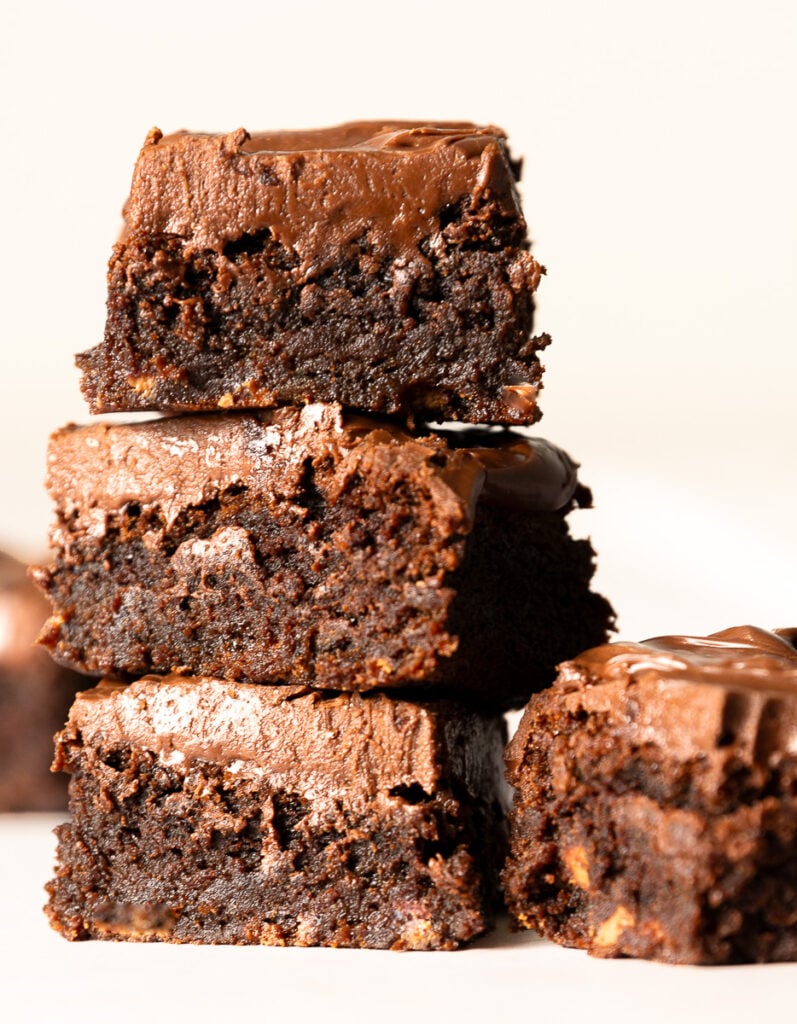
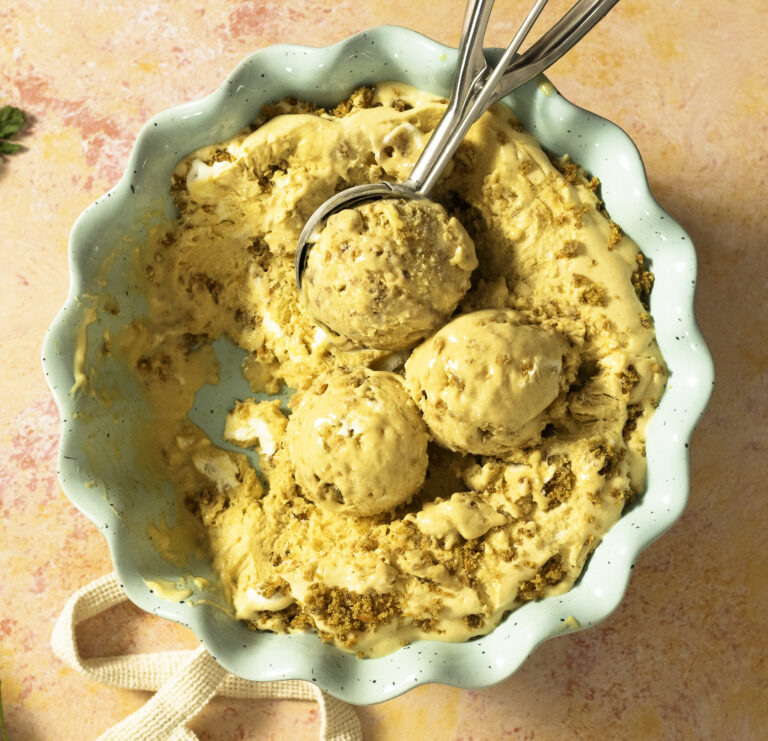
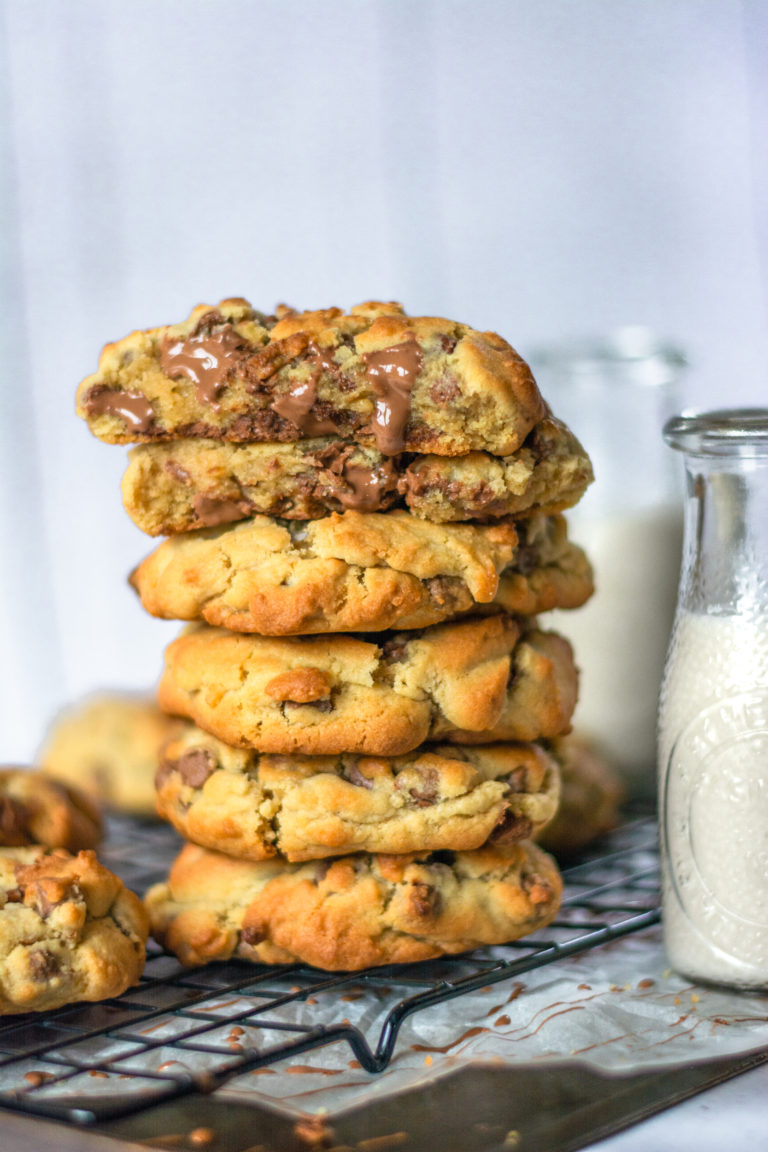
These might just be the best brownies for when you want something rich, chocolatey, and fudgy without making a huge batch and if you're looking for something even easier try these fudgy chocolate brownie cookies. But if you're in the mood for something extra indulgent, don't skip the silky chocolate ganache on top. Trust me, it takes them to a whole new level! My favorite way to enjoy these? Warm, with a big scoop of ice cream like my Birthday Cake Ice Cream or Butter Pecan Brown Sugar Ice Cream-because why not go all in?
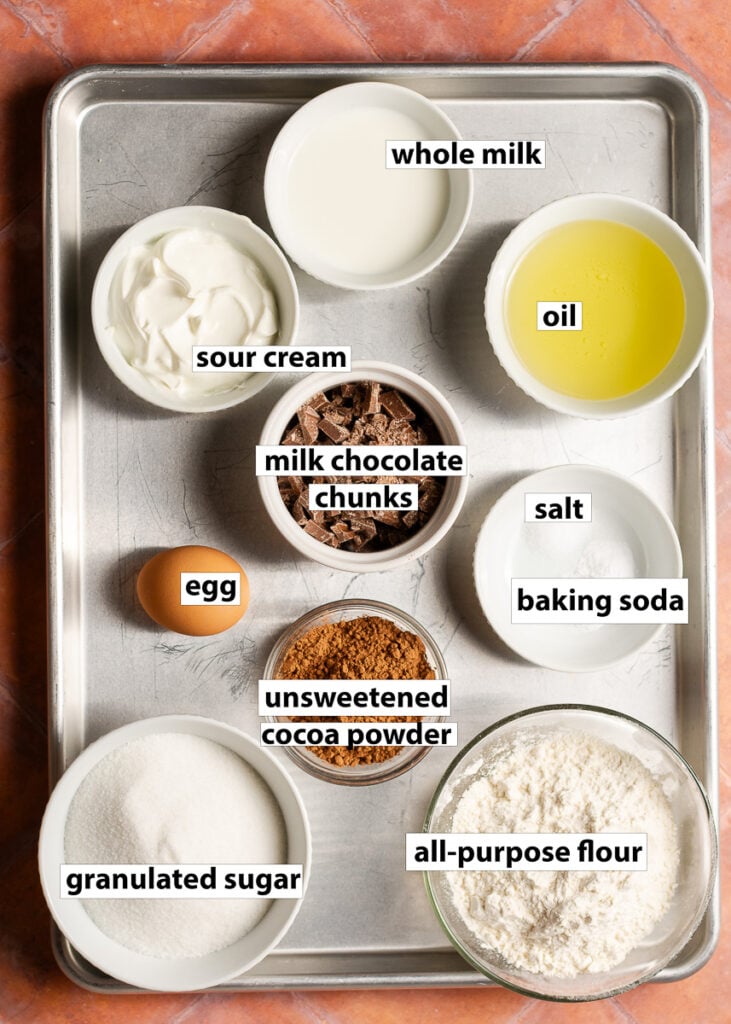
Key Ingredients for the Brownies
Unsweetened cocoa powder. Has a richer cocoa flavor than chocolate bars and chips and are the basis for these brownies. Also cocoa powder is slightly acidic which helps to tenderize the crumb!
Milk chocolate. Chopped in chunks from a bar and for a smooth melt and mixed in the batter for ultra fudgy brownies!
All-purpose flour. One of your pantry staples. It has enough gluten to hold up to the high fat content in this recipe.
Granulated or white sugar. Makes for a sturdy brownie. Brown sugar isn't needed for this recipe since we swap in oil for butter for a soft texture!
Whole milk. Helps to balance the acidic flavors in this recipe.
Oil. Gives a softer and fudgier texture than unsalted butter would
Sour cream. Adds more fat to the brownies without adding too much liquid
Egg. Binds all the ingredients together
Baking soda. Acts with the sour cream & cocoa powder to give a gentle rise to the brownies but also used to balance the acidic flavors of the cocoa powder & sour cream.
Tips for the Best One-Bowl Brownies
- Use room temperature ingredients. This is will help the the sugar dissolve completely, which is the secret to those crackly tops and truly perfect brownies every time!
- Use an oven thermometer. I recommend one for all my recipes since it takes out the guess work. Your oven can run hotter (or lower) than the presented reading so knowing and setting to the accurate temperature can make or break a recipe! An oven that's too hot will cause the brownie to rise too quickly and sink as soon as it is removed. On the other hand if the oven isn't hot enough the brownies won't rise as much as they should and the baking time will end up being longer resulting in dense and dry brownies.
- Mix only til combined and do this by hand. Theres a fine line between brownies and cake and that line is air. You want to avoid using a mixer for this recipe and also avoid mixing the batter for any longer than needed. Mixing just until all the ingredients are combined helps to give these brownies a fudgy texture instead of a cakey one.
- Use a kitchen scale. This recipe is in grams and using these measurement will yield optimal results. There is much smaller margin of error when it comes to this small batch brownies recipe - too much flour or any ingredient can ruin the whole thing. Same goes with too little! I offer conversions in ounces and estimations if you insist on using a measuring cup but using grams will gives the most precise measurement since it is a smaller unit.
Make sure you "tare" or "zero" your scale before adding another ingredient for optimal results!
Substitutions for this Small Batch Brownie Recipe
- Sour cream. Use plain greek yogurt in a 1:1 substitution ratio in place of sour cream. Opt for the full fat option to help keep the brownies fudgy!
- Neutral oil vs olive oil. If you opt to make a swap olive oil for this recipe, opt for light olive oil as the flavor is not as strong. However if you really enjoy the flavor of olive oil feel free to use extra virgin olive oil - even though these small batch brownies are rich, the olive oil flavor will still shine through. You can also sub in melted butter in the same quantity.
- Gluten free flour substitution. My favorite gluten free flour is this one from Bob's Red Mill. I've tested this recipe with it in a 1:1 ratio and the results were identical! Best tip if using a gluten free flour is to allow the batter to sit for 20-30 minutes before baking. Many gluten free flours (including this one) have rice flour as an ingredient and the batter sitting allows time for the rice to absorb moisture and prevent a gritty texture in the brownies.
- Regular cocoa powder vs dutch-processed cocoa powder. If the label doesn't specify, you likely have regular cocoa powder which is what I use most times for this recipe but if you wanted to elevate this recipe a bit you can swap in an equal amount of dutch-processed cocoa powder. Dutch-processed cocoa powder will give the brownies a slightly richer and sweeter taste. The brownies will also be a deep brown, almost black color.
- Chocolate chunks chopped from a bar are what this recipe calls for. Chocolate chips have additives that help them keep their shape during baking so if you opt for this switch crush the chips a little bit. This will increase the surface area so that the chocolate chips melt in smaller pockets giving a smooth and more fudge like texture.
How to make the Easiest Small-Batch Brownies
Step 1. Preheat oven to 325°F
Step 2. Add all the dry ingredients & the chopped chocolate (if using) to a mixing bowl and stir to combine. This helps to evenly disperse everything. Have you ever taken a bite of a dessert and tasted a pocket of baking powder or baking soda? Trust me - it's not a pleasant experience! This step helps ensure that your leavening agent along with all other dry ingredients are evenly dispersed throughout the batter so that your brownies will have an even texture and flavor throughout.
Step 3. Add all other ingredients - oil, sour cream, egg & milk. Give the egg yolk a poke with your mixing spoon or spatula to break it up. Mix well until the batter is smooth. Make sure you scrape the bottom of the bowl to get any clumps of dry ingredients!
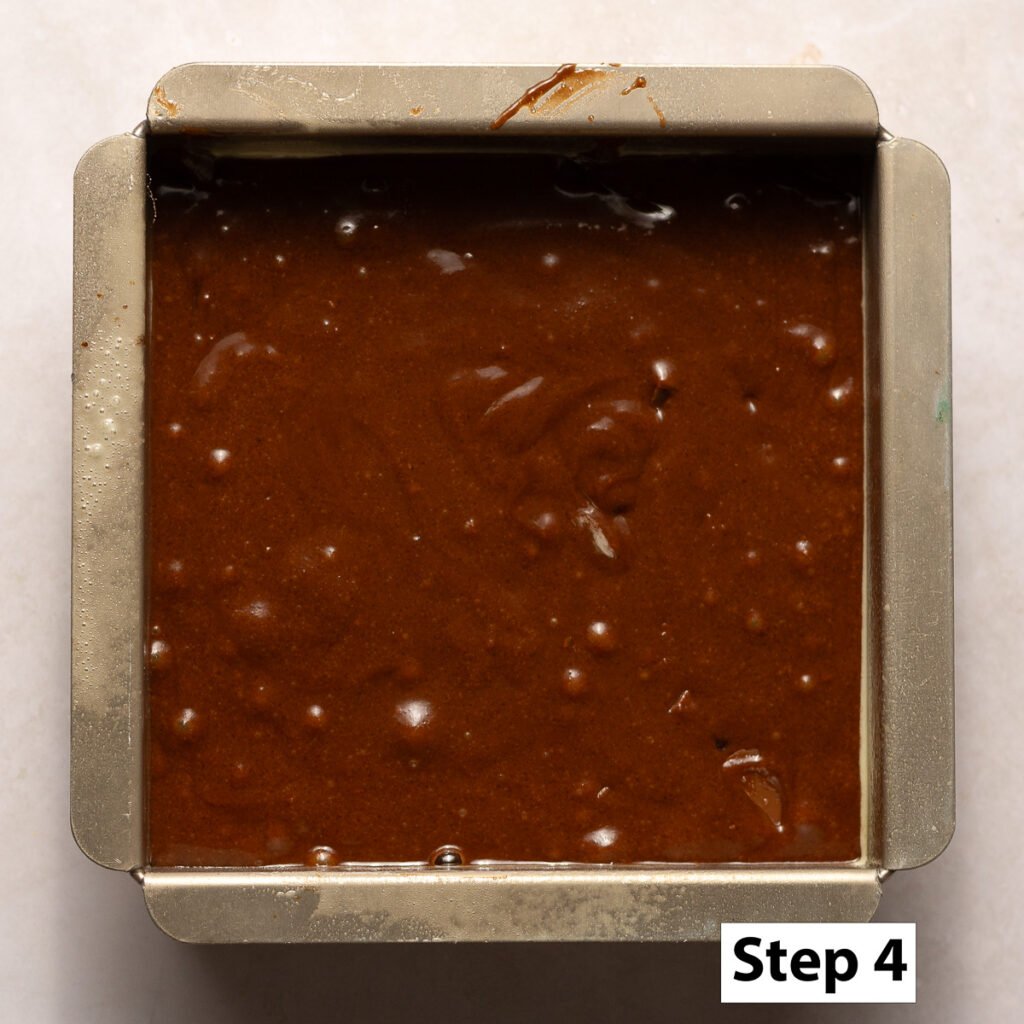
Step 4. Pour the brownie batter in a 6-inch baking pan or a loaf pan prepared with baking spray or lined with parchment paper (this is up to you). Bake at 325°F for 30-45 minutes or until a tooth pick comes out from the center of the brownies with just a small streak of chocolate. It should not look like you dipped the toothpick in chocolate. Do not wait until the tooth pick is clean as the brownies will likely be overdone at that point.
Step 5. Allow to cool at least until at least you can handle comfortably and it doesn't fall apart. Enjoy completely cooled or warm!
It's normal for your brownies to sink a little bit towards the center as they cool.
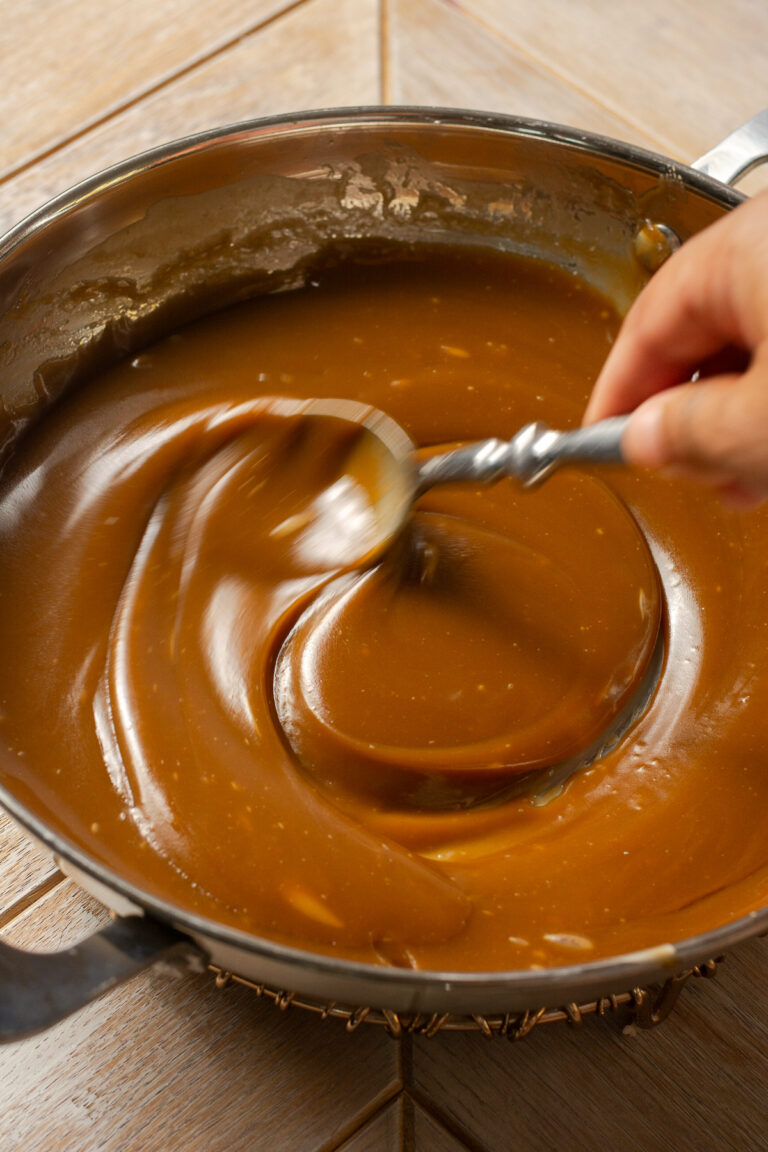
How to make the optional Chocolate Ganache Topping
Step 1. Add all the ingredients to a small microwave-safe bowl and heat for 15-30 seconds at a time. This will depend on how powerful your microwave is. Stir the mixture each time after pausing to incorporate and gauge how much more you need to heat.
Chocolate can keep its shape for a little bit whilst being melted so it's important to mix so that you don't end up over-heating the chocolate resulting in seized/separated ganache.
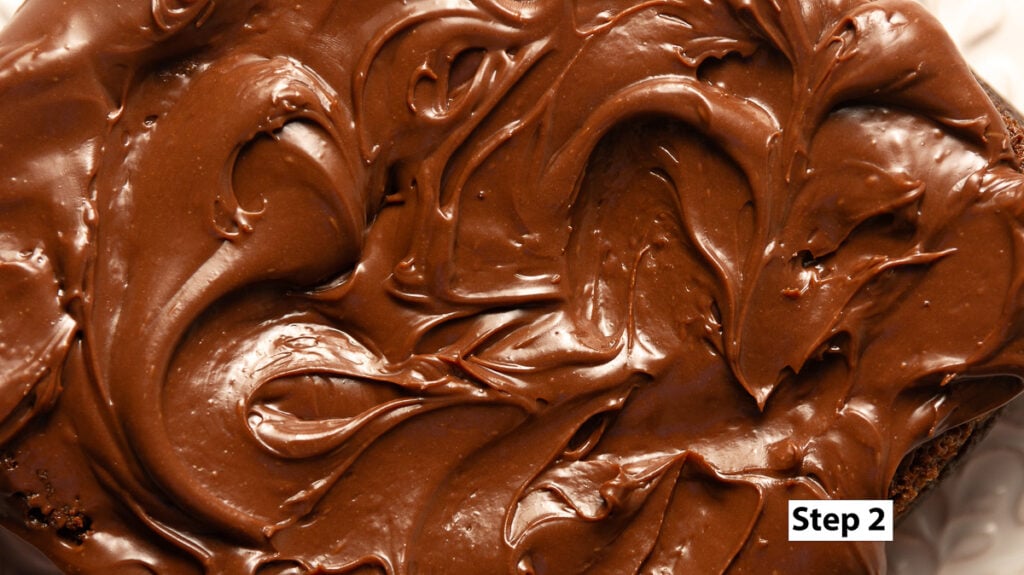
Step 2. While still warm, use an offset spatula or the back of a spoon to spread the ganache on top of the brownie.
It's important to do this while the ganache is still relatively warm and easy to spread since as it cools it will start to "set." This won't affect the flavor but it will not look as smooth and will be more challenging to spread.
If your ganache has already set, heat in the microwave for 5-10 seconds and then stir until it has reached a spreadable consistency.
Frequently Asked Questions
Do brownies have to be refrigerated? These brownies do not need to be refrigerated. Even if you top them with chocolate ganache these brownies can sit out for up to 2 days without needing to be refrigerated - which is exactly the beauty of small batch brownies since, let's face it, you won't have a ton of leftovers sitting around anyway! If you want to preserve some brownies opt for freezing over refrigeration as the refrigerator
What kind of baking pan should I use for brownies? I opt for a non-stick aluminum or metal pan. These heat more evenly and efficiently. I do not recommend baking brownies in a ceramic or glass pan as the conductivity of the pan allows for the outside to be done while the center is still raw.
Can I freeze these brownies?
Yes! I love to freeze most of my baked goods. Apart from the fact that's its the perfect way to avoid waste and preserve any leftover brownies, freezing (especially when done wile the brownies are warm) keeps them moist and locks in flavor!
Here's how to properly freeze brownies:
Step 1. While baking try to decide if you'll be eating or serving the whole thing within the next 2 days.
If you're on the fence, I'd say it's better to freeze a portion of it anyway. As mentioned earlier, you'll have the best results when it's frozen freshly baked and still a little warm. This will lock in any moisture that would escape as steam or naturally over the course of sitting out.
Step 2. While the brownies are still a little warm wrap them snugly in plastic wrap and then freeze. If your freezer is packed or has quite a few savory items, you can add an extra layer of protection by placing the wrapped brownies in an airtight container or a Ziploc bag. This will help prevent any other aromas from seeping into your brownies.
Store brownies in the freezer for up to 3 months for optimal taste and texture.
Easy Small Batch Brownies in One Bowl
Ingredients
Equipment
Method
- Preheat oven to 325°F
- Add all the dry ingredients (all-purpose flour, granulated sugar, cocoa powder, baking soda & salt) and the chopped chocolate to a mixing bowl and stir to combine.
- Add all other ingredients - oil, sour cream, egg & milk. Give the egg yolk a poke with your mixing spoon or spatula to break it up then mix just until the batter is smooth. Make sure you scrape the bottom of the bowl to get any clumps of dry ingredients!
- Pour the brownie batter in a 6-inch baking pan or a loaf pan prepared with baking spray or lined with parchment paper. Bake at 325°F for 30-35 minutes or until a tooth pick comes out from the center of the brownies with just a small streak of chocolate.It should NOT look like you dipped the toothpick in chocolate.
- Allow to cool at least until at least you can handle comfortably and it doesn't fall apart. Enjoy completely cooled or warm!Its ok to spread your ganache (if using) on the brownies while warm - just not while still hot!
- Add all the ingredients to a small microwave-safe bowl and heat for 15-30 seconds at a time until melted. Mix between in break to avoid overheating the chocolate.
- While still warm, use an offset spatula or the back of a spoon to spread the ganache on top of the brownie. If your ganache has already set, heat in the microwave for 5-10 seconds and then stir until it has reached a spreadable consistency.Its ok to spread your ganache on the brownies while warm - just not while still hot!