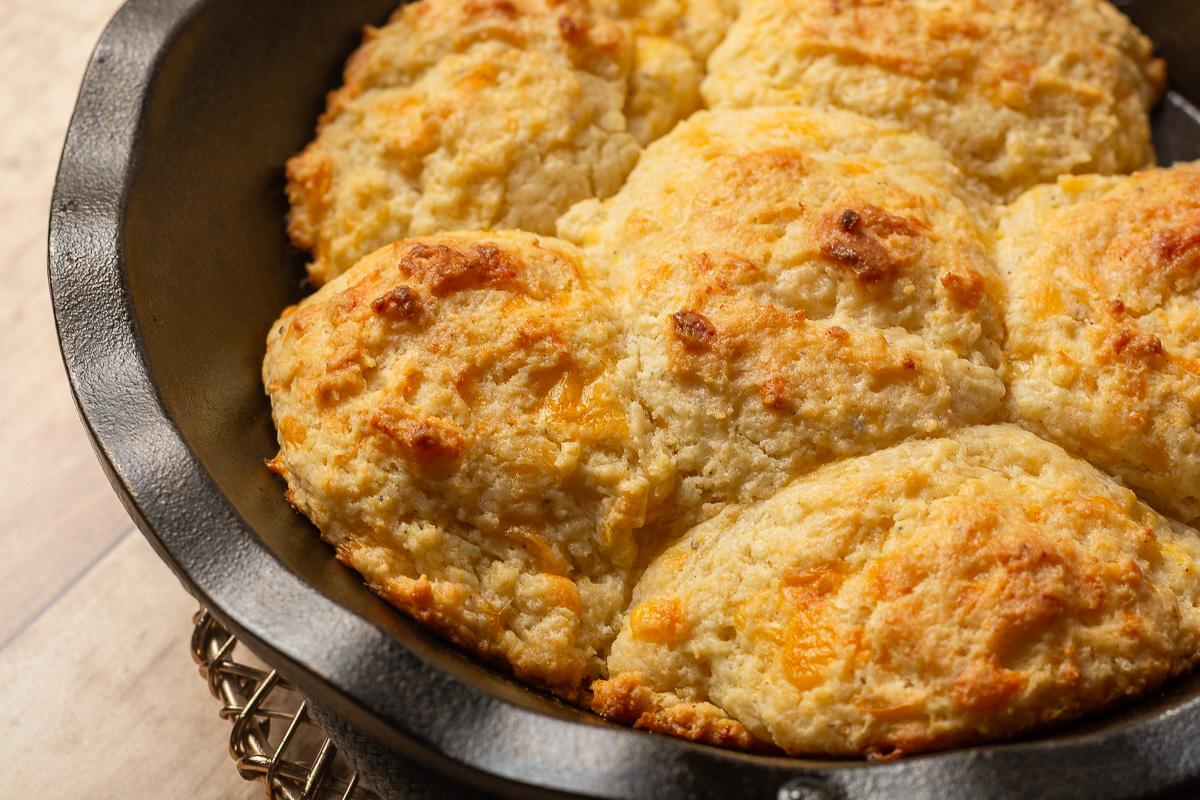
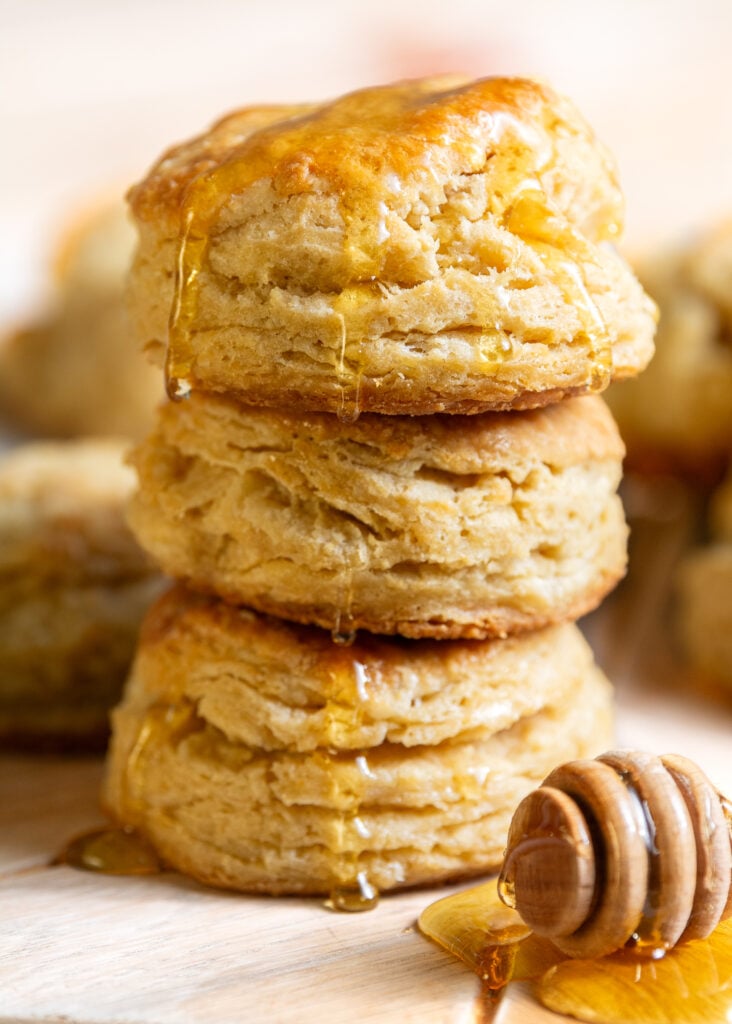
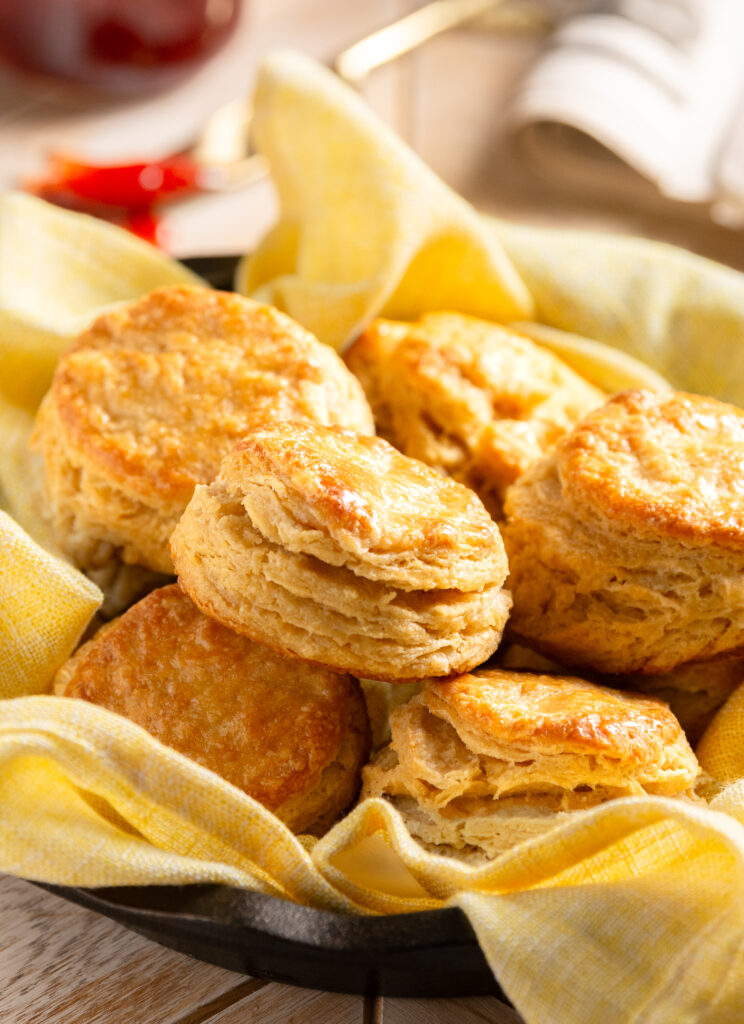
Flaky Buttermilk Biscuits
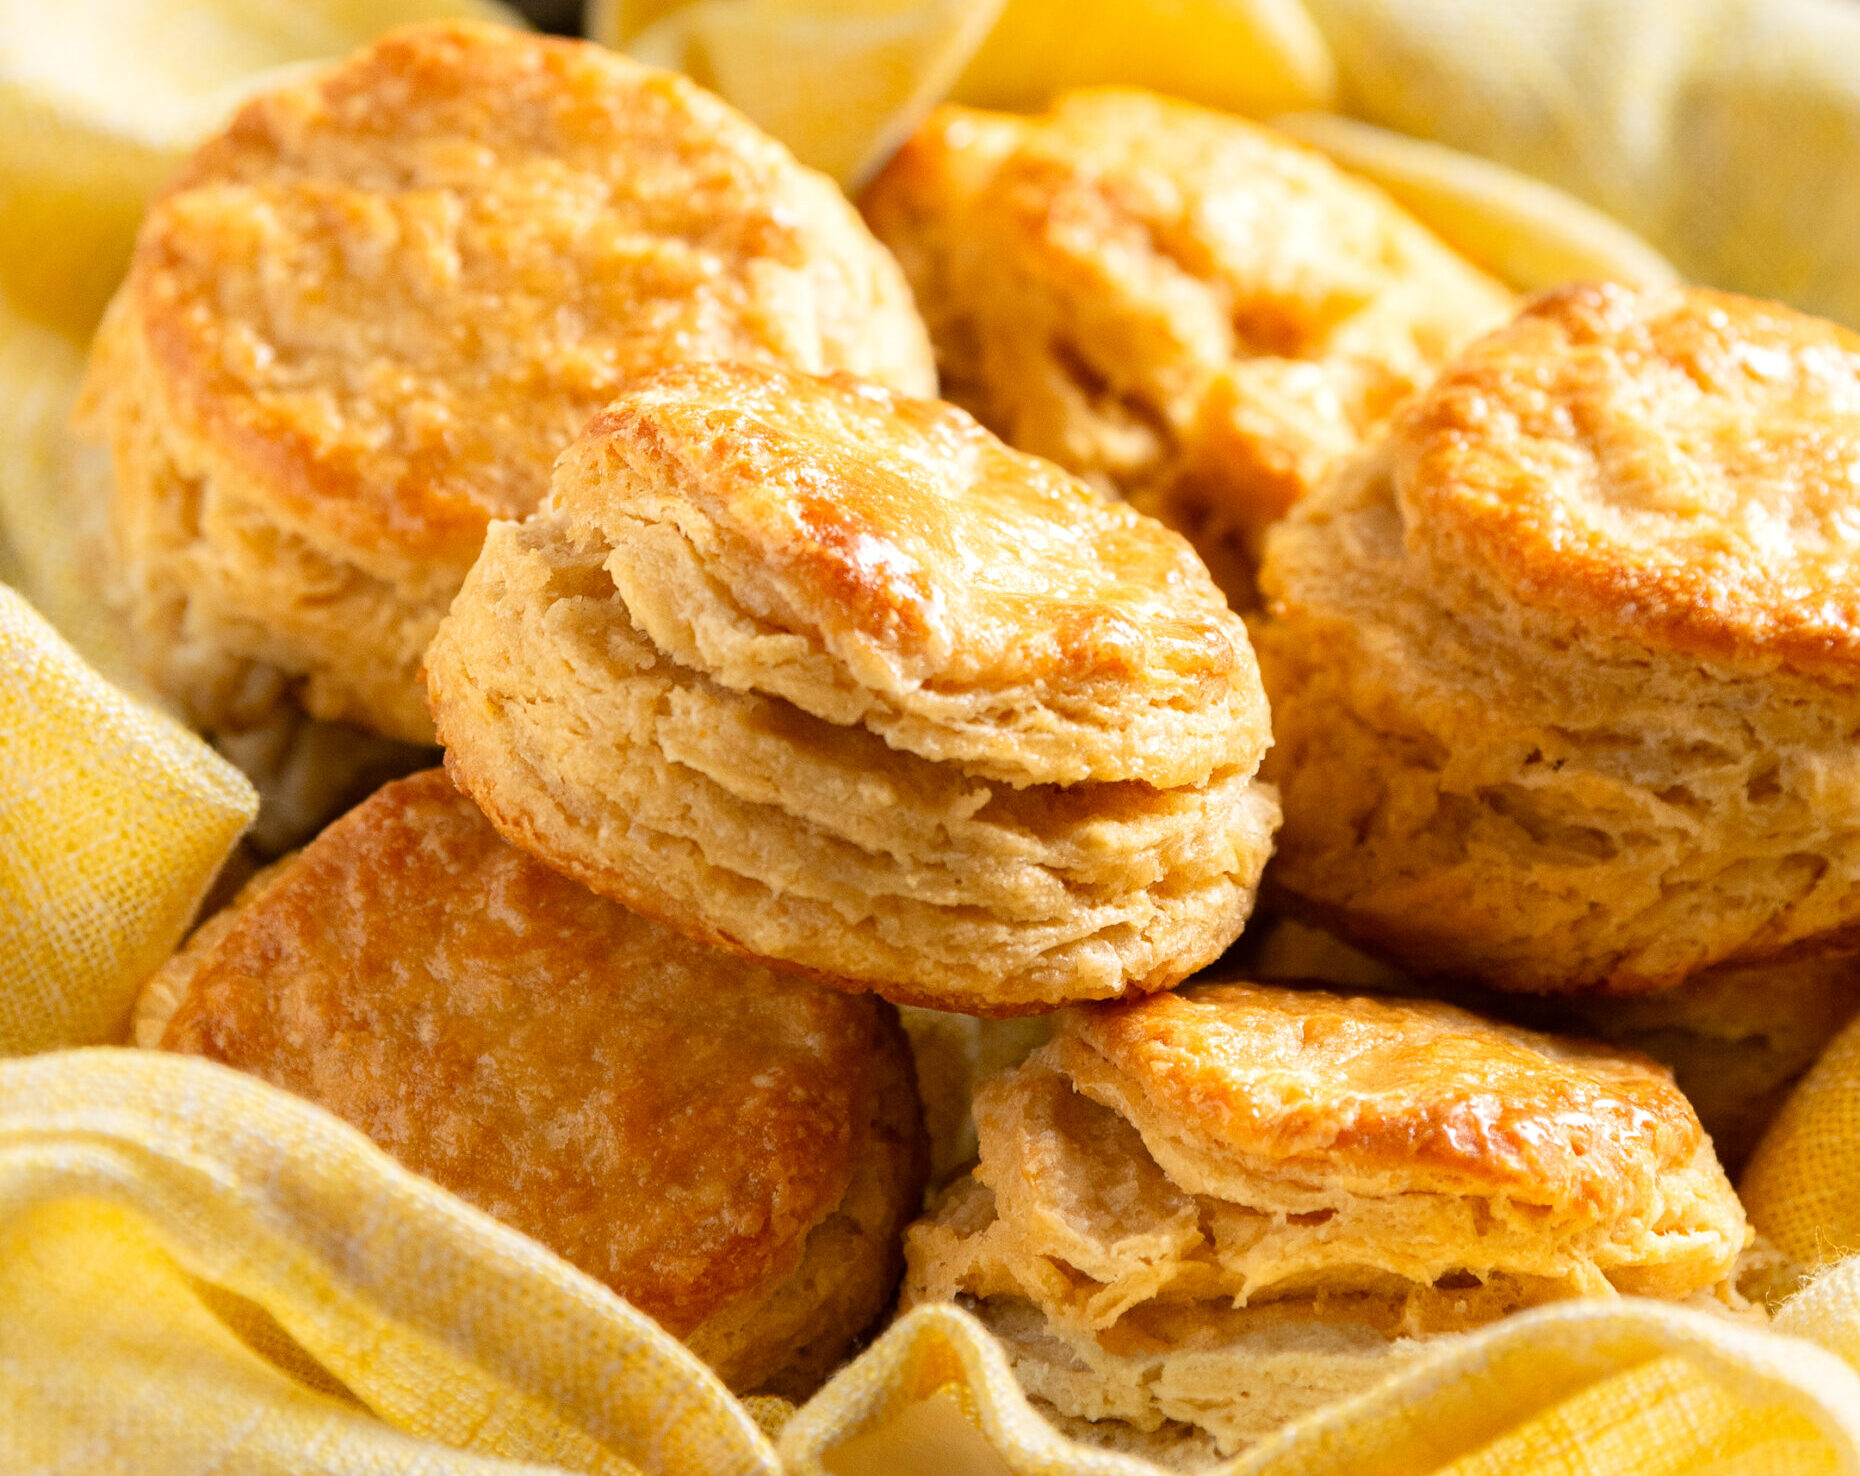
A great recipe for flaky buttermilk biscuits is an absolute must for any home baker and cook. These biscuits seriously hit the spot! They're buttery, pillowy-soft on the inside with a perfectly thin crisp on the outside and, most importantly, they're super easy to make!
Although a perfectly flaky buttermilk biscuit seems simple enough, without the right recipe disappointment is imminent. Method is equally as important as the ratios of the ingredients so I've also included a detailed step-by-step along with some "science-y" explanations so that you can easily customize it as desired.
To top it all off, this recipe is seriously versatile - so much so that it's the base of the Old Bay cheddar biscuit topping on this crab chowder!
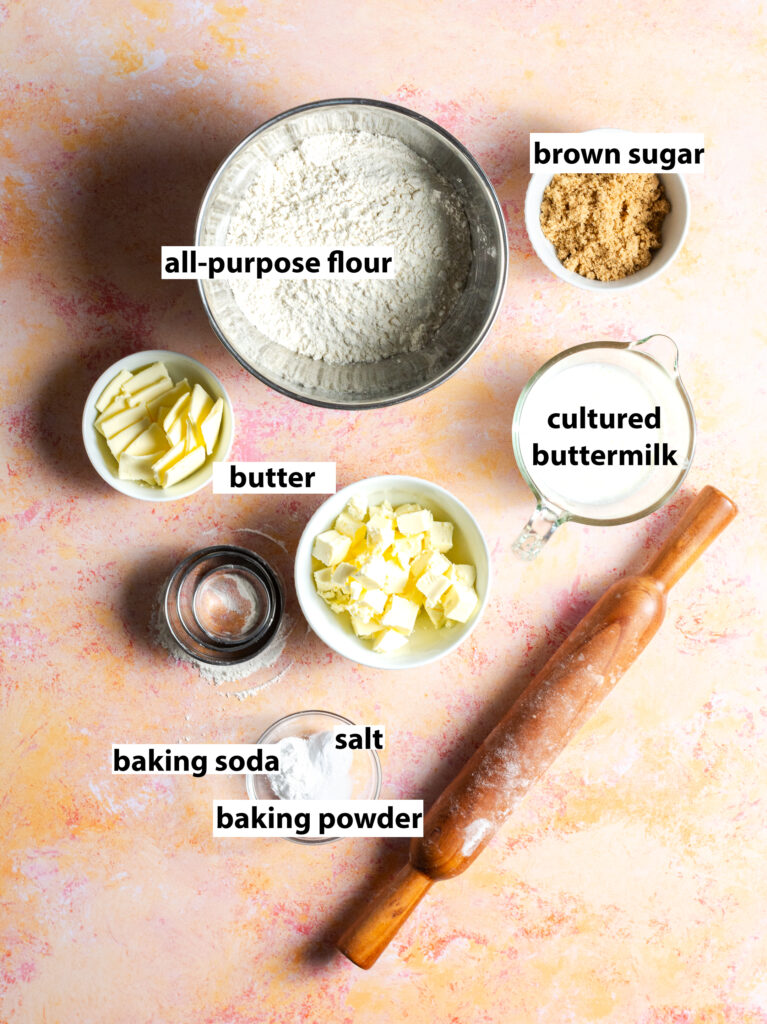
key ingredients
All-purpose flour. Has enough gluten for a stable structure so the biscuits aren't crumbly.
Cultured buttermilk. A signature tangy flavor than tenderizes the crumb and helps make these biscuits soft.
Cold butter. Gives the biscuits a soft, tender texture and crucial for a flaky texture
Brown sugar. A warmer flavor than granulated sugar and gives the biscuits a softer more moist texture.
Baking powder. Double duty rise - once liquid is added to the dough and again during baking
Baking soda. Reacts with the buttermilk to offer more of a rise.
tips for the best flaky buttermilk biscuits & faqs
Don't twist the biscuit cutter. This presses the dough into itself, sealing the sides and preventing the biscuits from rising fully.
Spoon flour into the measuring cup. This will prevent "packing" the measuring cups and using more flour than the recipe calls for. Using too much flour will cause the dough to be too crumbly and the biscuits to be dry.
Skip the parchment paper. Since these biscuits use a high ratio of fat, using parchment paper can prevent the butter from completely browning. As butter browns the flavor deepens but extra water also evaporates. Using parchment paper can result in biscuits that don't have a crisp outside and take longer to bake due to the extra liquid from the melted butter.
Why use brown sugar in biscuits? Most classic biscuit recipes will call for granulated sugar which is a perfectly fine option but brown sugar adds a warmer flavor. In addition, it gives these buttermilk biscuits a softer, pillowy texture whereas biscuits made with granulated sugar will have a crisper texture and if oven time and temperature isn't monitored, they can be very dry.
What's the difference between cultured & uncultured buttermilk? Cultured buttermilk is thicker due to being fermented. This gives it it's signature tangy flavor. Uncultured buttermilk is the same by-product of butter-making but it hasn't been fermented so it is thinner with a sweeter and more subtle flavor.
This buttermilk biscuit recipe allows for the tangy flavor of cultured buttermilk to shine through. If you're running low try substituting the ¾ cup needed for ½ cup of greek yogurt plus ¼ cup of milk or simply ½ cup of uncultured buttermilk.
how to get flaky layers in buttermilk biscuits
- Use cold butter & buttermilk. The secret to a flaky biscuit is pockets of butter than form layers with the dough. Using cold butter and buttermilk when making these flaky buttermilk biscuits helps prevent the butter from melting as a result of warmth transferred from your hands as well as from heat that generates as the dough is worked.
- Don't knead the dough til smooth. For the same reasons above, kneading the dough til smooth will cause the chunks of butter to absorb into the dough. Although the biscuits will still be soft, you won't have flaky layers.
- Should I grate my butter for flaky biscuits? Grating frozen butter has become a viral alternative to rubbing or "cutting" butter into the flour for biscuits. Although it helps to ensure chunks of butter are preserved in the biscuit dough it does away with an important step - coating the flour in butter.
When you rub butter into your dry ingredients the fat coats the flour and prevent it from developing too much gluten when the dough is worked. This is the same principle used in the reverse creaming method - a method that gives pillowy and tender results in baked goods like these pink champagne & brown butter vanilla cupcakes and these flaky buttermilk biscuits!

how to avoid dry biscuits
Be careful not to use too much flour. There are 2 points where you can accidentally incorporate too much flour:
1. When measuring. Like explained earlier, spoon the flour into measuring cups as packing will add extra.
2. When rolling out the dough. cover your workspace in just enough flour to prevent the dough from sticking as the dough can will absorb some flour as it is rolled.
Monitor oven time and temperature. Simply put, too much time on the oven will cause the moisture in the biscuits to dry out. Additionally, if the oven is too hot the outside of your biscuits will bake a lot faster than the inside, especially if you arranged them close together to pull apart when serving. This will force you to keep them in for longer until the middle is cooked but the outside will be overcooked and dry.
Set a timer (I just use my smart watch) once you pop in your biscuits and monitor the temperature with an oven thermometer to make sure it is optimal.
Preserve your butter chunks! As the chunks of butter melt it keeps the dough soft and moist. Plus the steam released in those pockets helps prevent it from drying out. Make sure you use cold butter and cold buttermilk so that the butter chunks don't completely absorb into the dough.
how to make the dough for these flaky buttermilk biscuits
Step 1. Preheat oven to 400°F.
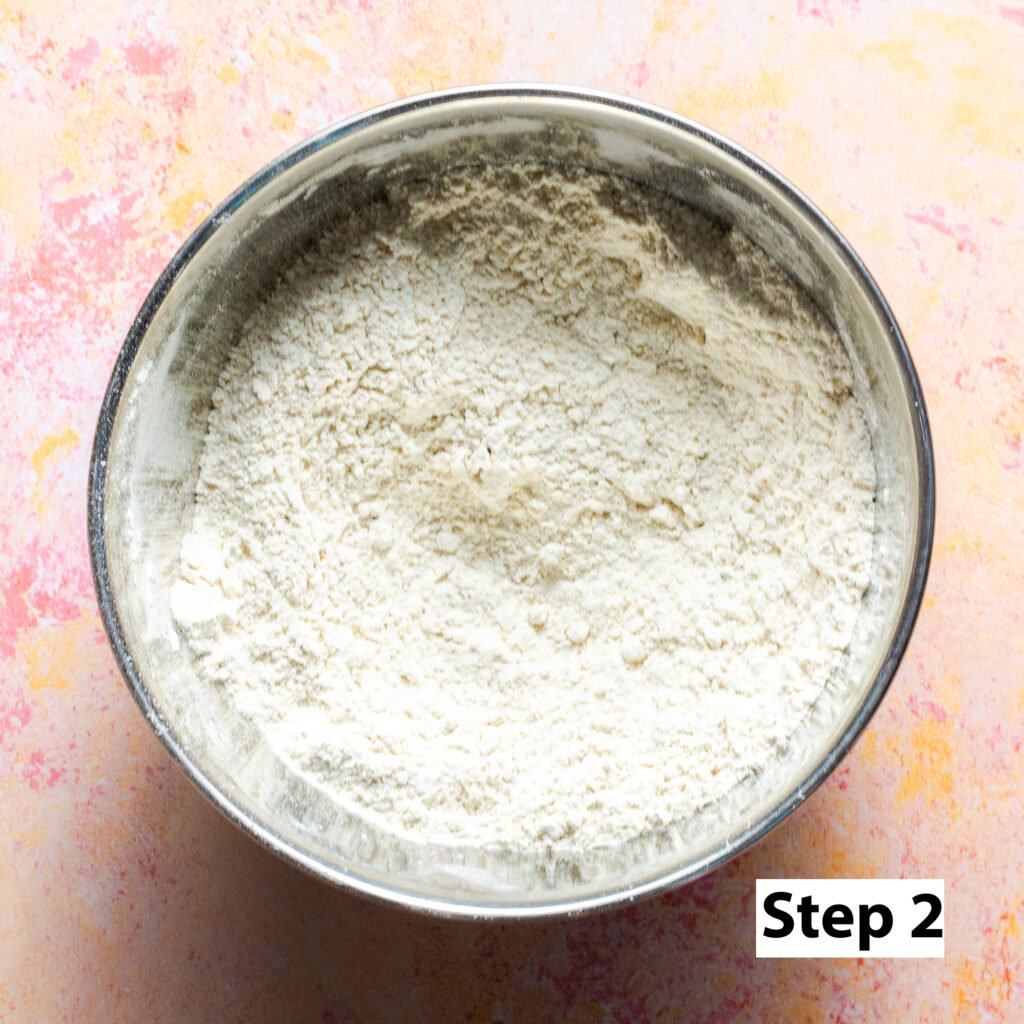
Step 2. Add the all-purpose flour, brown sugar, baking powder, baking soda & salt to a bowl and mix to combine. Make sure there are no clumps of brown sugar so that the flavor is evenly distributed.
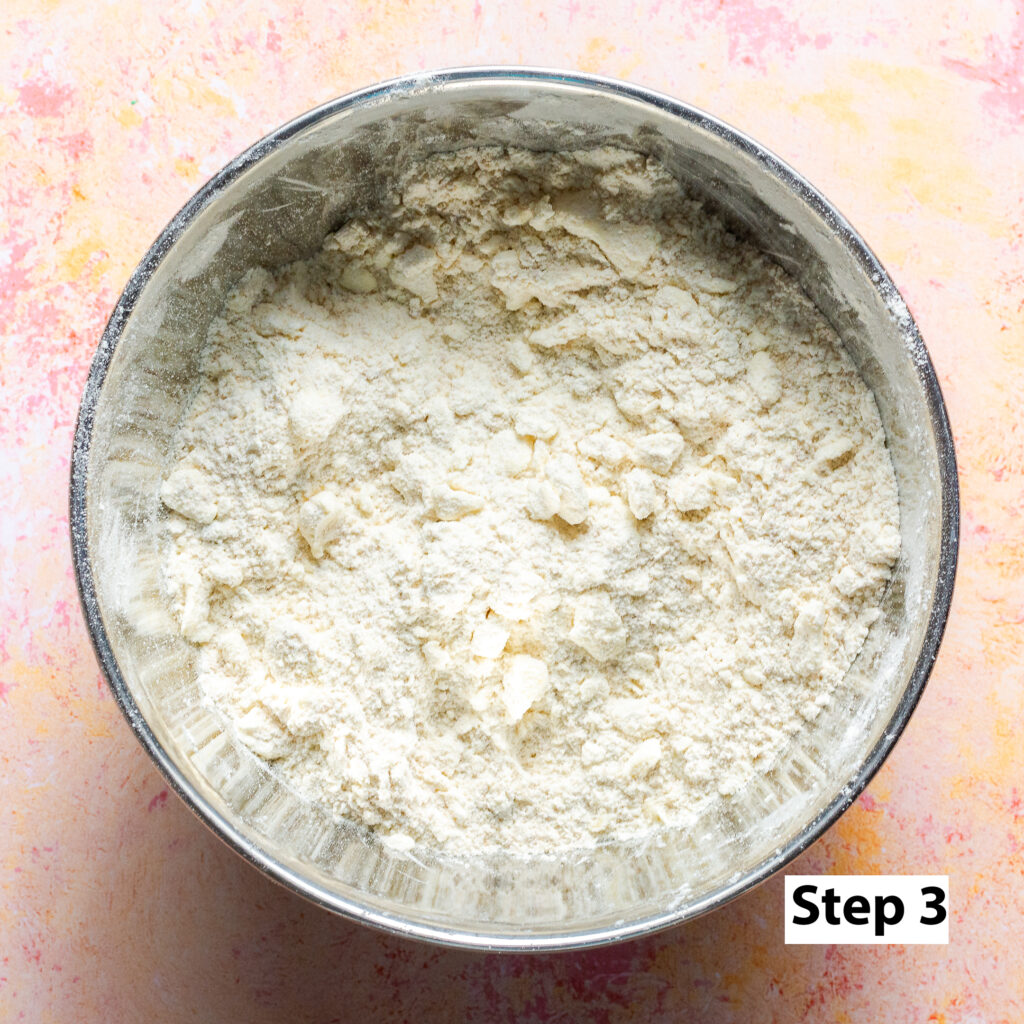
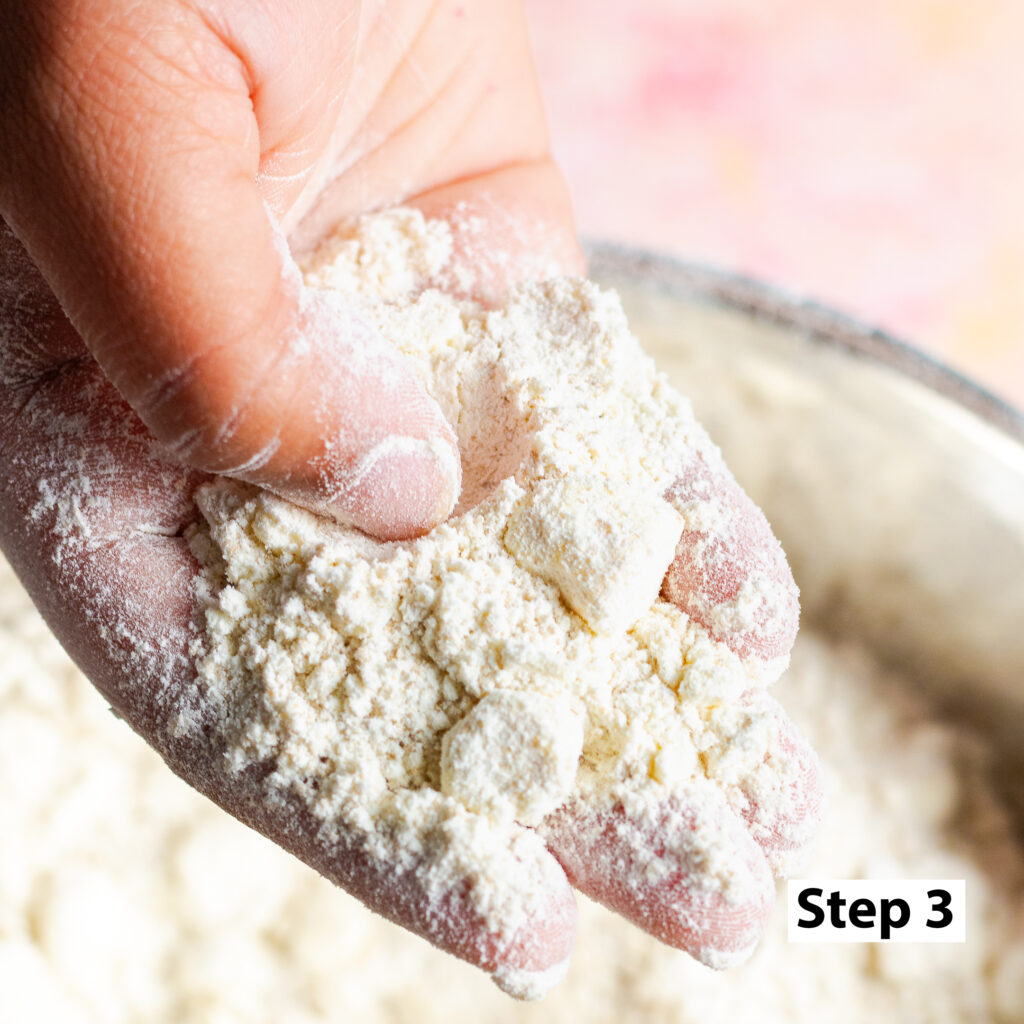
Step 3. Cube 8 tablespoons (½ cup or 1 stick) of the butter and rub it into the dry ingredients from the previous step until the mixture mostly resembles fine sand but still has some chunks of butter.
The chunks will melt during baking and create soft, buttery pockets and layers.
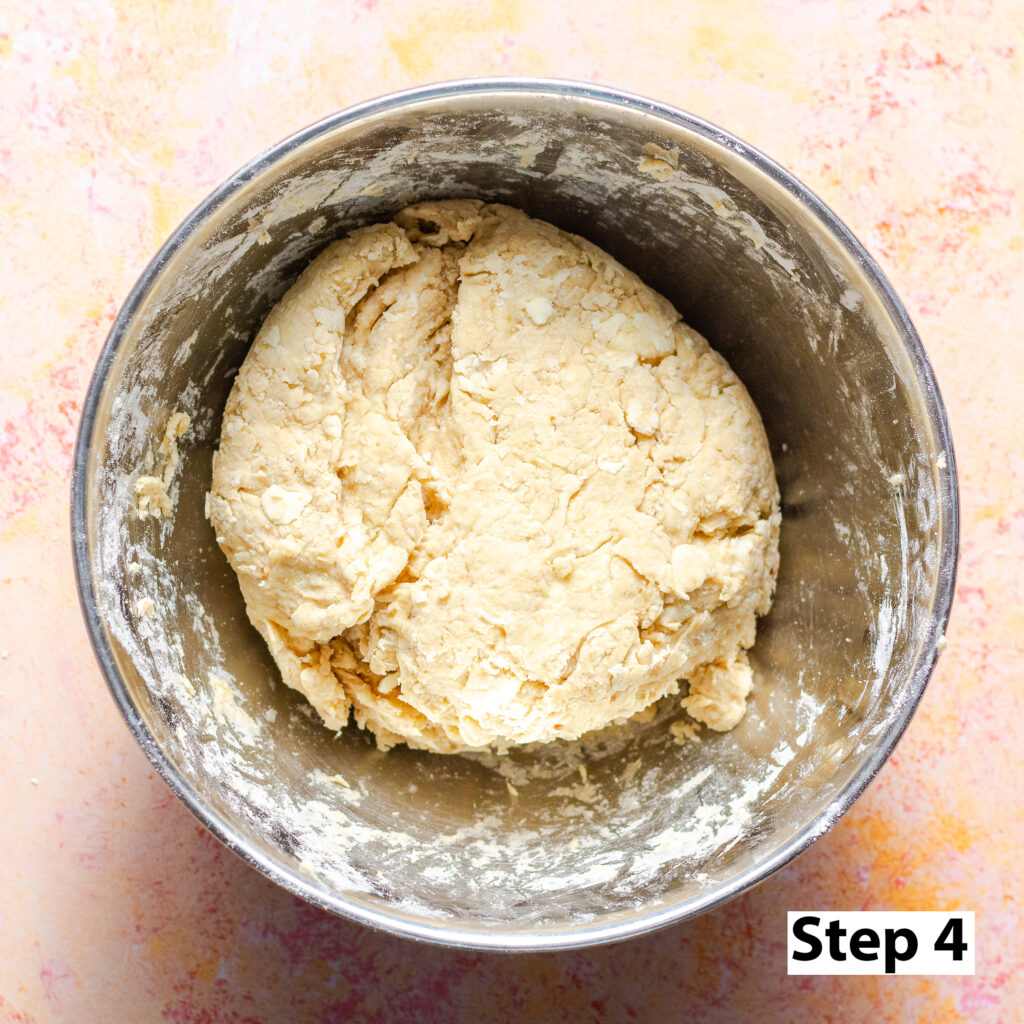
Step 4. Add the buttermilk and, using your hands, form the mixture into a dough just until combined. Avoid using a full kneading motion as kneading til smooth will likely cause the butter to melt/absorb into the dough - taking away from our flaky layers. Instead, push the dry ingredients into the wet portion of the dough repeating this until there are no more dry spots.
rolling out the dough
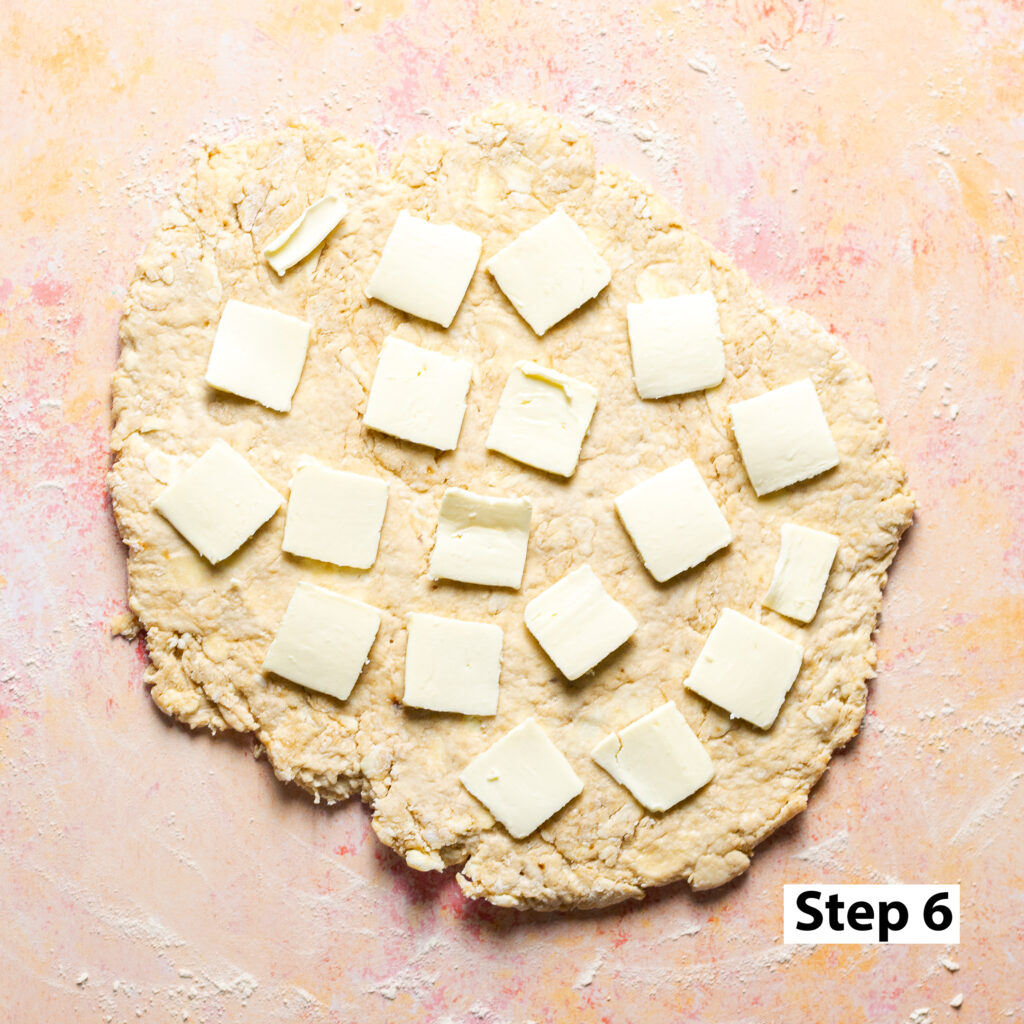
Step 5. On a floured surface roll the dough out until half-inch thick.

Step 6. Slice the remaining 4 tablespoons (¼ cup or half a stick) of butter as thinly as possible and arrange them across the surface of the rolled out dough.
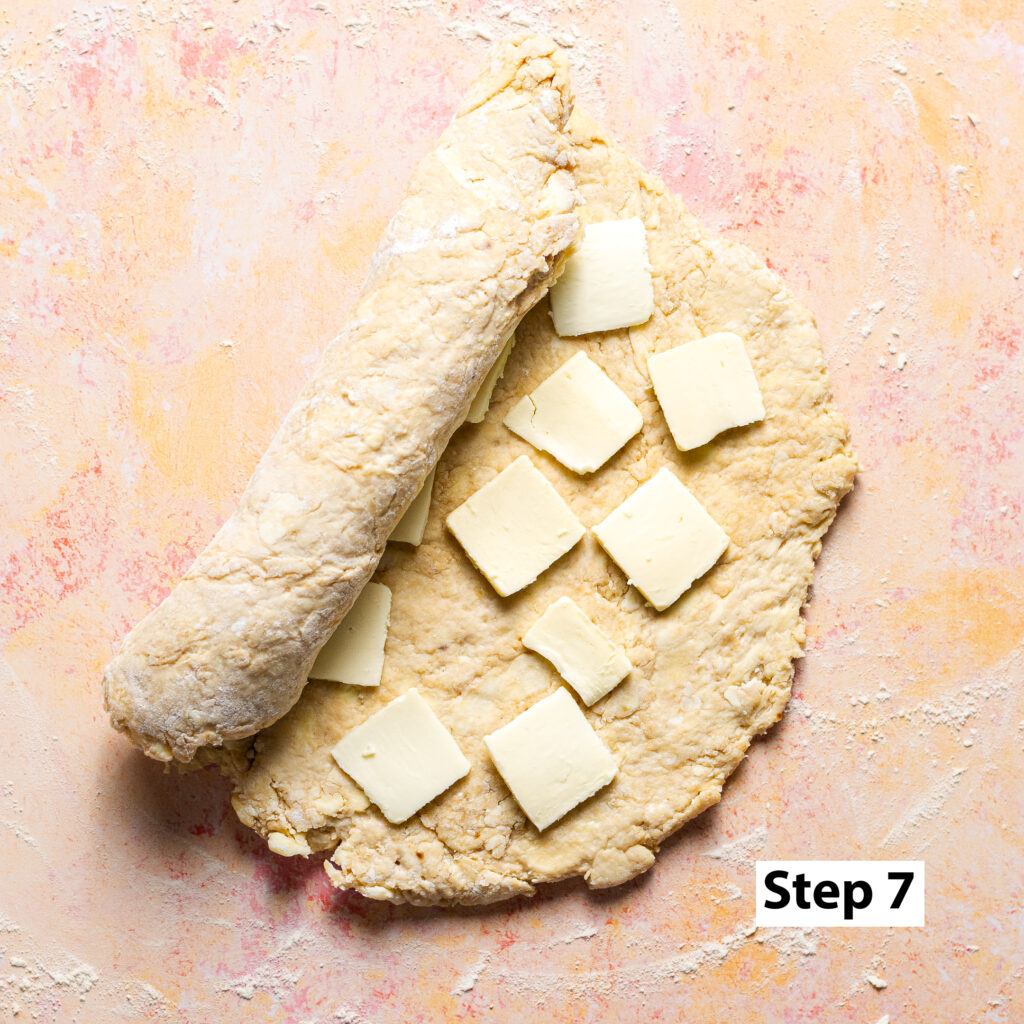
Step 7. Roll the dough up lengthwise then tuck the ends inward to form a ball. This is the same principle used in laminated doughs such as those for croissants - the layer of thinly sliced butter once re-rolled turns into multiple distinct layers of the biscuit. This is what gives these flaky buttermilk biscuits a "stacked" look with layers you're able to easily peel back.
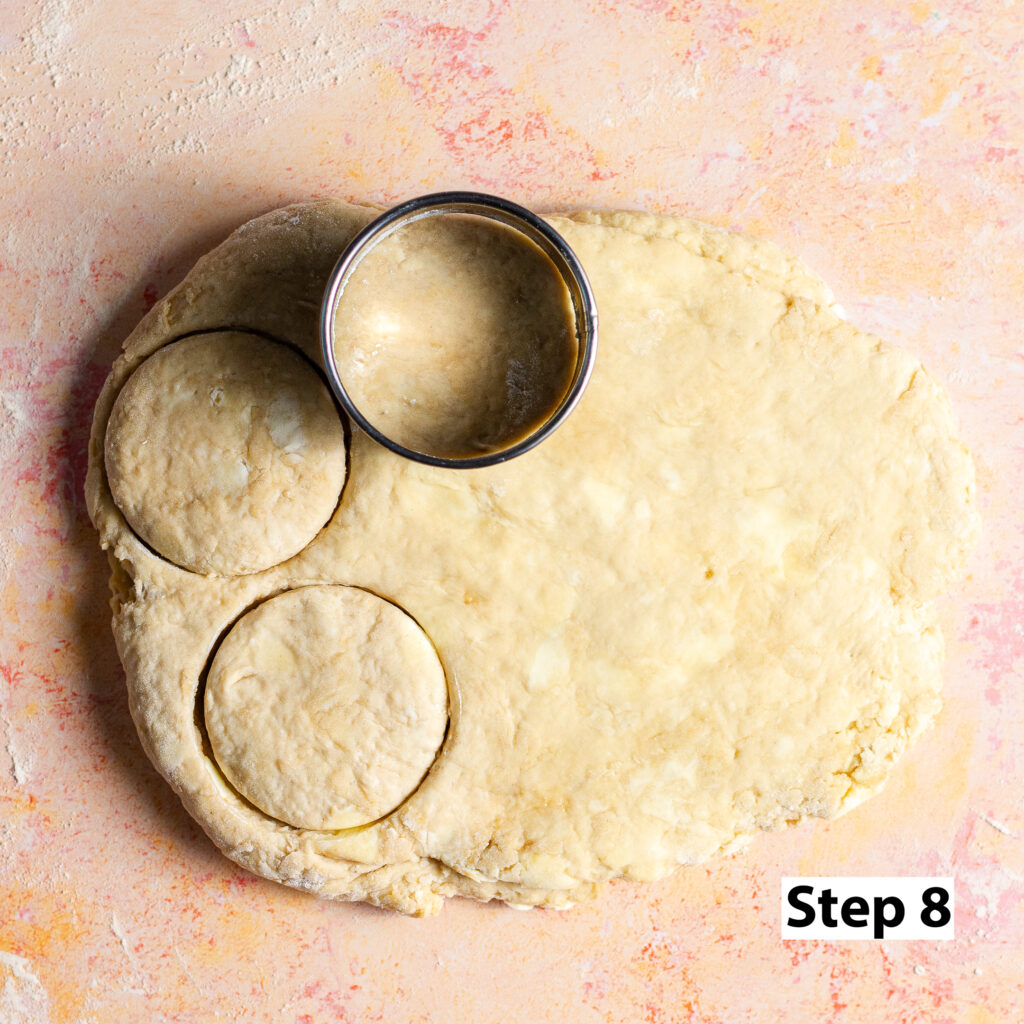
Step 8. Roll the dough out again until a half to three-quarters inch thick and cut into your desired shapes. If using biscuit cutters, do not twist to release.
Twisting can smush the layers into themselves reducing the final rise since the pockets of butter create more air/steam which equals rise. Instead push your biscuit cutter (or dough cutter) down in one single motion without dragging back and forth.

Step 9. Arrange the biscuits on a baking sheet leaving at least an inch of space around each for proper air circulation so the biscuits bake evenly. Alternatively, you can arrange in a pan closer together for pull-apart biscuits.
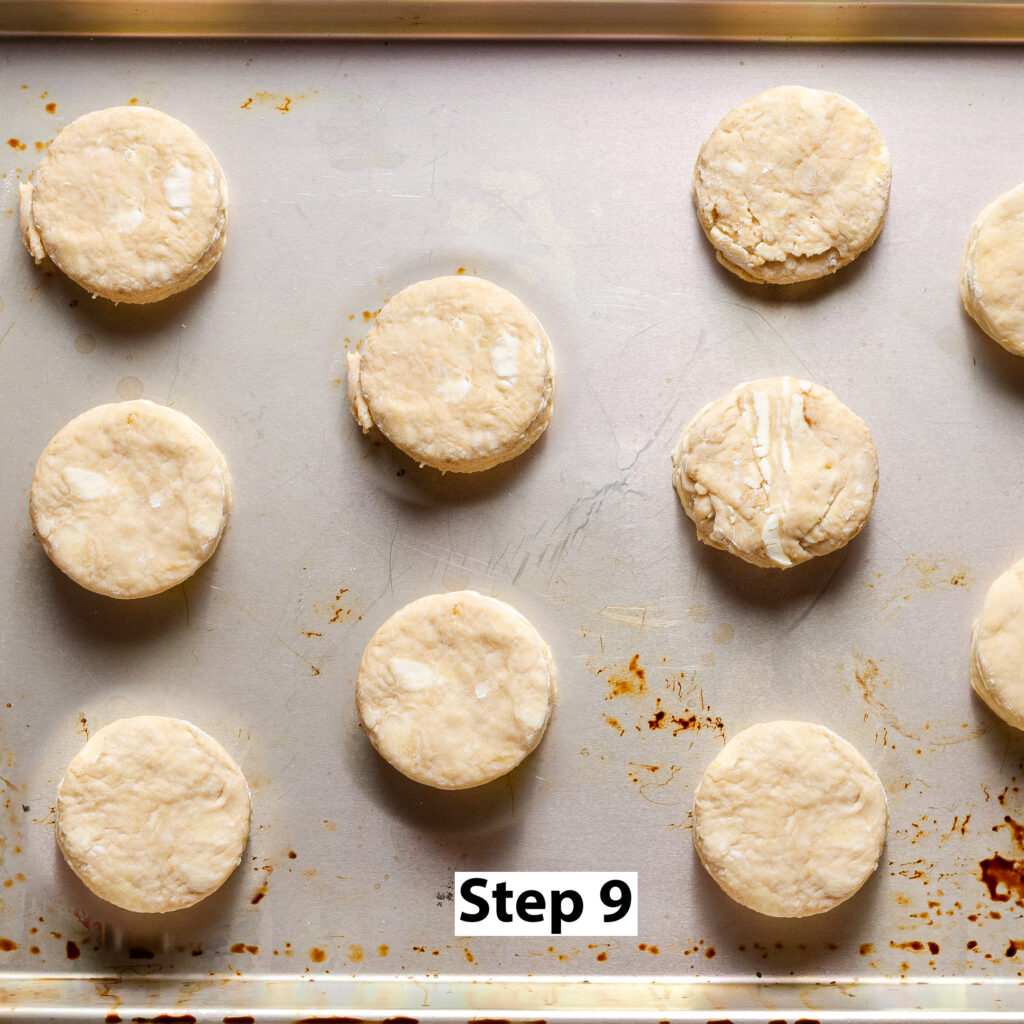
Step 10. Bake for 12-15 minutes until golden brown. If the biscuits were arranged closer together the baking time will be about 5-7 minutes longer.
Enjoy warm with your favorite toppings and/or alongside your favorite breakfast mains!
Ingredients
Equipment
Method
- Preheat oven to 400°F.
- Add the all-purpose flour, brown sugar, baking powder, baking soda & salt to a bowl and mix thoroughly to evenly distribute.
- Cube 8 tablespoons (½ cup) of the butter and rub it into the dry ingredients from the previous step until the mixture mostly resembles fine sand but still has some chunks of butter.
- Add the buttermilk and, using your hands, form the mixture into a dough just until combined. Avoid using a full kneading motion and instead, push the dry ingredients into the wet portion of the dough repeating this until there are no more dry spots.
- On a floured surface roll the dough out until half-inch thick.
- Slice the remaining 4 tablespoons (¼ cup) of butter as thinly as possible and arrange them across the surface of the rolled out dough.
- Roll the dough up lengthwise then tuck the ends inward to form a ball.
- Roll the dough out again until a half to three-quarters inch thick and cut into your desired shapes. Whatever your tool of choice, use one downward motion to cut; do not drag or twist.
- Arrange the biscuits on a baking sheet leaving at least an inch of space around each. Alternatively, you can arrange in a pan closer together for pull-apart biscuits.
- Bake for 12-15 minutes until golden brown. If the biscuits were arranged closer together the baking time will be about 5-7 minutes longer.
- Enjoy warm with your favorite toppings and/or alongside your favorite breakfast mains!