How To Make Browned (Brown) Butter
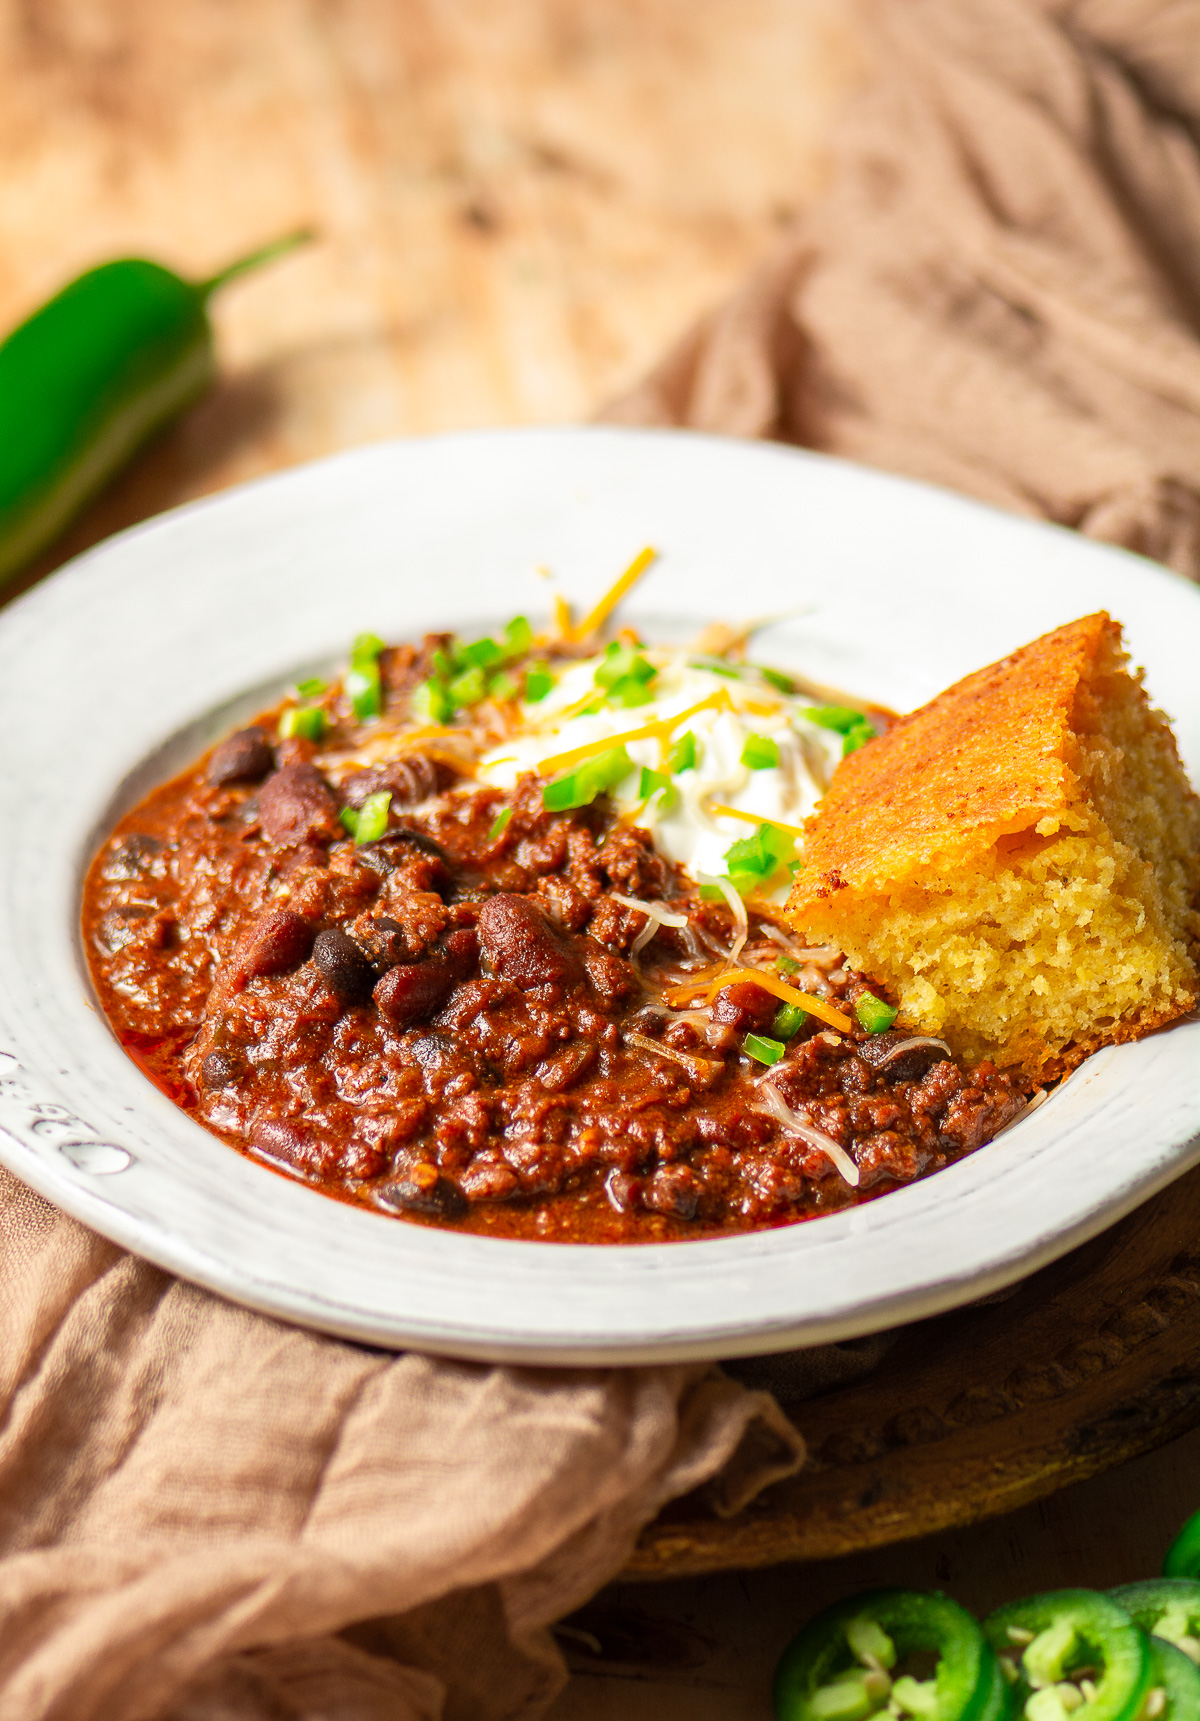
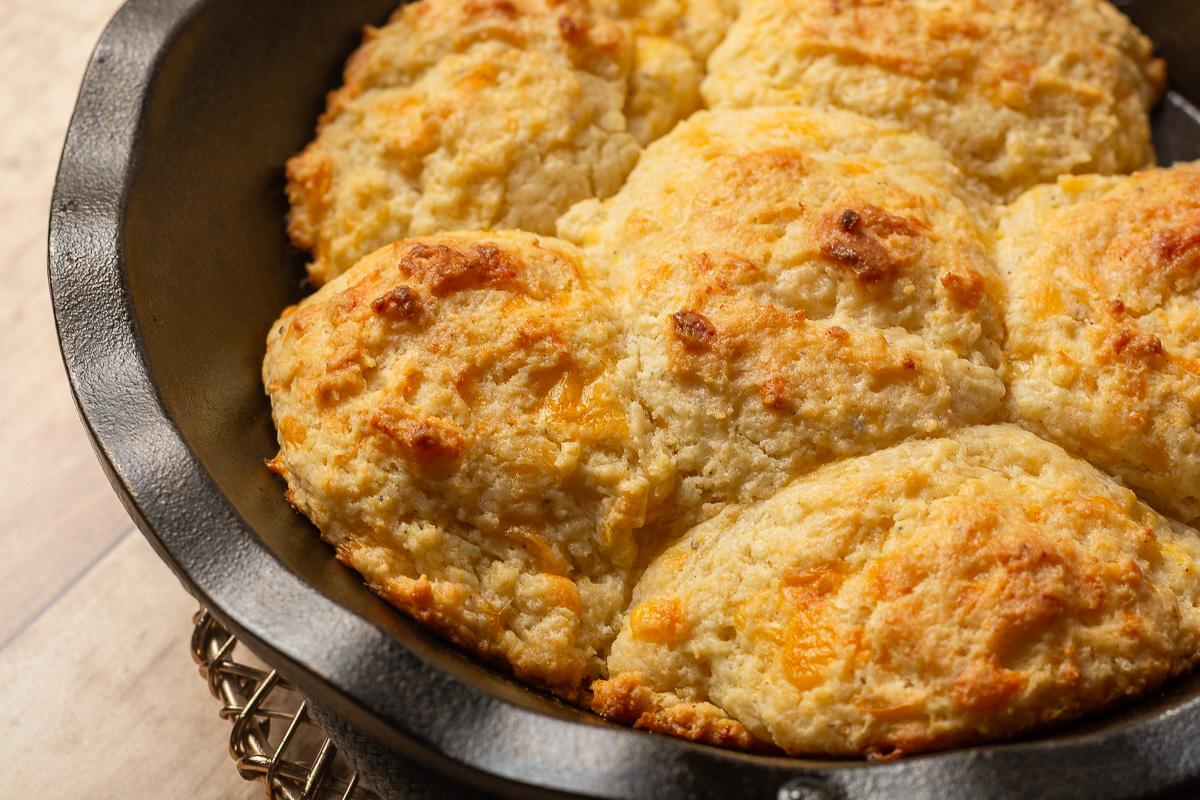
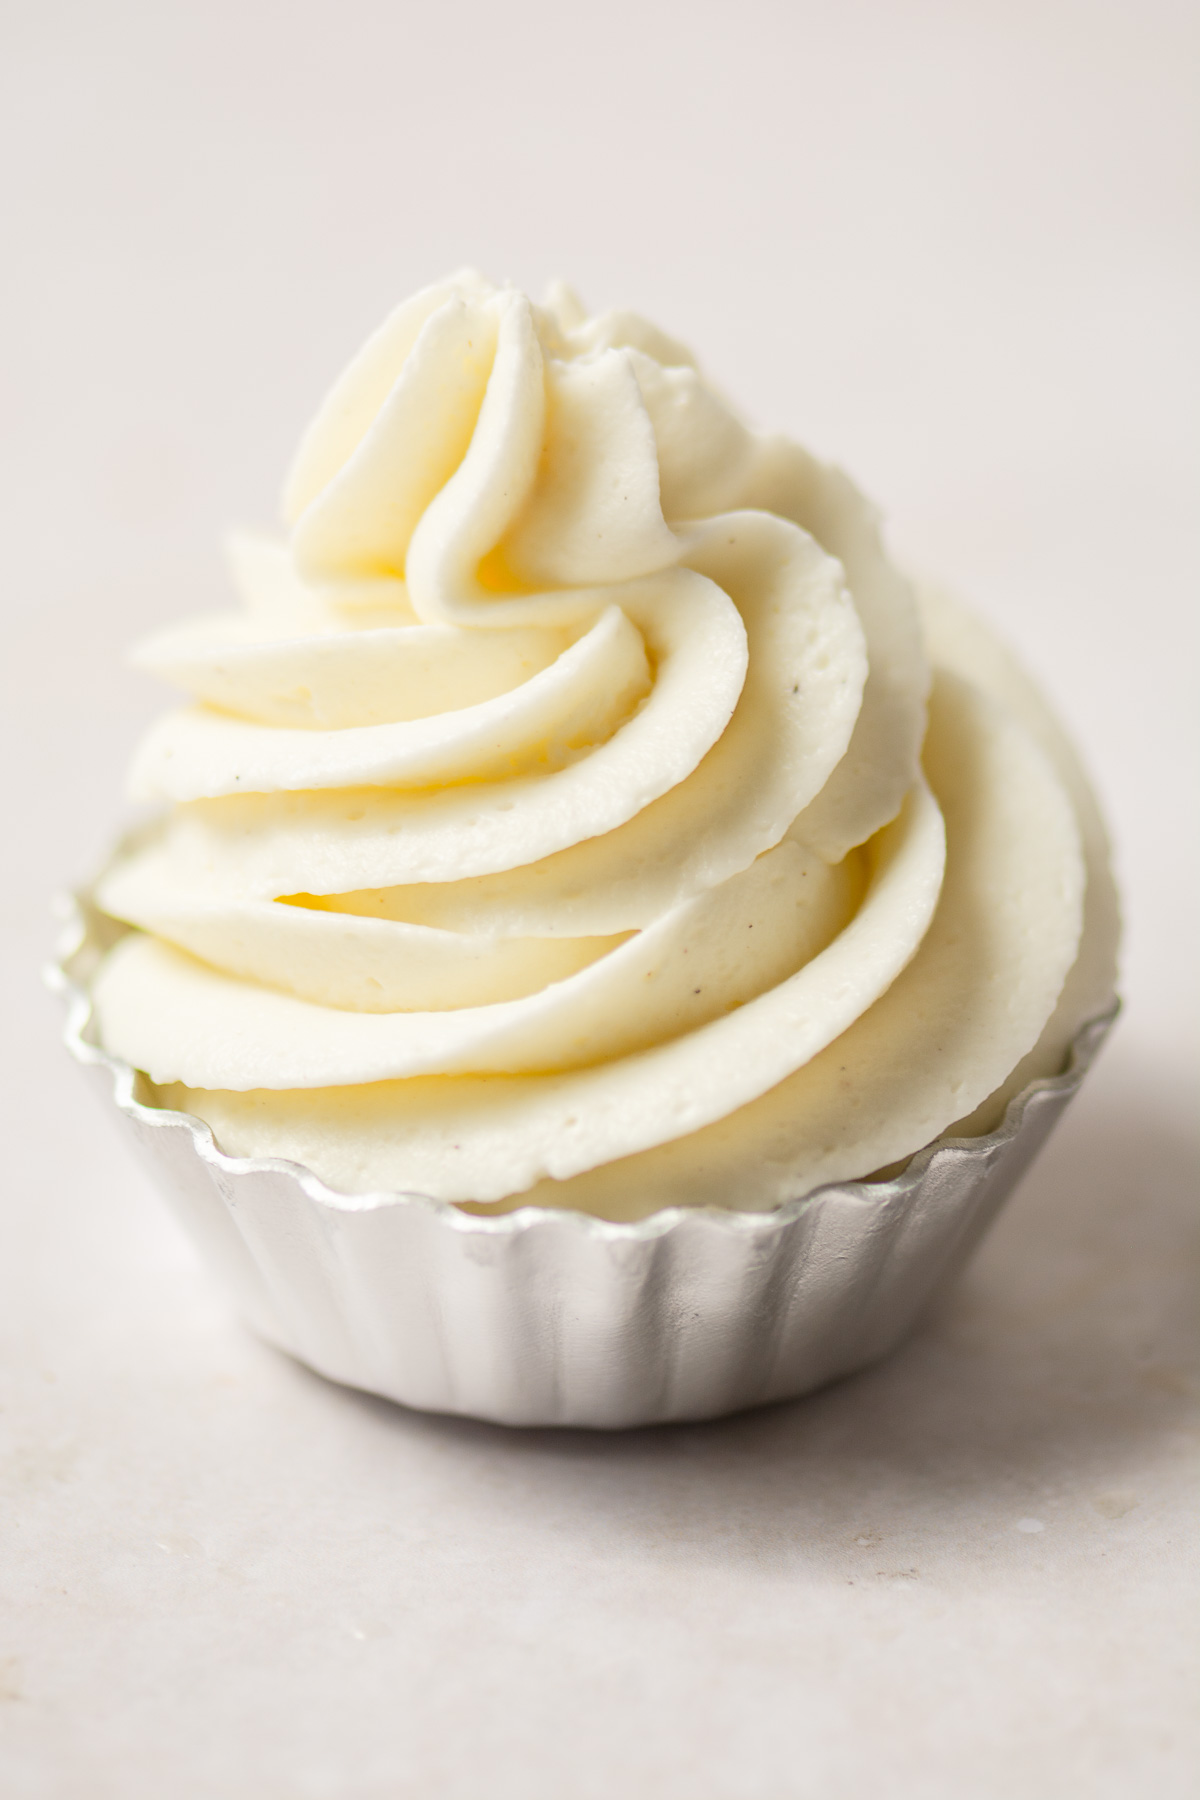
If you've never browned butter you haven't lived! It's butter's tan, caramel-y sister and I put it in and on EVERYTHING - cupcakes, corn bread, pasta, potatoes - literally anywhere you can use butter.
Browned butter is made by heating butter to the point where the milk solids that are typically emulsified with the fat and water separate and then essentially toast by way of something called the Maillard reaction. I won't go all CHEM 204 on you but just know that this reaction is responsible for a lot of what we perceive as deliciousness - and it's what gives browned food like toasted marshmallows, caramel, even steaks and of course browned butter its distinctively irresistible flavor!
Making browned butter may seem intimidating but you're in luck because I've made it more than a couple a times to give you the best tips for maximum deliciousness!
Things to consider:
- Use a stainless steel or otherwise light-colored pan. This will help you be better able to see the color of the milk solids changing so that you can remove the butter from heat before your browned butter turns to burnt butter 🙁
- Use unsalted butter. You'll be able to control the amount of salt in whatever you choose to use your browned butter in (like these divine browned butter vanilla cupcakes for example). Plus the salt flavor becomes more concentrated since water evaporates in the process.
- Account for losing some butter by weight. Again, due to water evaporating in the process, browned butter only yields about ¾ of its starting weight so in order to end up with the correct amount of browned butter called for in a recipe, multiply the called for amount by 4/3 to get the amount of unsalted butter you will need to start with to brown.
So for example, if a recipe called for ¾ a cup of browned butter you would get that by starting with ¾ * 4/3 (=1 cup) of unsalted butter. - Stir like your life depends on it! (It doesn't but the flavor does!) Without constant stirring, the milk solids tends to stick to the bottom of your pan and with that extended, uneven heating, they brown (and burn) faster than the rest of your butter. This results in a bitter taste instead of caramel-y goodness.
So stir to ensure that milk solids are being even distributed and evenly receiving heat to brown at the same time. - Chill a stainless bowl to pour your finished browned butter in. Once removed from heat, the butter continues to cook, although much more slowly. If you're like me and like to take your butter to an end-stage extra deep brown this could mean the difference between browned butter and bitter, burnt butter. Transferring the browned butter to a chilled bowl helps stop the cooking process.
Do not attempt this with glassware as the thermal shock could break your dish.

Alright! Let's make some browned butter!
How to Make Browned (Brown) Butter - Easy Guide for Beginners
Ingredients
Equipment
Method
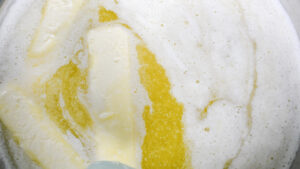
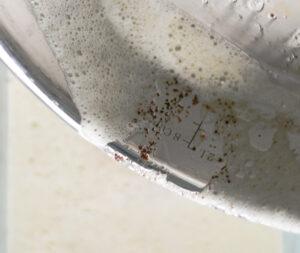
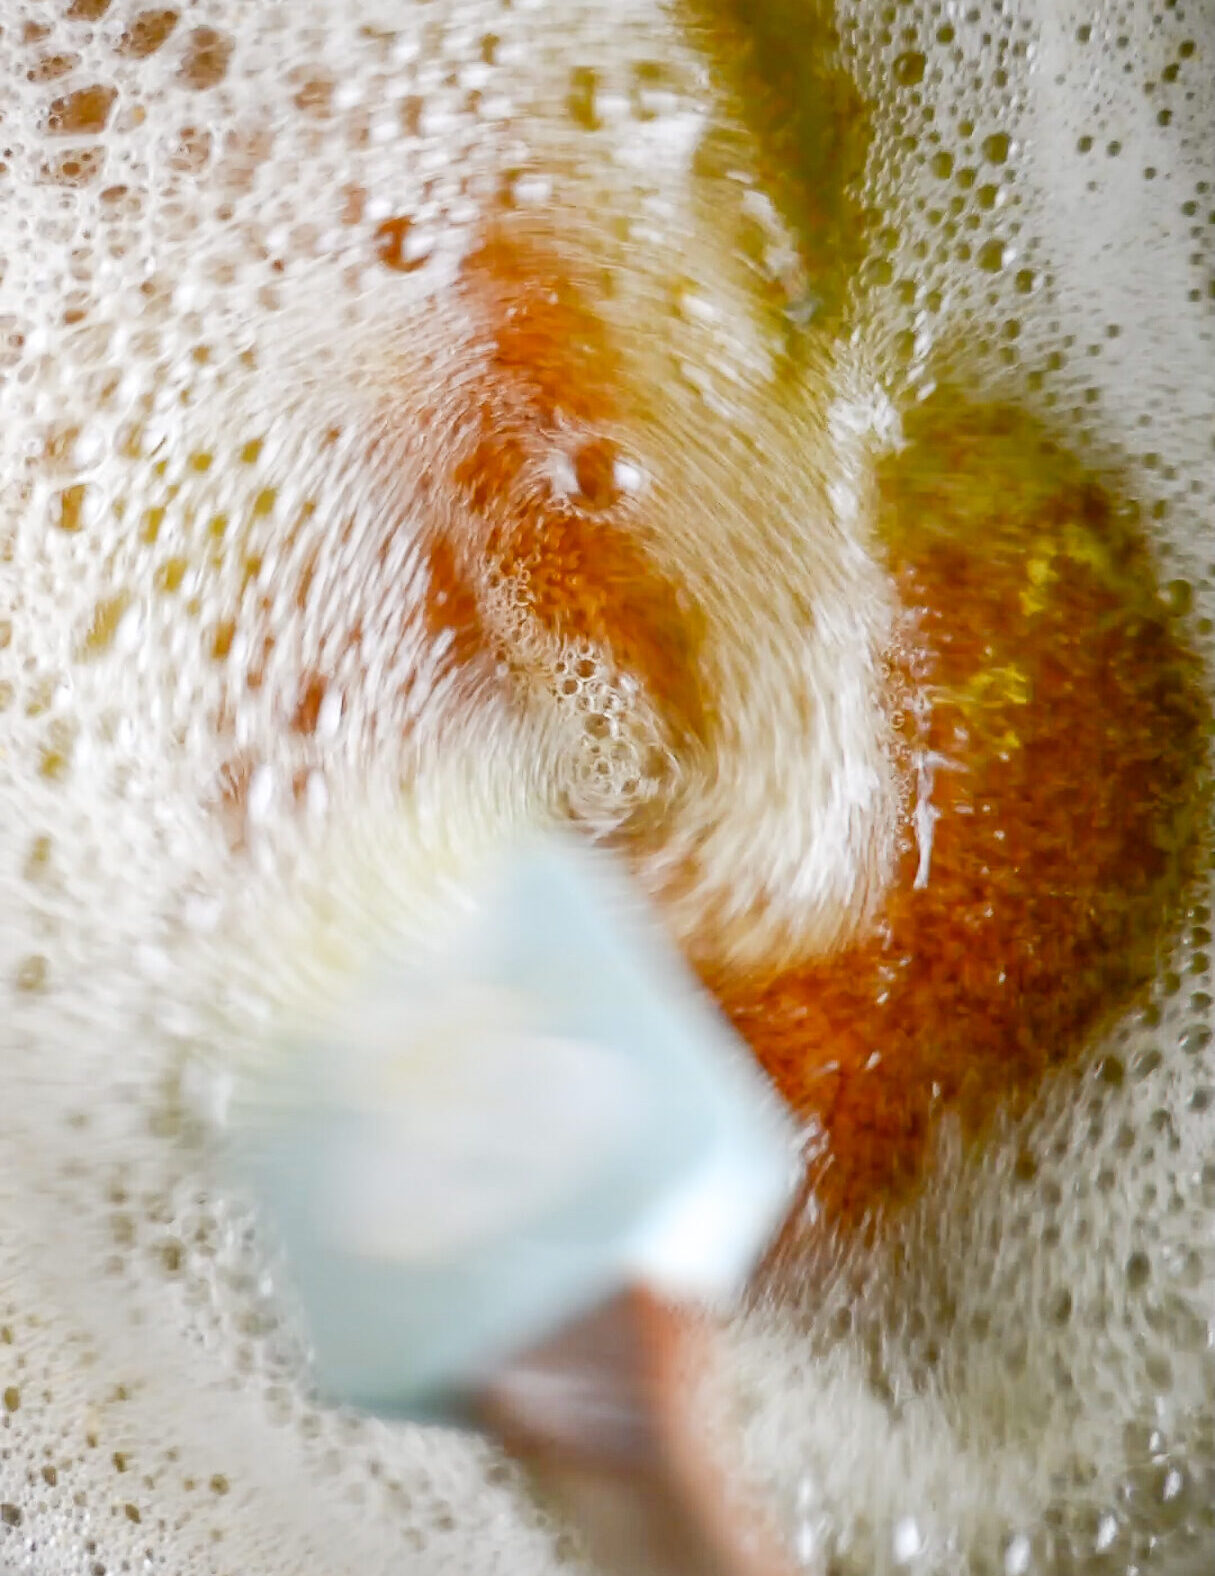
- Over medium heat, melt your butter in the stainless pan, gently mixing with spatula to ensure even heating. There will be some foam as the butter melts. this is normal.

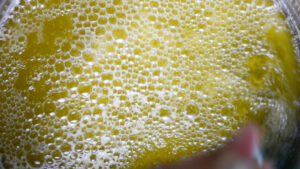
- Continue heating and stirring. As the water content of the butter starts to evaporate foam will subside as larger bubbles appear. At this time the butter will start sputtering/popping due to this evaporation process.
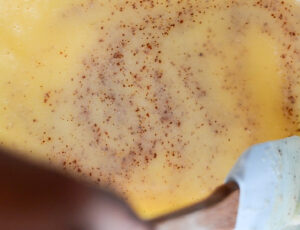
- Once the water content has evaporated you should be able to see the milk solid separated in the pan. It may look like sand at the bottom of the pan
- Continue to heat the butter and stir. Focus on preventing the milk solids from sticking to the bottom of the pan by continually scraping your spatula across the bottom of the pan in different directions to ensure that no spots are missed.
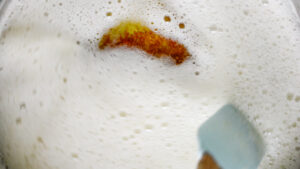
- At this point, your butter would have started to brown and a foam may start to reappear. Once you first notice any deepening in color you are about a minute away from your final stage. Continue stirring to help clear foam & visualize browning stage and to ensure even caramelization.
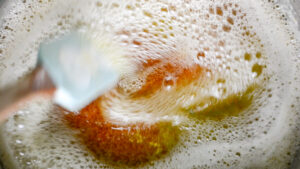
- Remove pan from heat once you notice a deep caramel-like tone to milk solids. The more you make browned butter, you'll get accustomed to how quickly the butter gets to your desired stage with your equipment. Keep in mind that a darker color also means a more aromatic, nuttier and deeper flavor. You can brown the butter for a shorter or longer period depending on the specific depth of flavor you are looking for but keep in mind that too long can mean burnt, bitter butter so it may take some practice (and self-confidence) to get it to the extra deep brown stage (just before it would burn)
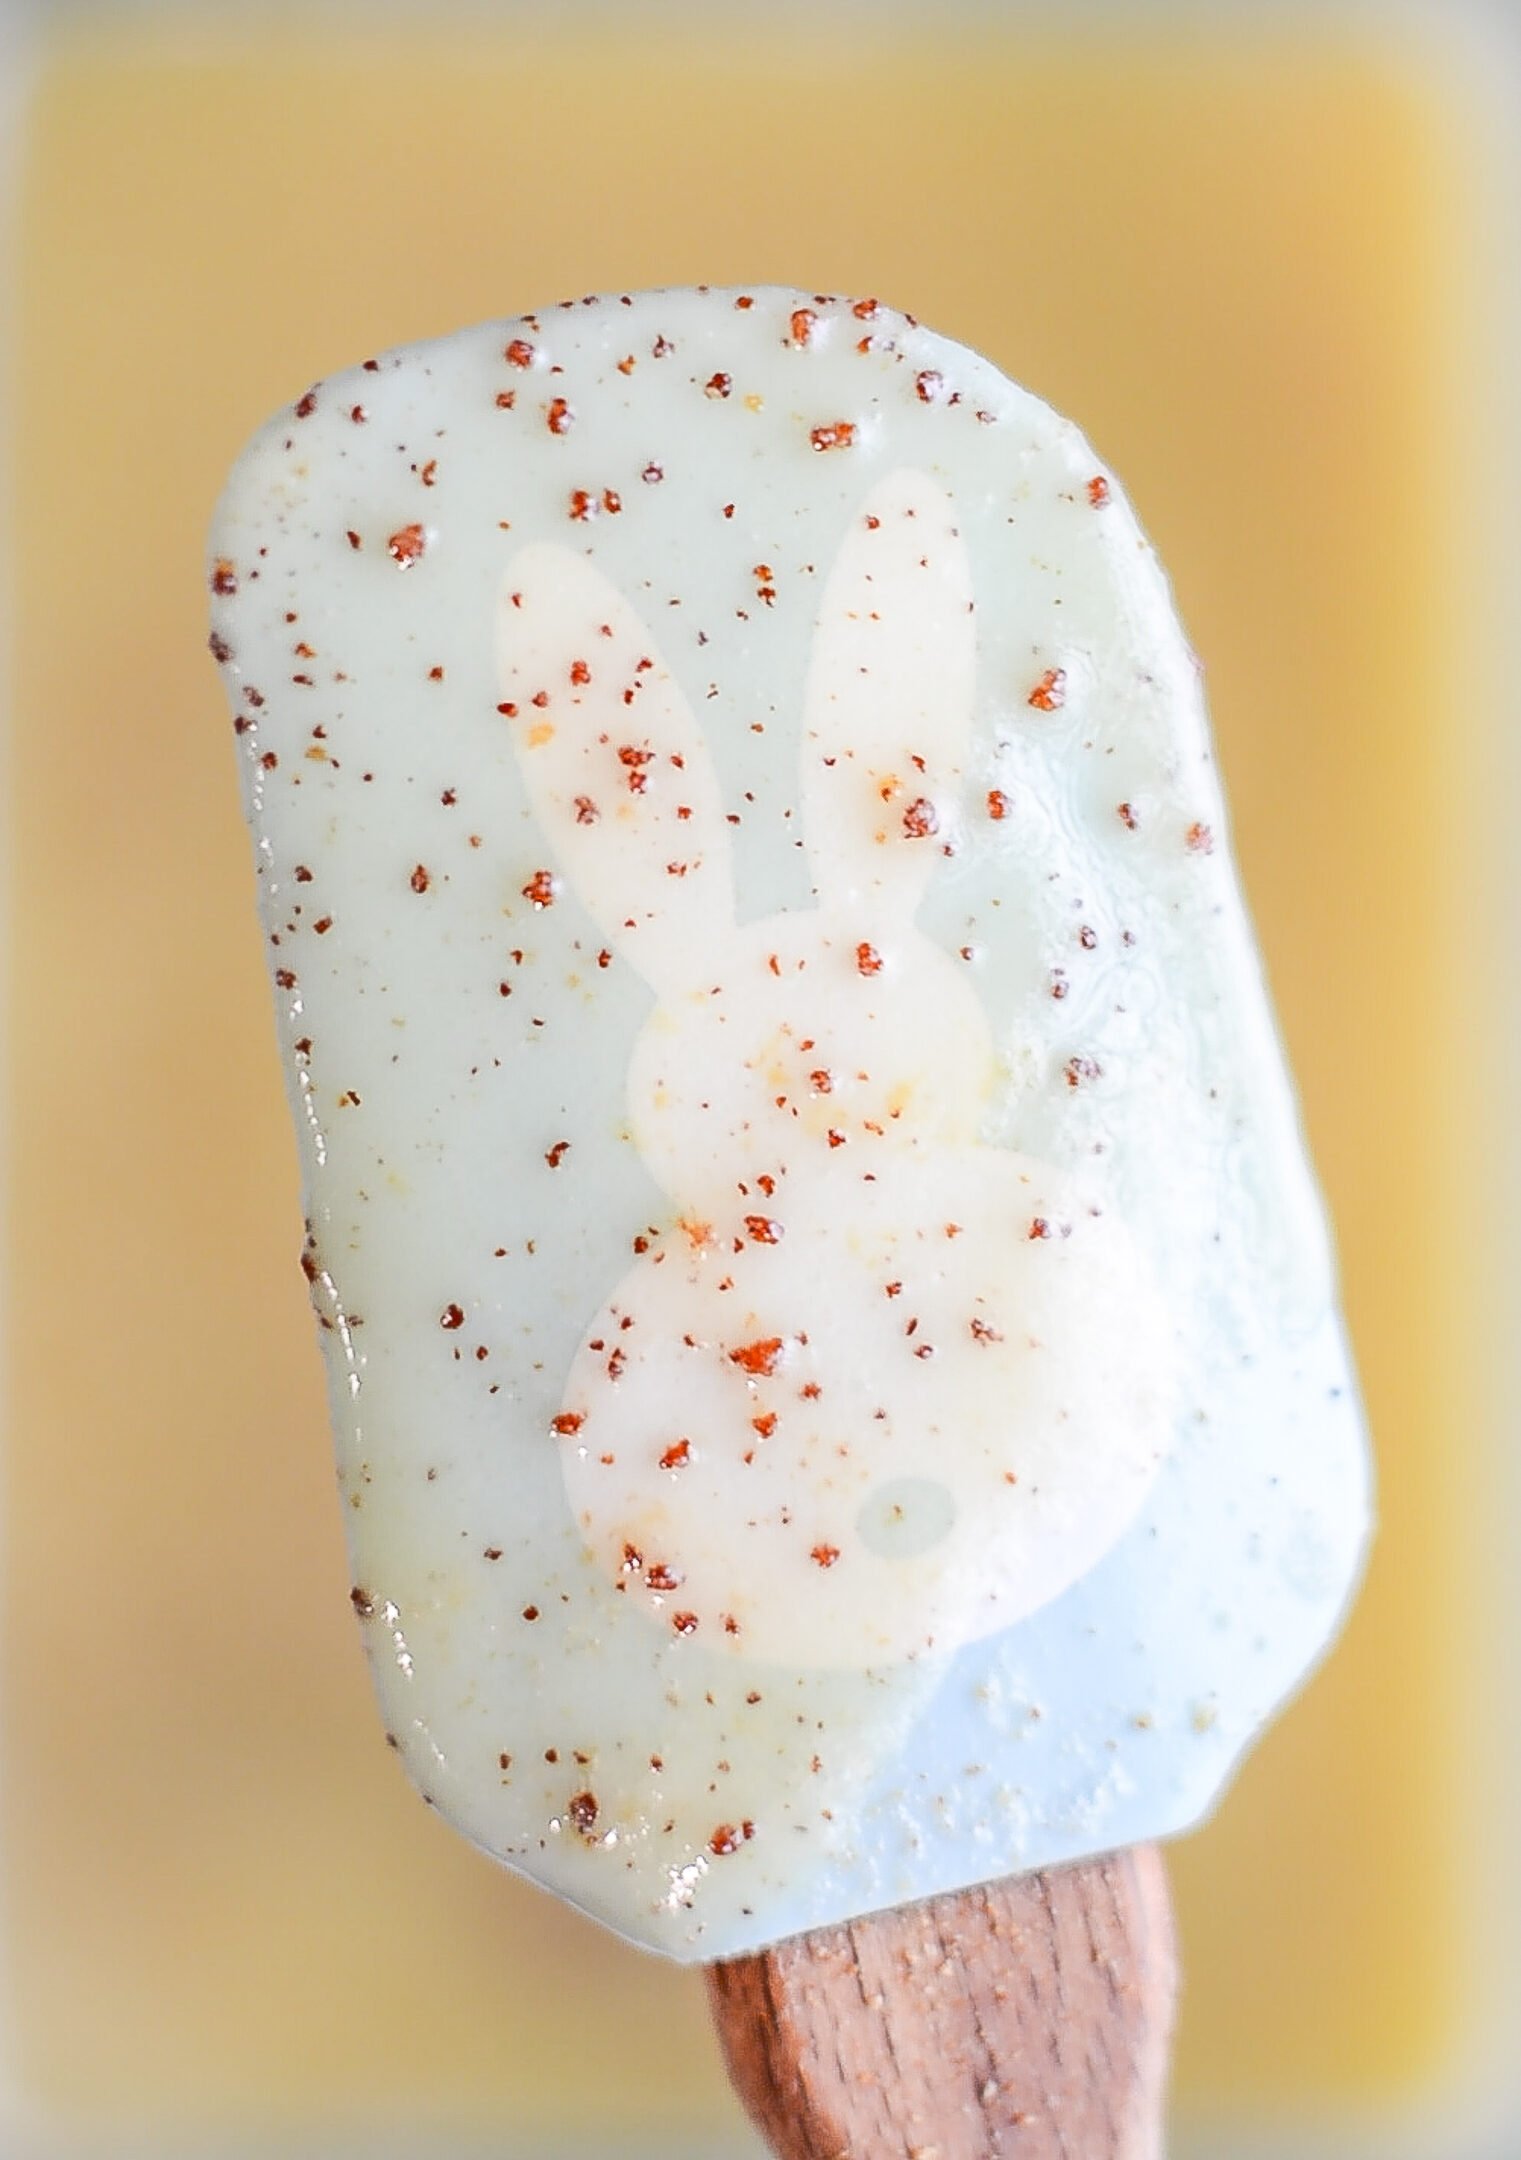
- Transfer your butter to your heat-resistant bowl making sure to scrape any lingering milk solids lingering at the bottom of the pan (this is where the flavor lives!)

- Butter can be used immediately if called for in a recipe. Otherwise, allow it to cool then once thickened, mix to evenly distribute settled milk solids throughout butter.

- Cover and store in refrigerator for up to 10 days for best flavor!