
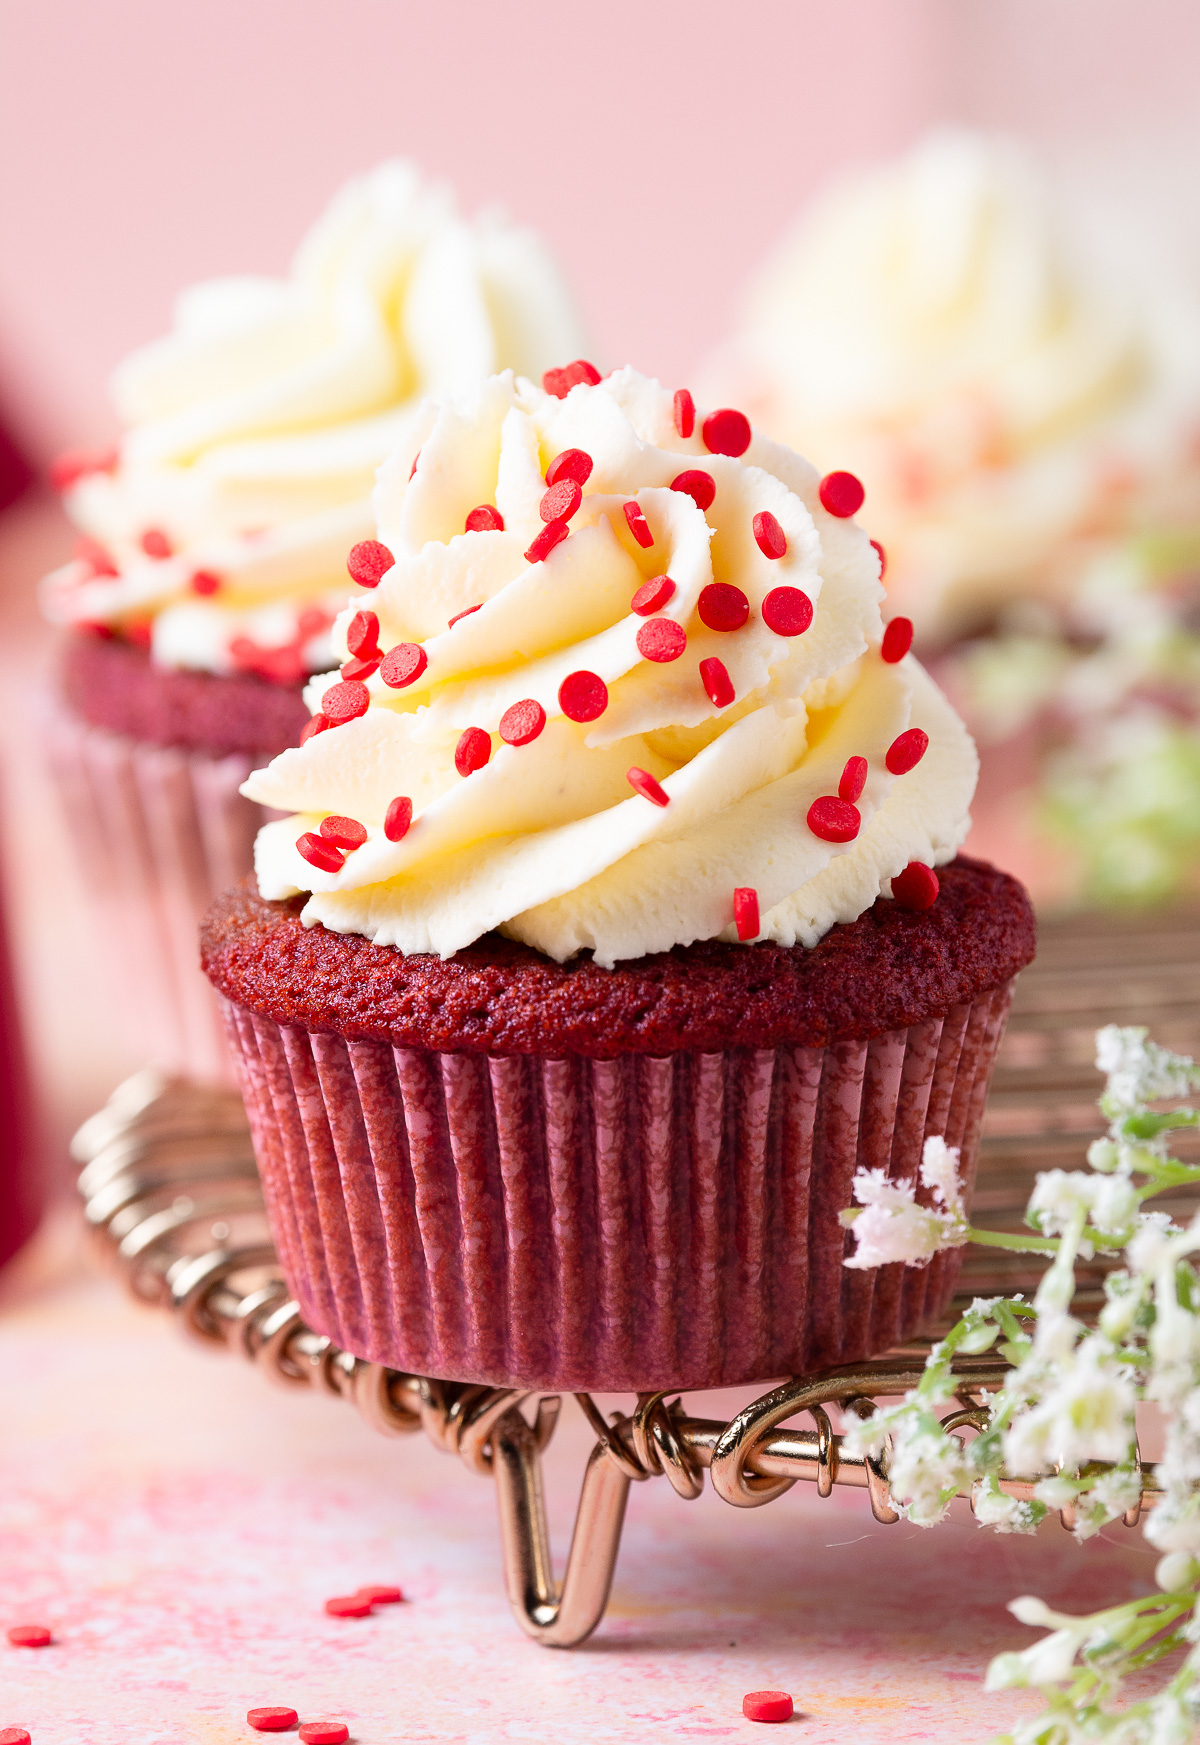
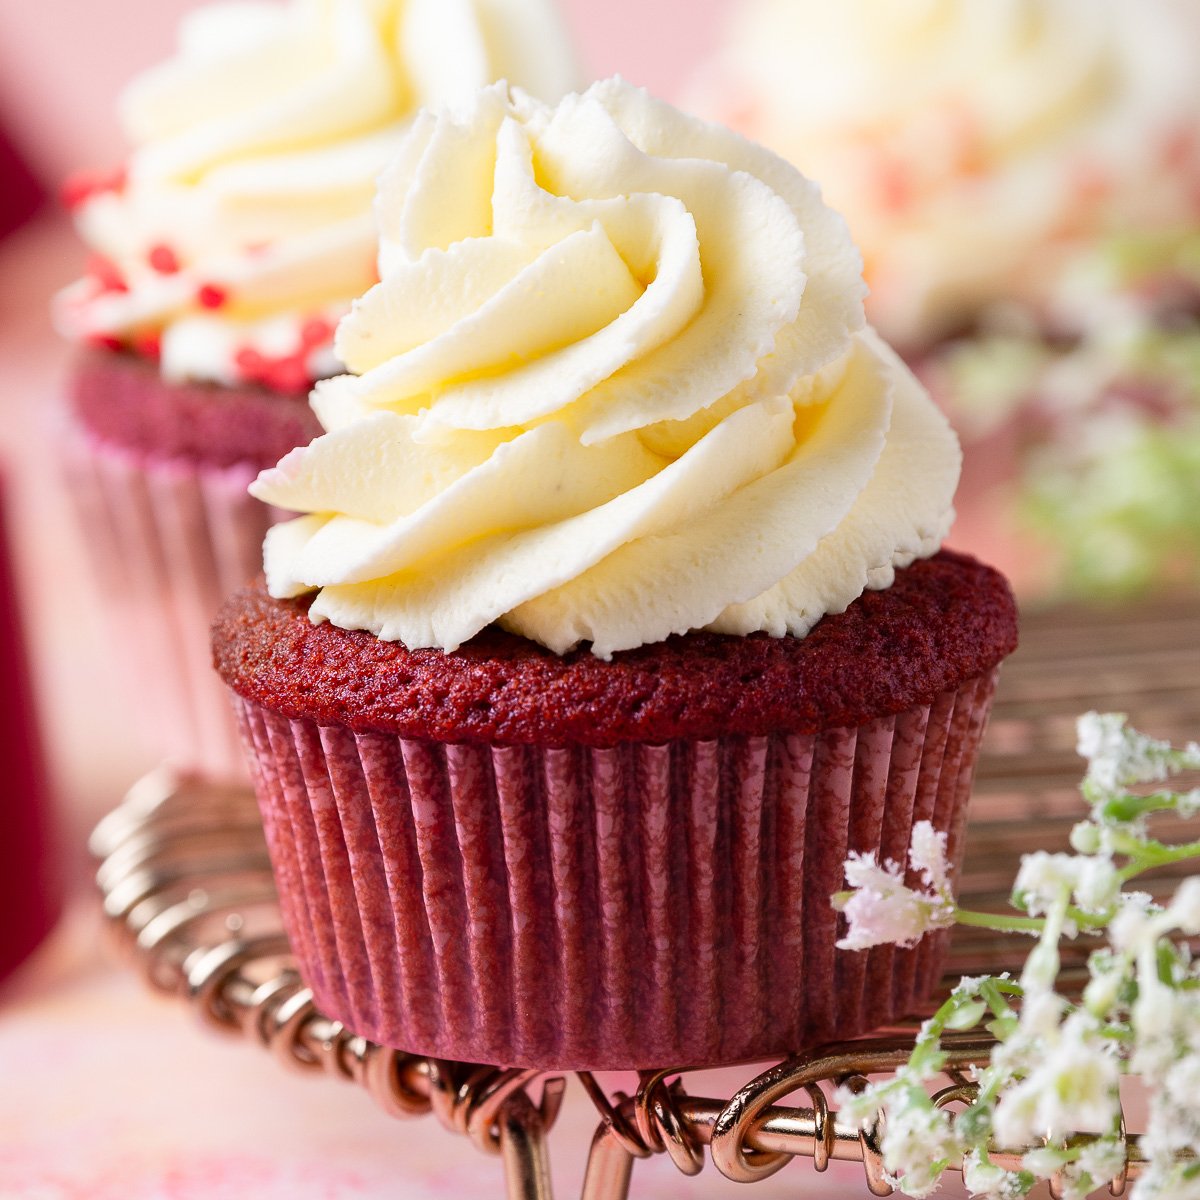
Easy Red Velvet Cupcakes with Cream Cheese Frosting
These easy red velvet cupcakes are super moist and pack in all the flavor of classic red velvet cake without using buttermilk or vinegar! Best of all, this classic dessert is ready to serve in under an hour! Topped with a stable cream cheese frosting that's easy to pipe.
Swapping traditional buttermilk for sour cream makes these cupcakes super moist, and the lemon juice gives a smoother tang than vinegar, but what really makes these the best red velvet cupcakes is the addition of coconut extract! The subtle coconut flavor complements the cocoa powder, and you can even use coconut flakes to decorate your red velvet cupcakes.
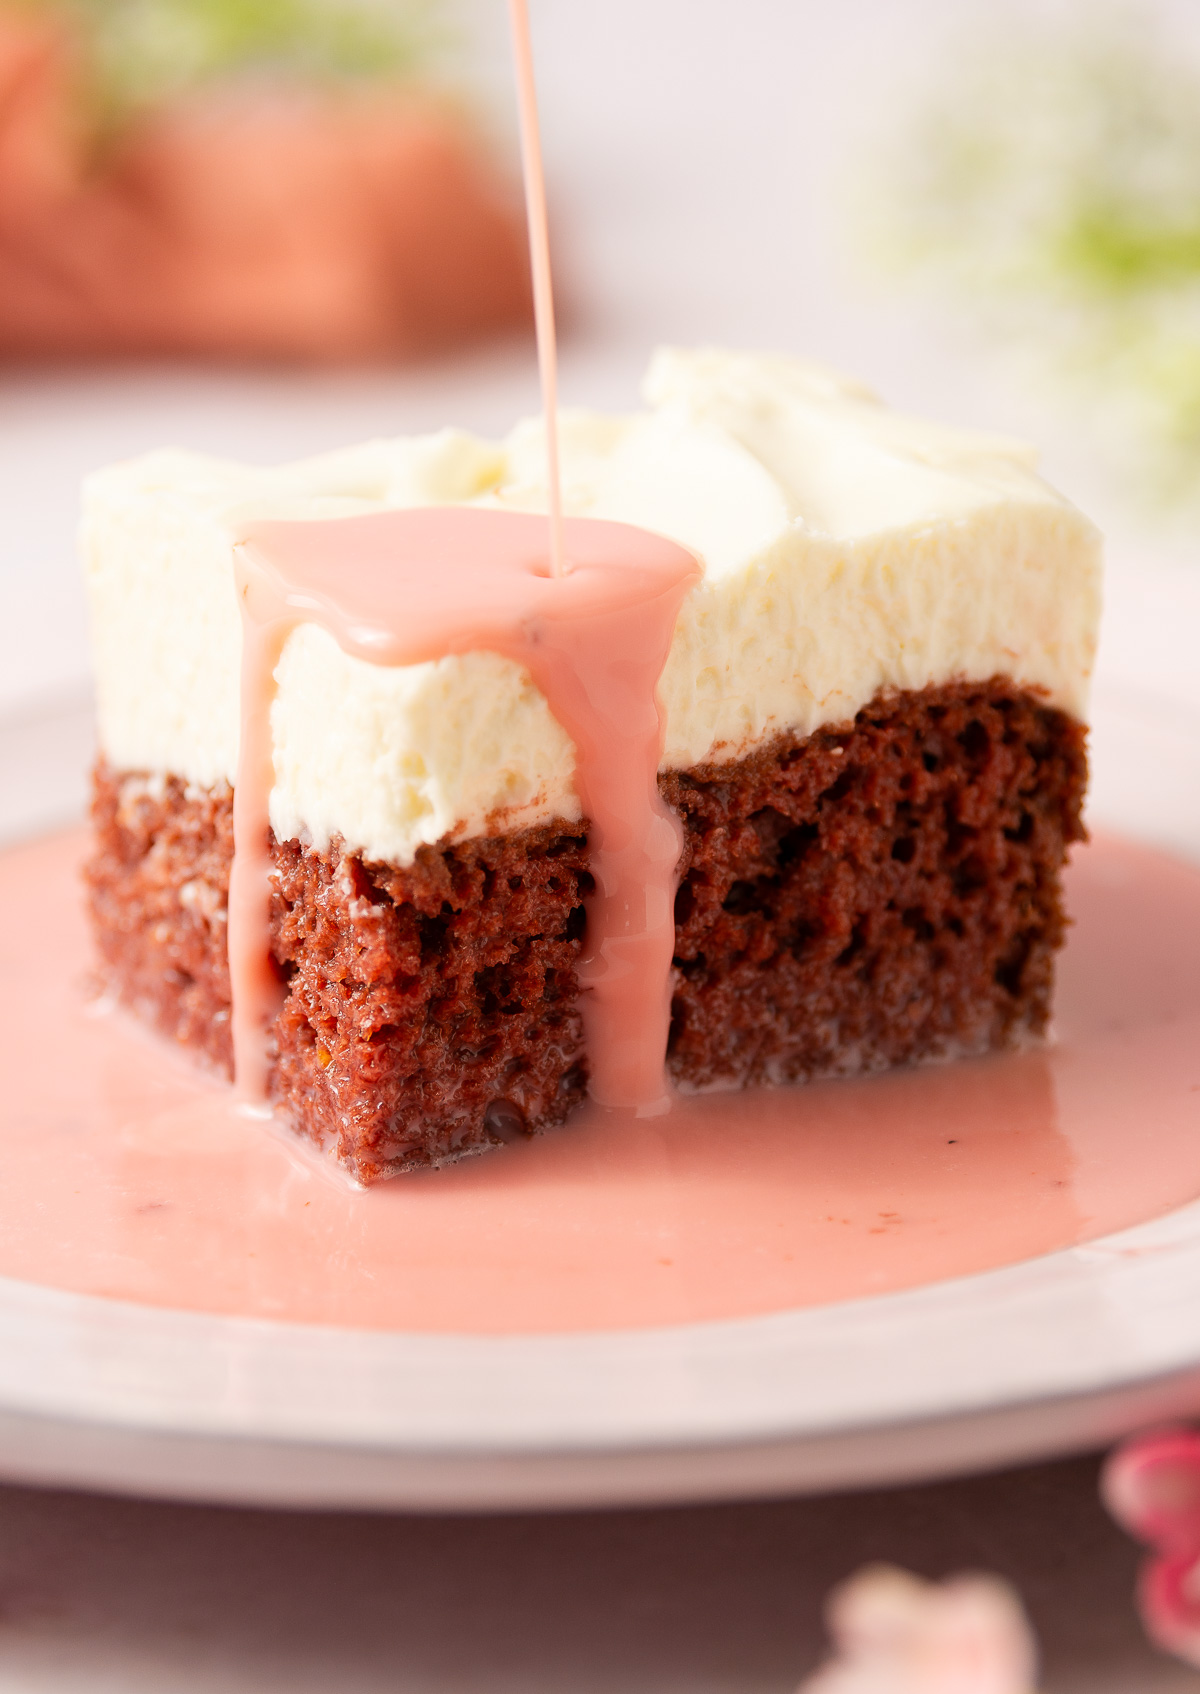
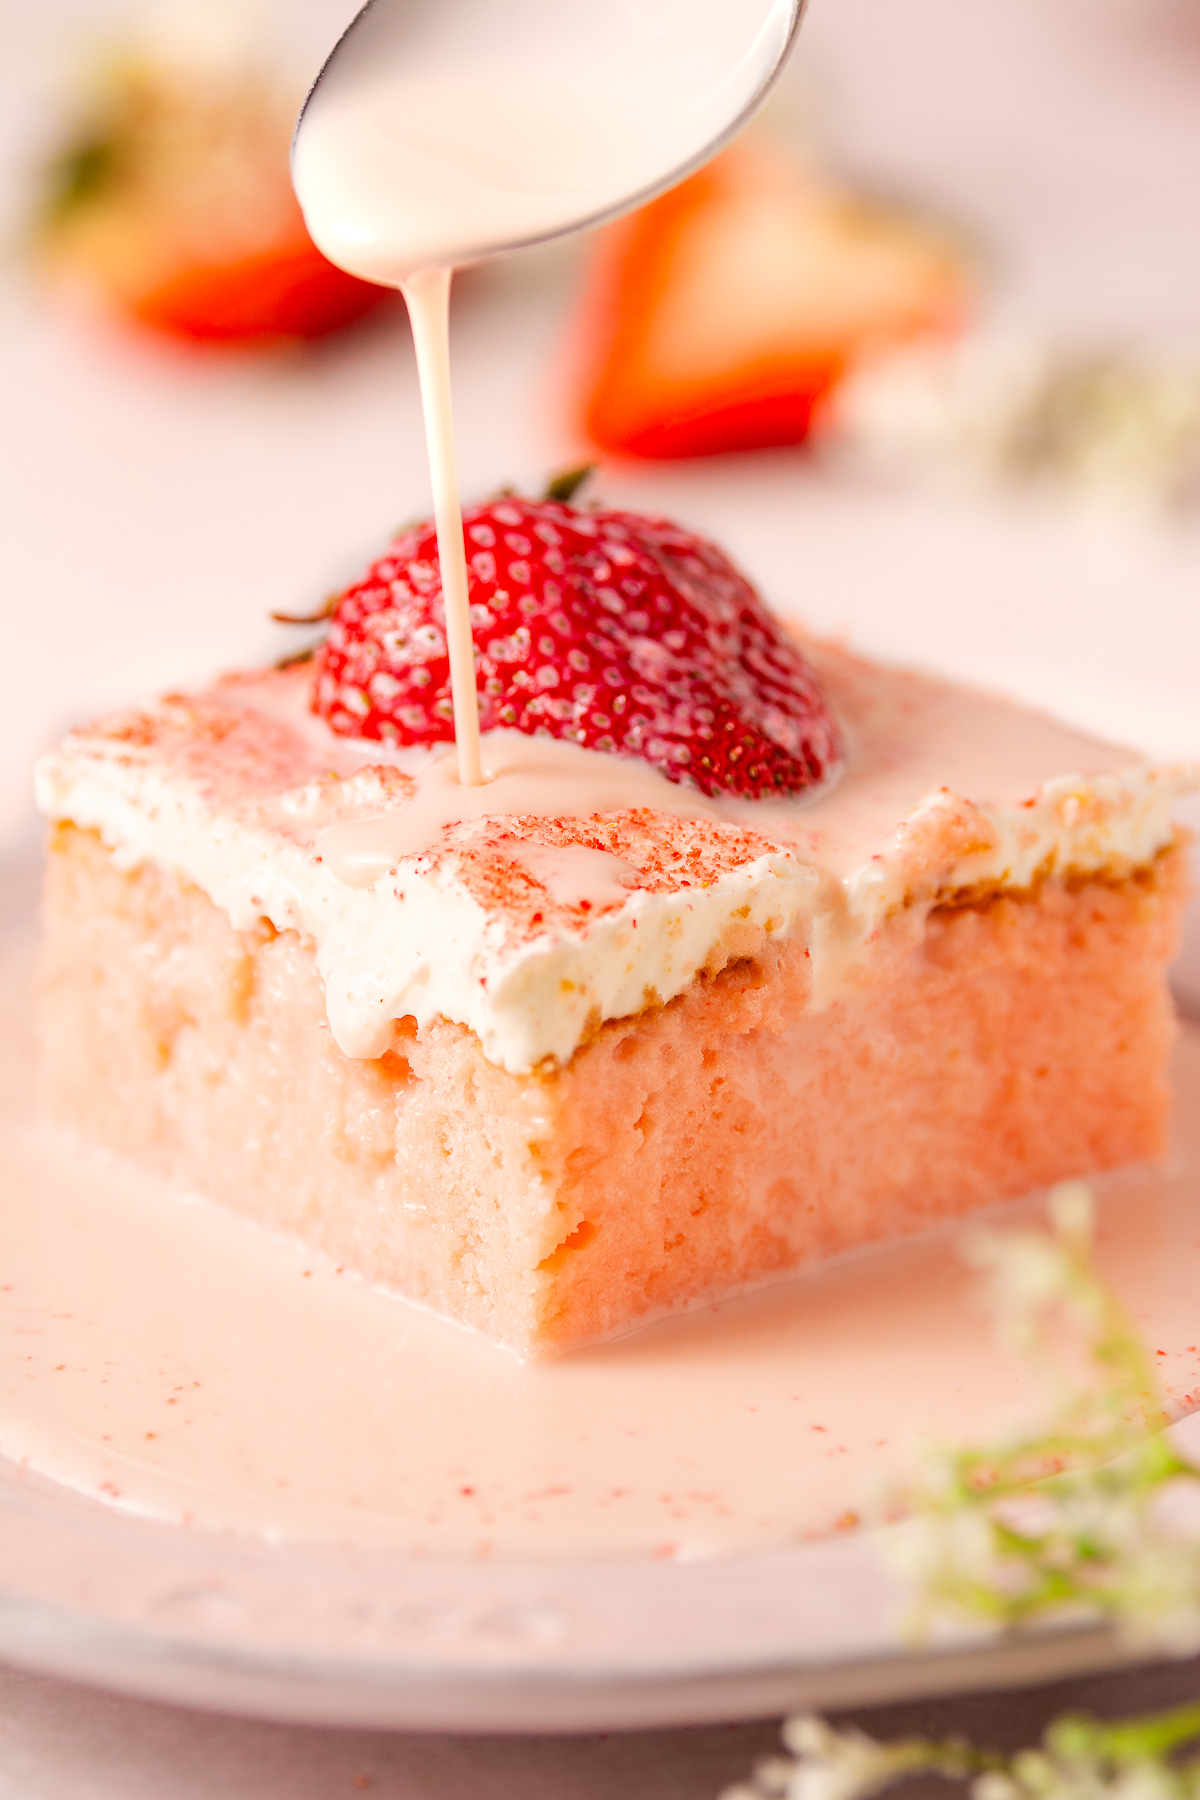
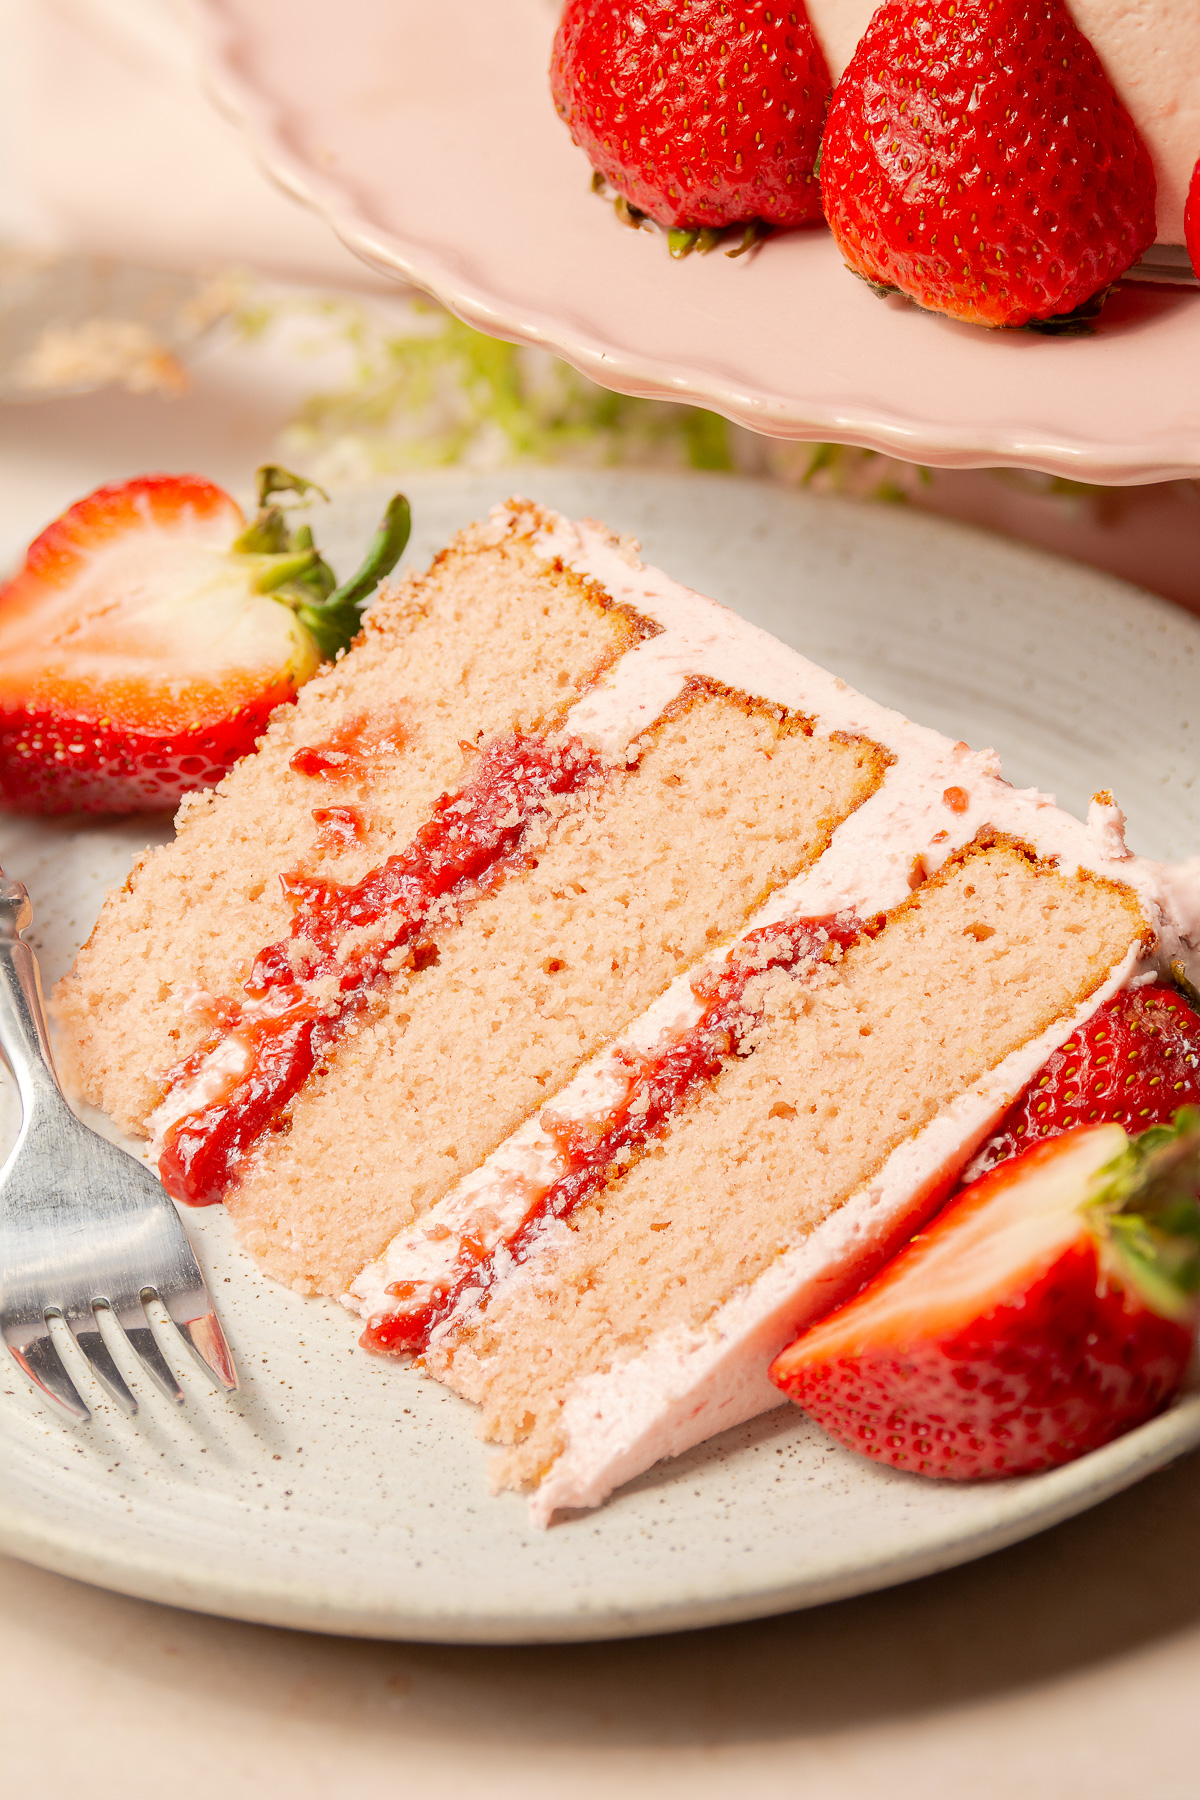
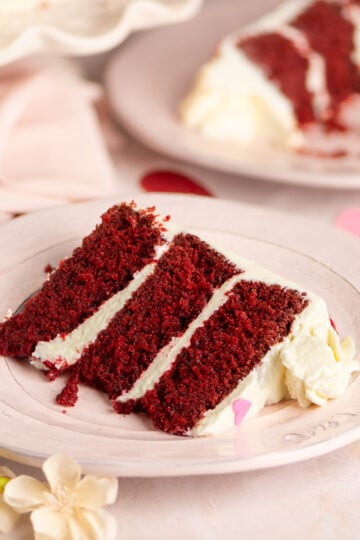
Whether you're looking for a classic red velvet cake recipe for Valentine's Day treats, Juneteenth dessert recipes, or just an easy but fancy dessert, these are the best red velvet cupcakes you can make! If you love these cupcakes, you'll love my red velvet tres leches cake and my classic red velvet layer cake recipe!
Recipe Overview: Easy Red Velvet Cupcakes with Cream Cheese Frosting
✅ Recipe Name: Easy Red Velvet Cupcakes with Cream Cheese Frosting
🕒 Ready to Serve In: 40 minutes
👪 Serves: 18
🍽 Calories: 320 calories per serving (estimated)
🥣 Main Ingredients: flour, cocoa powder, sour cream, lime juice, cream cheese, and mascarpone cheese
👌 Difficulty: Easy. A beginner-friendly baking recipe!
SUMMARIZE AND SAVE THIS CONTENT ON
Why You'll Love These Cupcakes
- You can make these red velvet cupcakes without buttermilk! Cultured buttermilk can be hard to find, so this recipe uses a combination of sour cream and lemon juice.
- It's a fast dessert recipe! From mixing and baking to frosting, these red velvet cupcakes with cream cheese frosting are ready in under an hour.
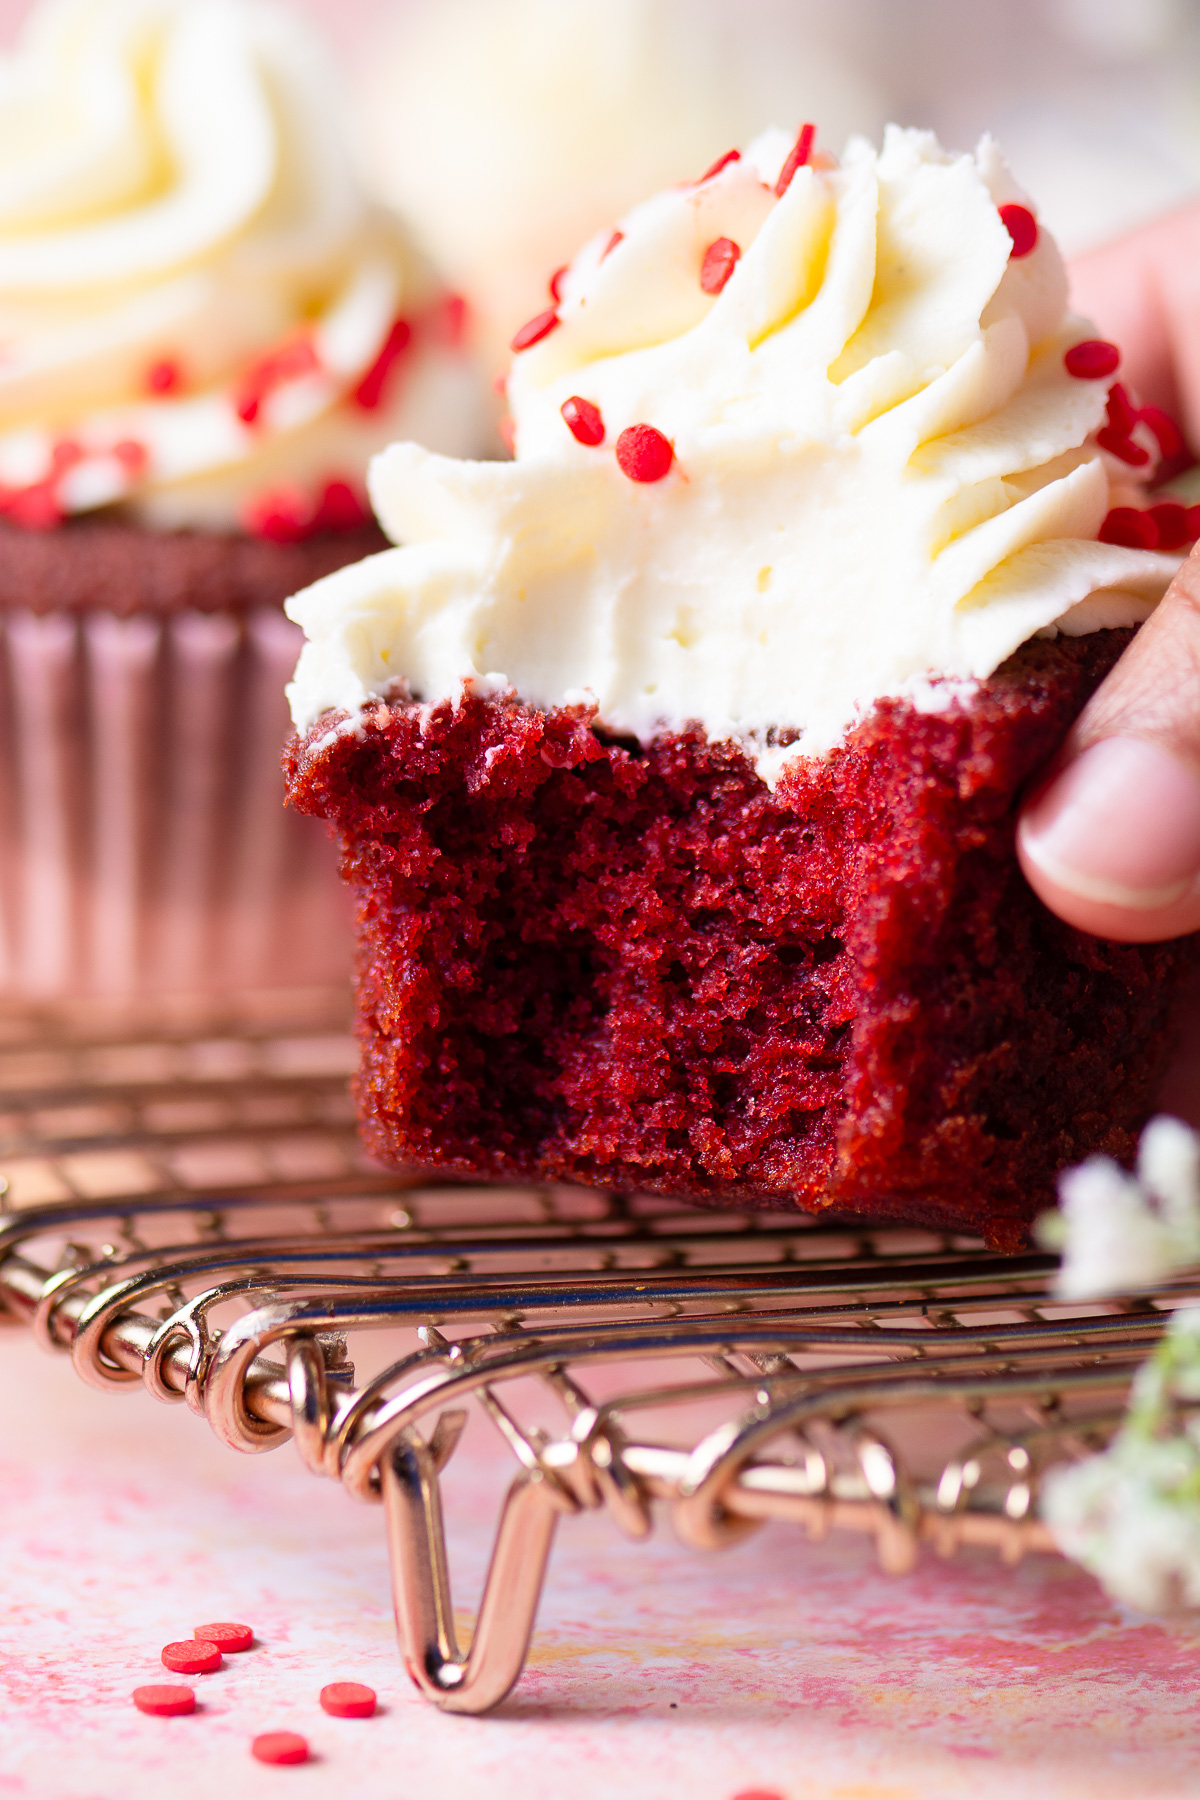
- They stay soft even when cold, thanks to the oil in the recipe.
- They're a low-effort but fancy dessert! This is a perfect cake recipe for beginners to impress guests.
Jump to:
- Recipe Overview: Easy Red Velvet Cupcakes with Cream Cheese Frosting
- Why You'll Love These Cupcakes
- Key Ingredients
- How to Make Red Velvet Cupcakes with Cream Cheese Frosting
- Frequently Asked Questions
- Expert Cupcake Tips
- Valentine's Day Recipes You'll Love
- Easy Red Velvet Cupcakes with Cream Cheese Frosting
Key Ingredients
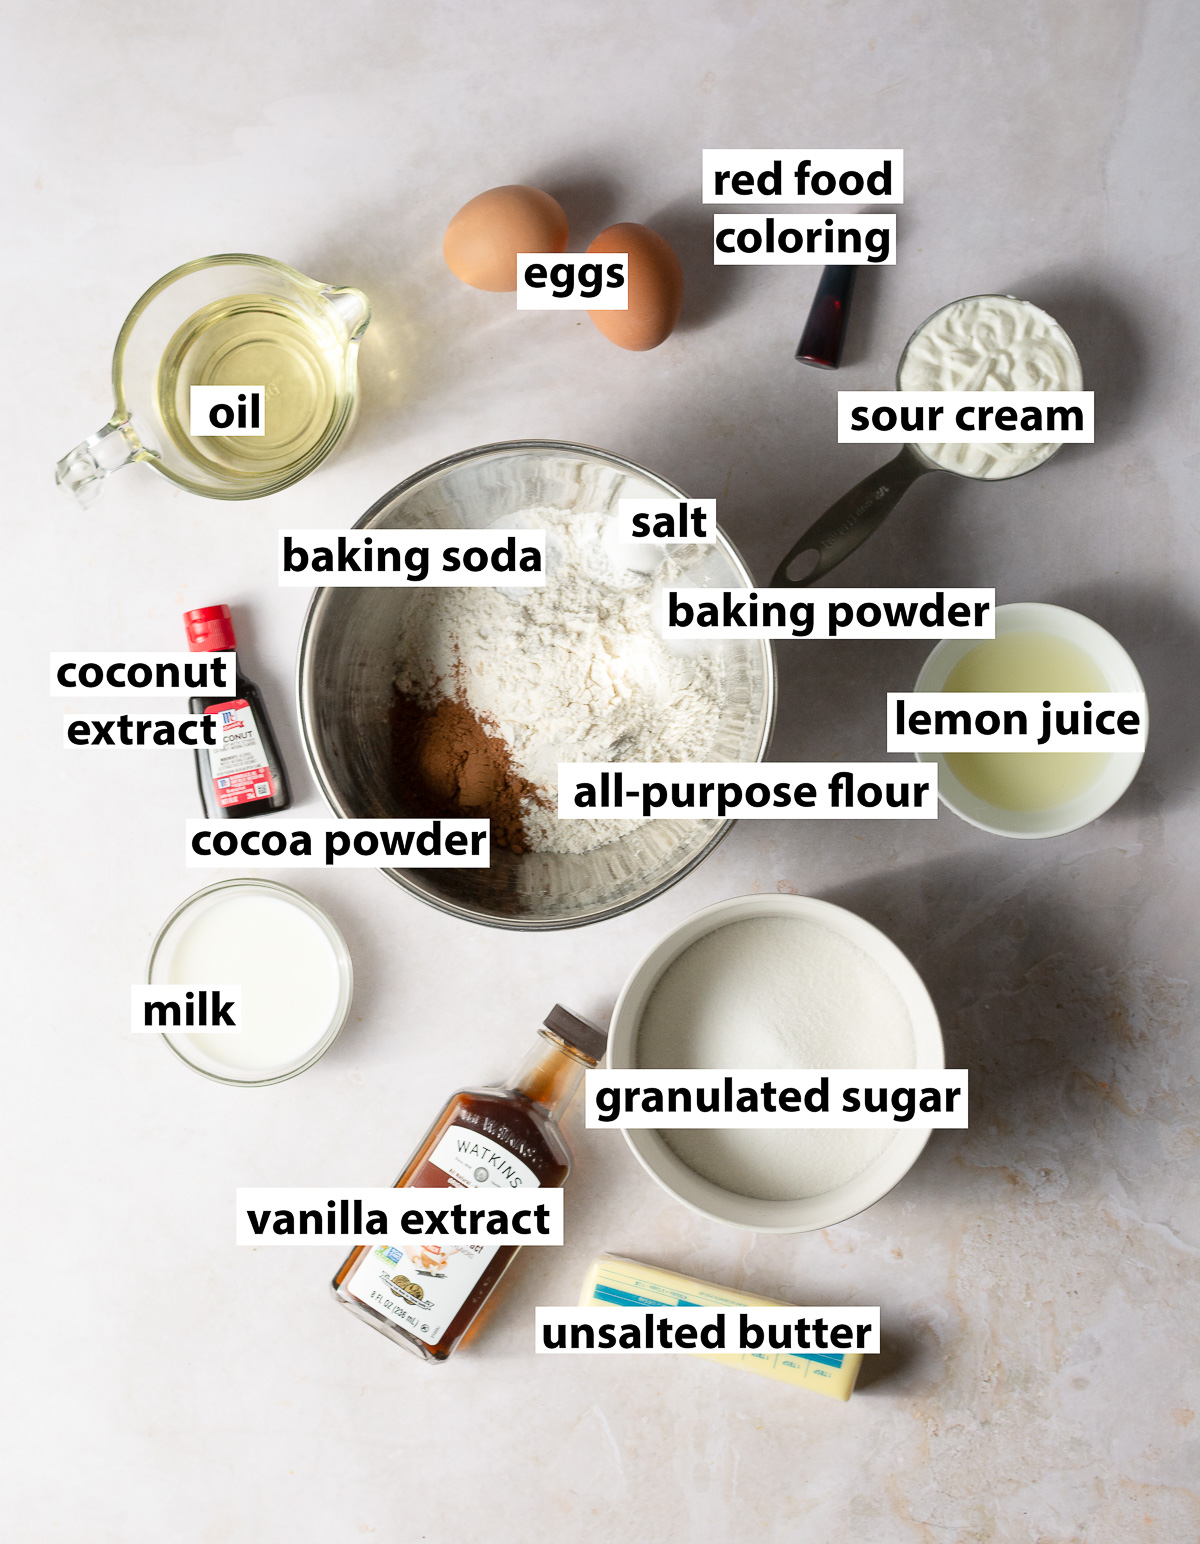
All-purpose flour. The sour cream, cocoa powder & lemon juice are all acidic ingredients that help tenderize the crumb of this red velvet cake, so there's no need for cake flour.
Sour cream. Used as a buttermilk replacement in this recipe since cultured buttermilk can be difficult to find
Cocoa powder. Keep things simple with regular unsweetened cocoa powder.
Oil. Since the cupcakes need to be refrigerated, oil helps them stay soft even when cold. Opt for a neutral-flavored oil like canola or another vegetable oil.
Lemon juice. Used instead of traditional white vinegar for a smoother, tangy flavor with floral hints.
Coconut extract. Unconventional, but it complements the tangy flavor and the cocoa powder perfectly! Don't skip it.
How to Make Red Velvet Cupcakes with Cream Cheese Frosting
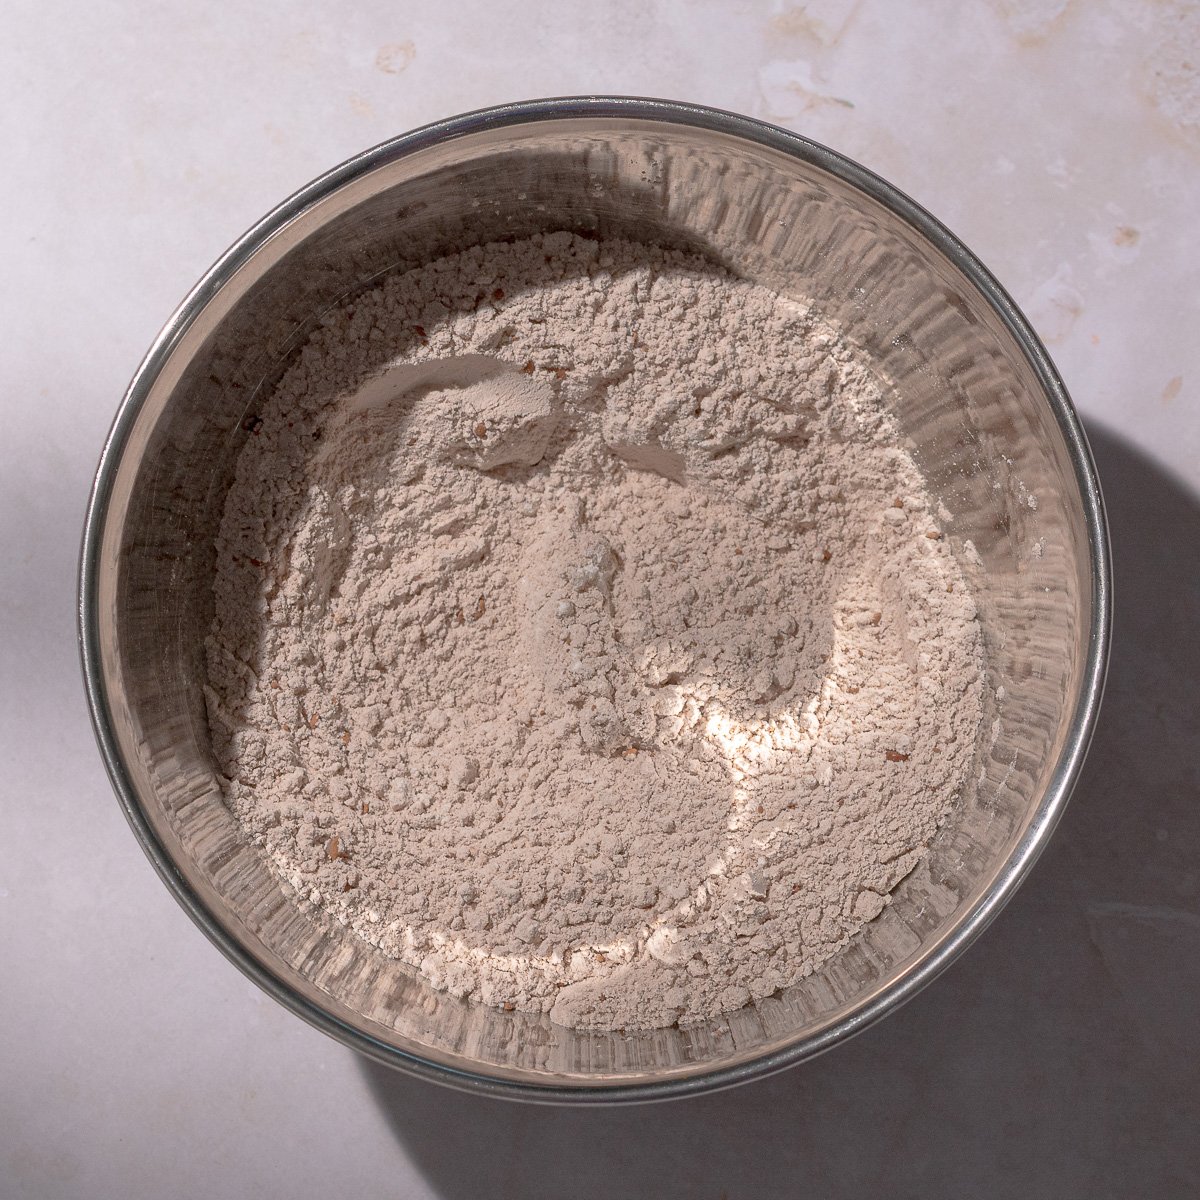
- Step 1: Combine all the dry ingredients in a bowl and set aside.
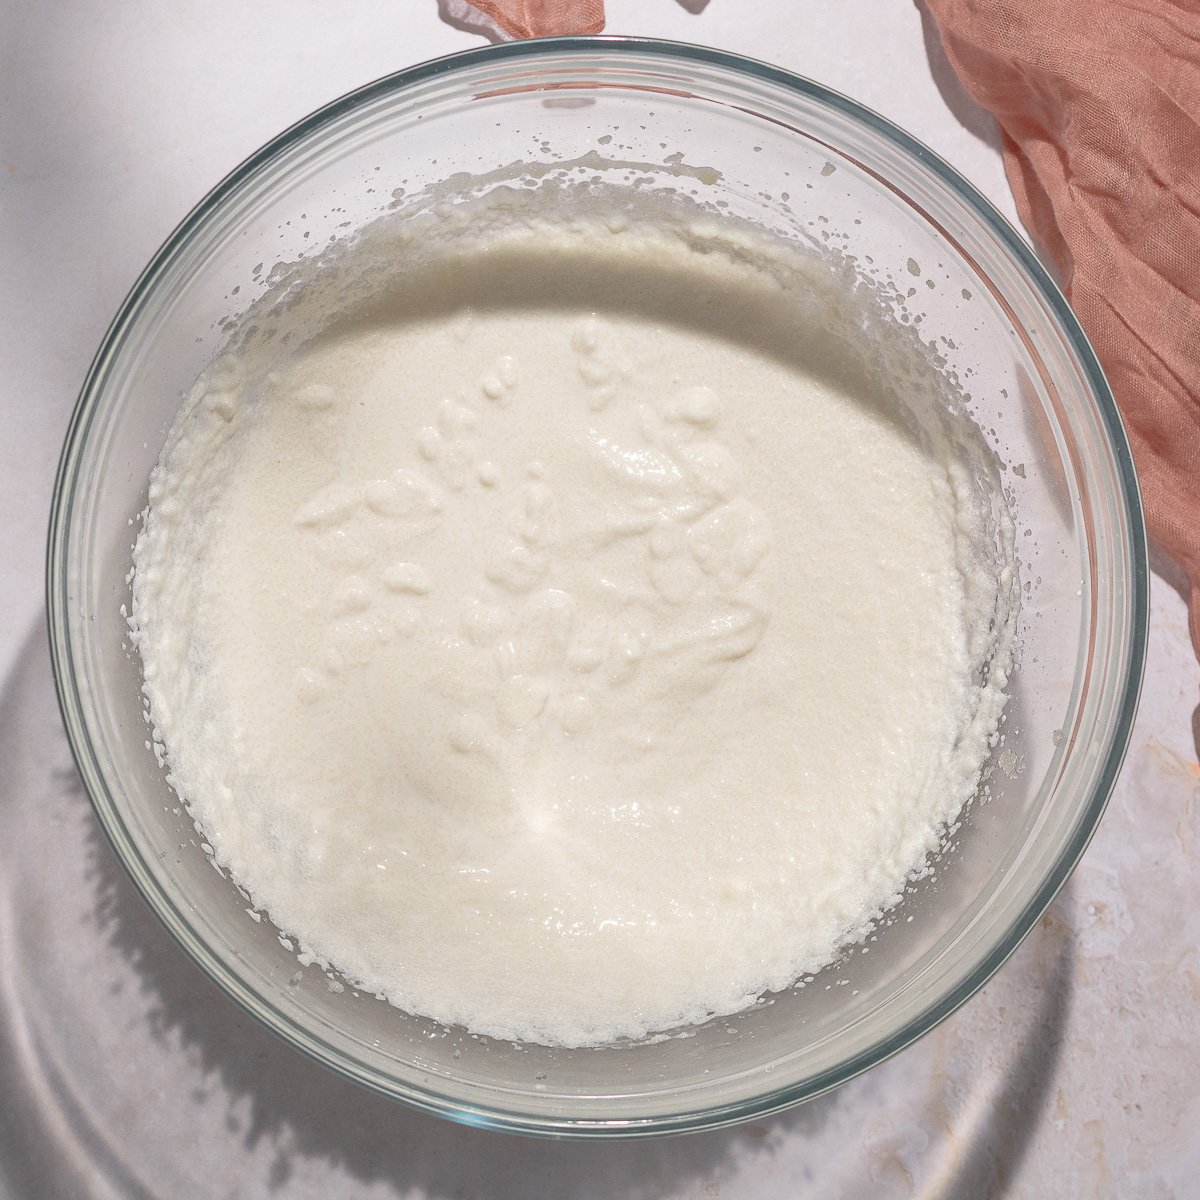
- Step 2: Cream the butter, oil, granulated sugar, vanilla extract & coconut extract together in a large mixing bowl until pale and fluffy.
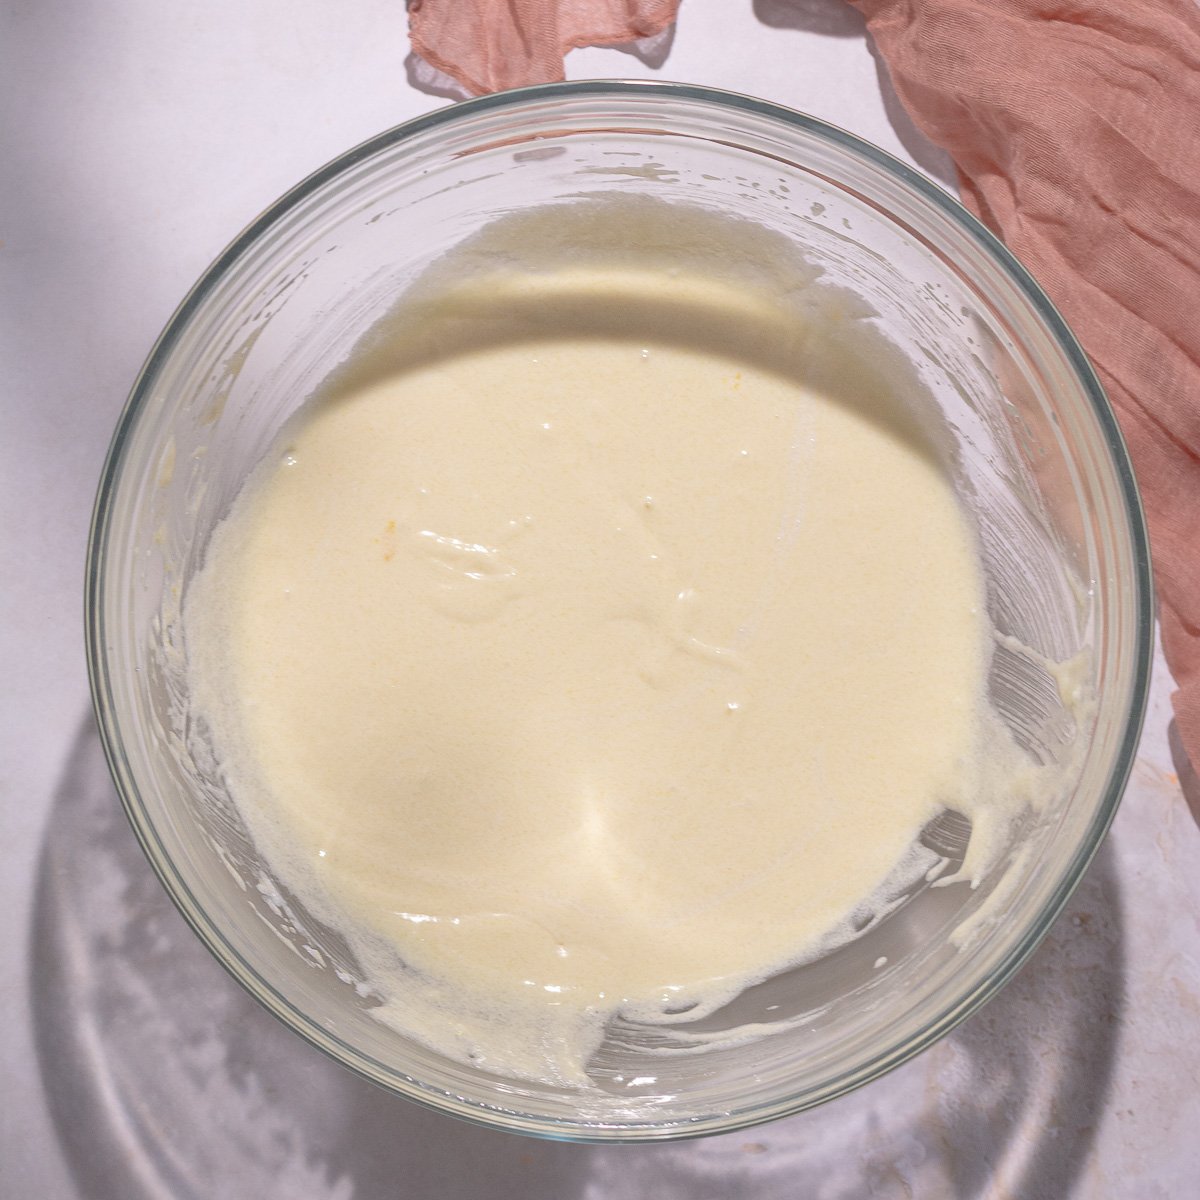
- Step 3: Add the eggs and mix again.
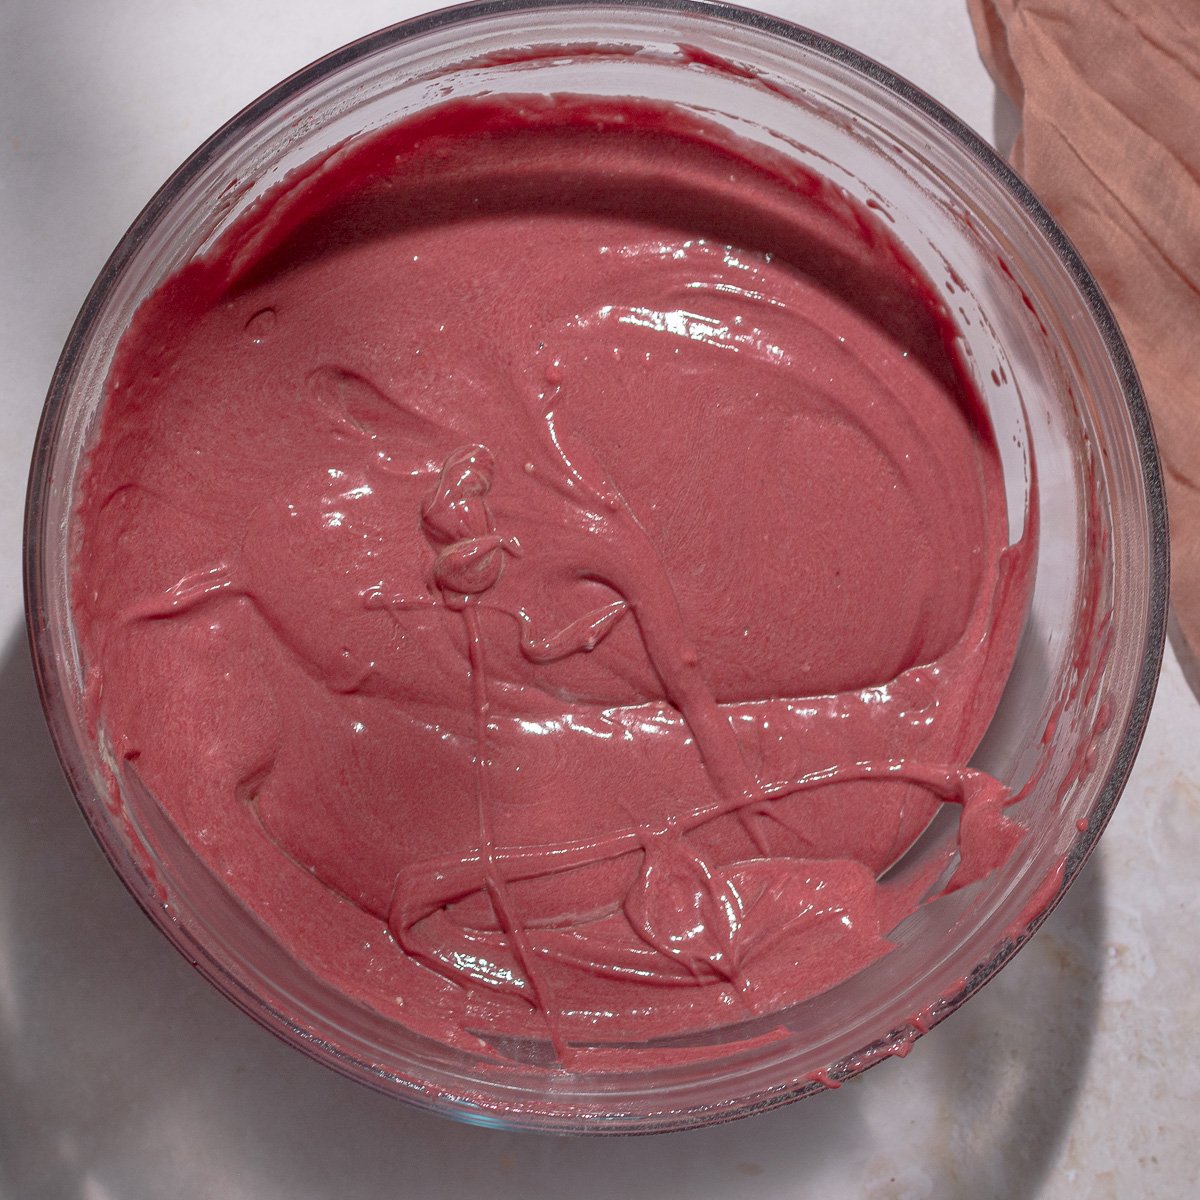
- Step 4: Add all the dry ingredients and all the wet ingredients and mix on low speed until combined.
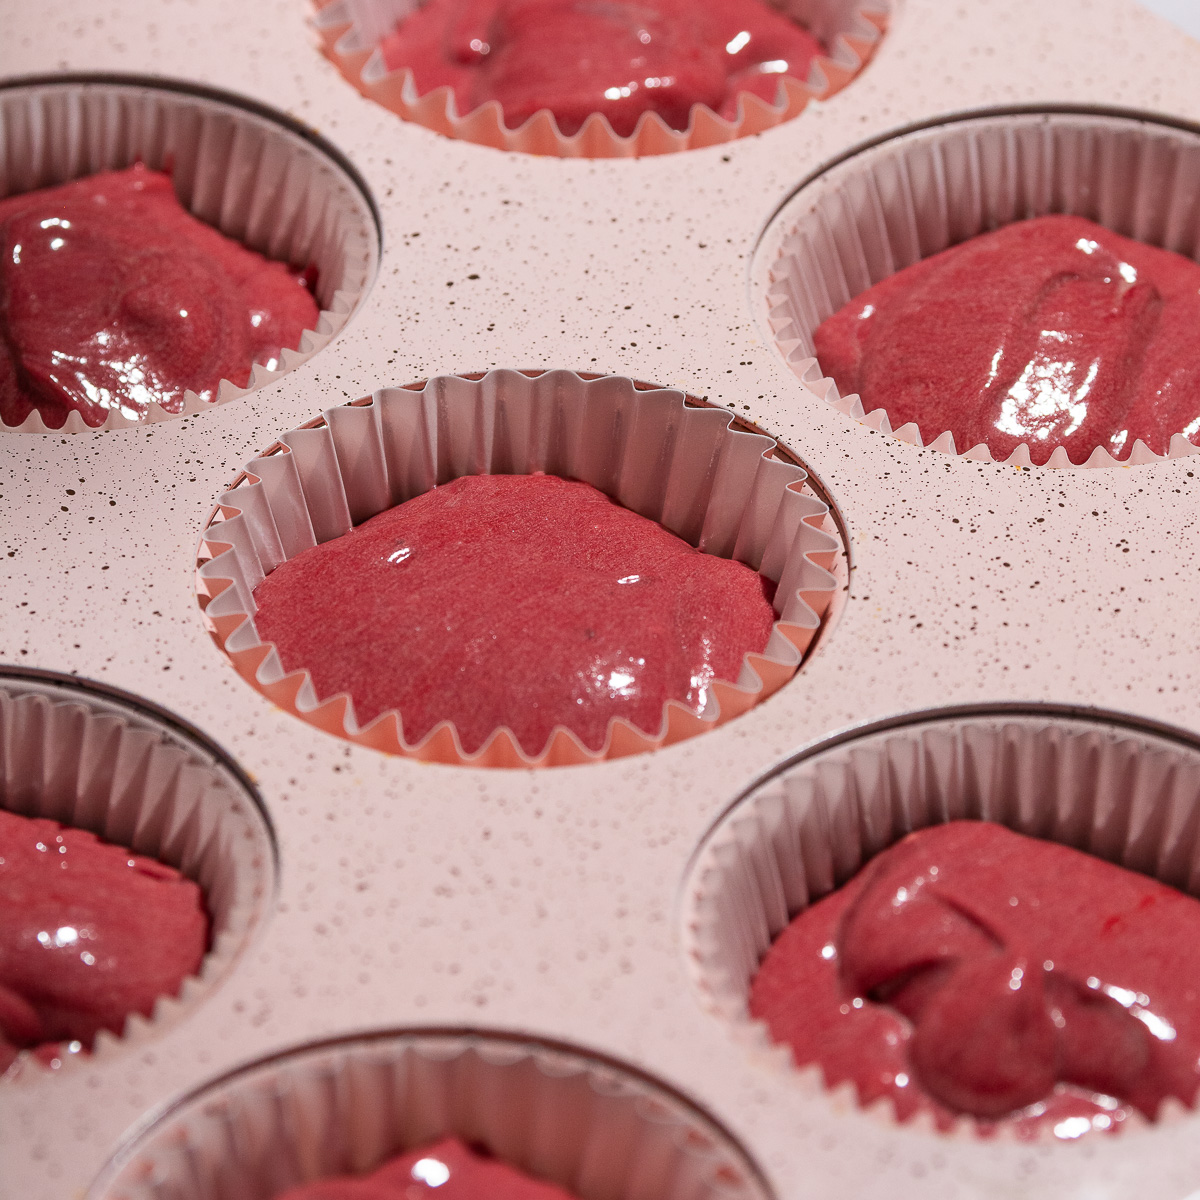
- Step 5: Scoop the red velvet cake batter into a lined cupcake pan, filling each ⅔ full. Bake at 400°F for 8-12 minutes.
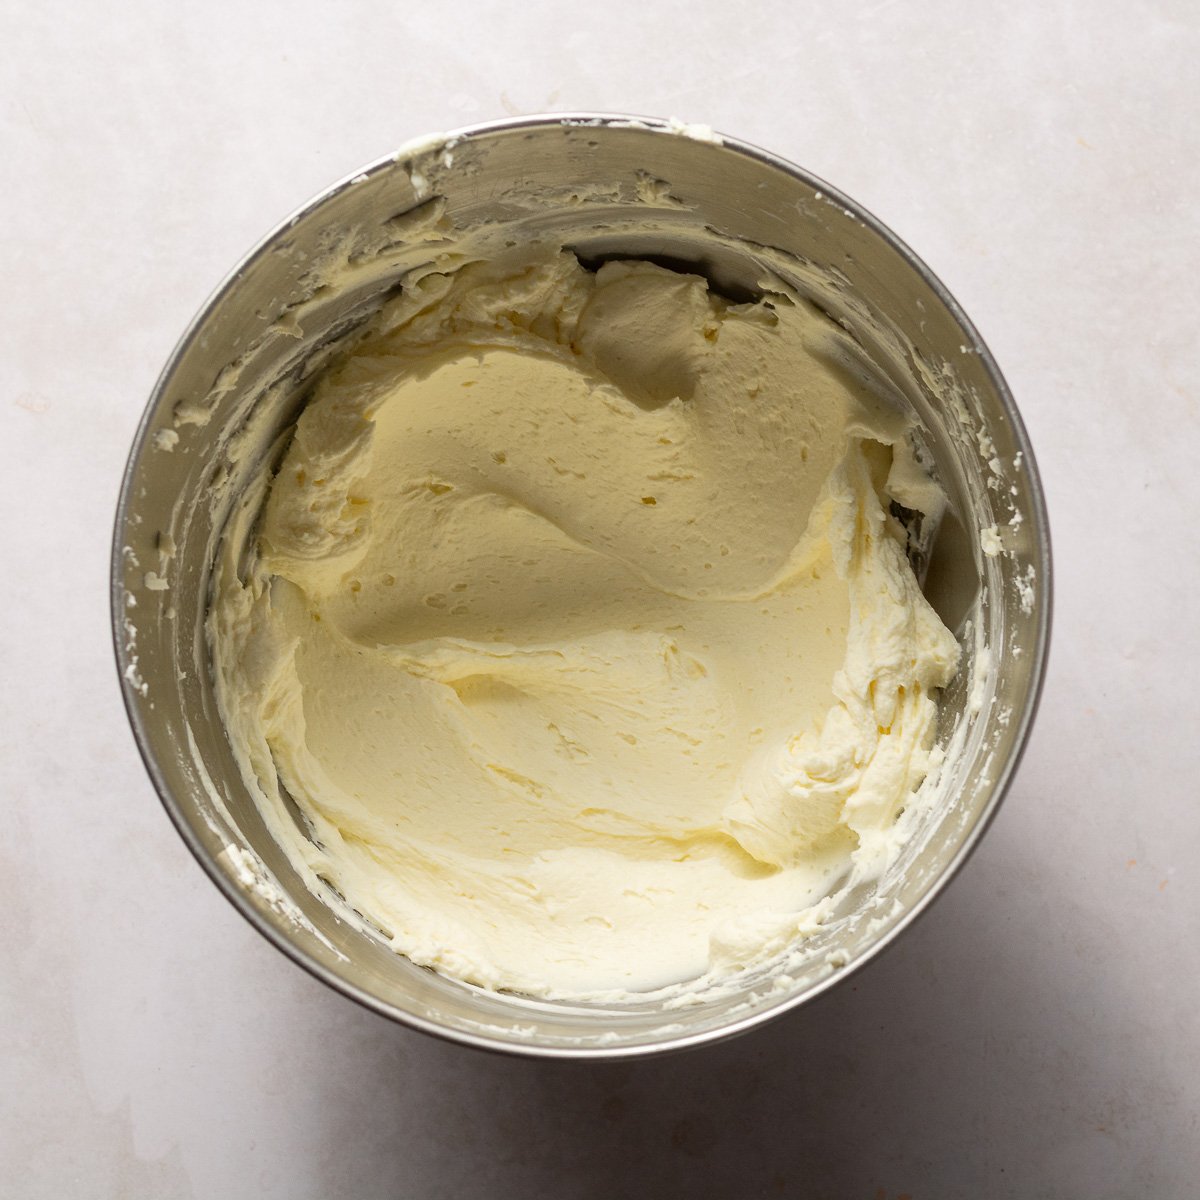
- Step 6: Make the cream cheese frosting. Beat the cream cheese and mascarpone cheese together until smooth.
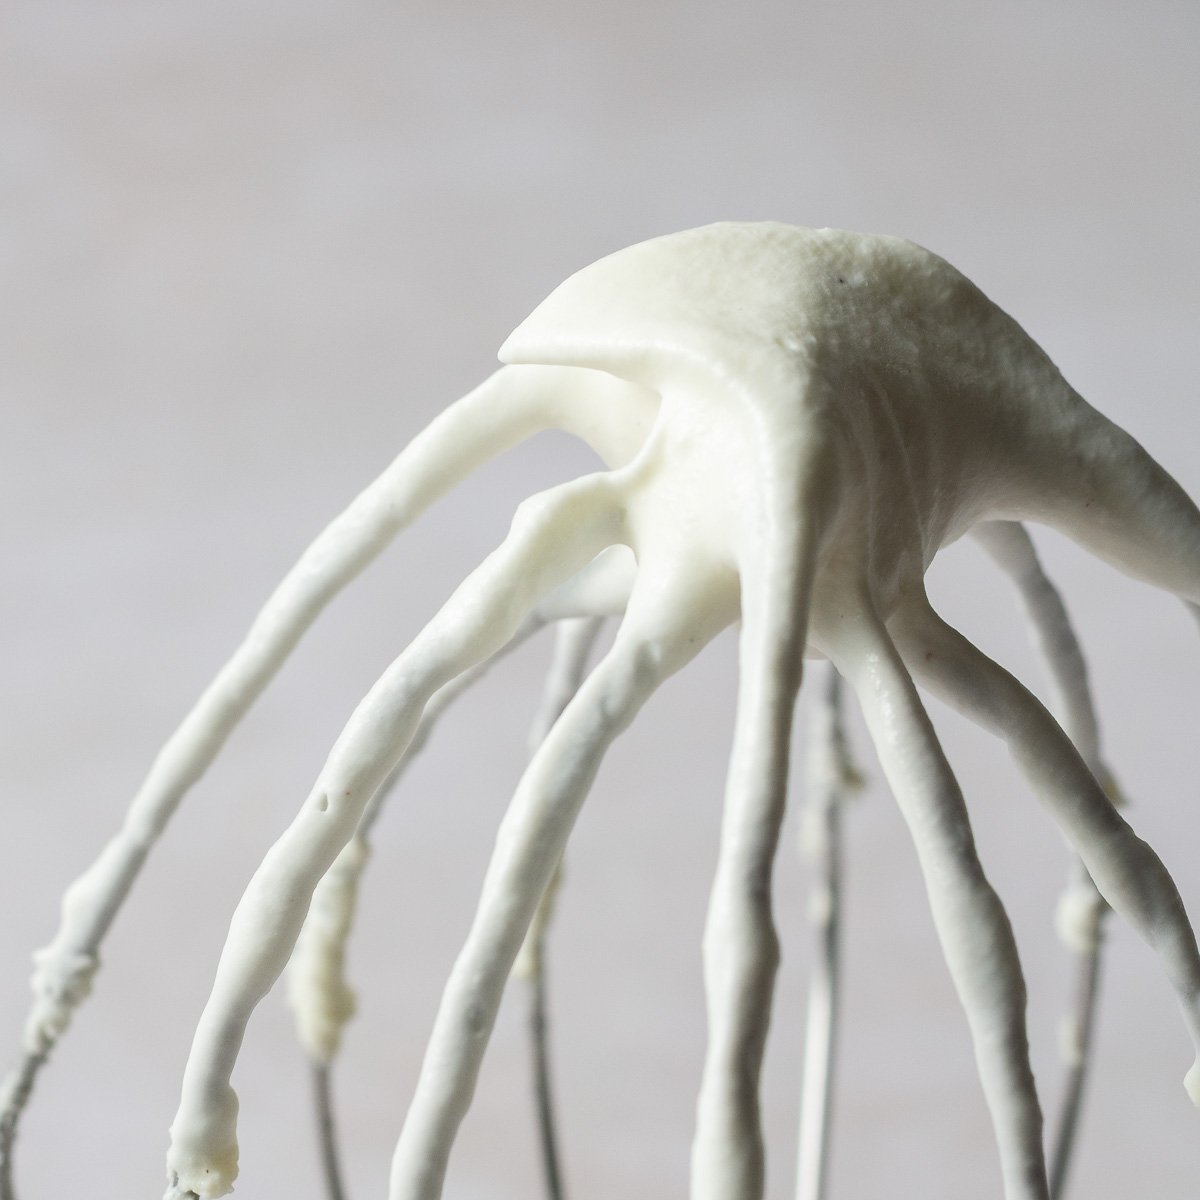
- Step 7: Whip heavy cream and the confectioner's sugar to soft peaks.
- Step 8: Add the whipped cream cheese and mascarpone to the whipped cream and whip again til smooth. Pipe onto cooled red velvet cupcakes
Frequently Asked Questions
Yes, since the frosting contains fresh dairy (cream cheese and heavy cream), it should be refrigerated after 2 hours as per USDA guidelines. Thanks to the oil in the recipe, these easy red velvet cupcakes are soft even when cold, but I do recommend removing them from the refrigerator 10 minutes before serving for a more neutral temperature.
Yes! You can even make red velvet cake without vinegar! The purpose of buttermilk and vinegar is to add a tangy flavor. This moist red velvet cupcake recipe gives you the flavor of classic red velvet cupcakes by using a combination of sour cream and lemon juice instead.
Lumps in cream cheese icing happen if the cream cheese was not beaten or whipped enough before incorporating other ingredients, or if the cream cheese was too cold. To get a smooth and stable cream cheese frosting, use a mixer to beat the cream cheese until it is completely smooth. Once the cream cheese has a spreadable consistency, you can incorporate it with the other ingredients
Runny cream cheese frosting happens when too much moisture is drawn out of the cream cheese as a result of either overmixing, warm cream cheese, or low amounts of fat in the cream cheese frosting. To make a stable cream cheese frosting, you must use full-fat cream cheese. Fat coats the water molecules in the cream cheese as they are whipped, giving you a stable cream cheese frosting you can pipe with.
Beating the cream cheese with an extra source of fat, like mascarpone in this recipe, helps to further stabilize the cream cheese frosting, making it perfect for piping onto these easy red velvet cupcakes.
For a similar frosting without cream cheese, you can use this Chantilly frosting, stable enough to stack a cake!
Red food coloring is widely used in red velvet cakes today to give it its vibrant color. It is worth noting that originally (before the 1940's) red velvet cake was subtly colored with only a slightly reddish hue that resulted from cocoa powder reacting with the acidic ingredients.
Adding artificial color (or omitting it) does not affect the flavor of these easy red velvet cupcakes.
For a vibrant red color, opt for a gel food coloring. Natural red food colorings tend to be less vibrant, and many lean more towards a purplish hue.
Expert Cupcake Tips
- Spoon the flour into the measuring cups and level if not weighing ingredients. This prevents packing the flour, which happens if it is scooped directly from its container.
- Use an oven thermometer. These cupcakes bake at a much higher temperature compared to my other cake recipes to encourage a strong rise. Using an oven thermometer takes out the guesswork since your oven can run higher or lower than the displayed reading or even have hotspots.
- If using a natural food coloring, mix it with the lemon juice first and allow to sit for a couple of minutes. This will help intensify the pigment.
Valentine's Day Recipes You'll Love
Tried this recipe? Please leave a comment with a star rating. I love hearing your feedback and it greatly helps me improve recipes for you!
Easy Red Velvet Cupcakes with Cream Cheese Frosting
Ingredients
Equipment
Method
- Preheat oven to 400°F. That's not a typo - The higher baking temperature encourages a stronger rise.
- Add the all-purpose flour, cocoa powder, baking soda, baking powder & salt to bowl and mix to evenly incorporate. Set aside.
- Add the red food coloring to a separate bowl along with the lemon juice. Mix to incorporate then add the sour cream & whole milk then mix again. Set aside.
- To the bowl of a stand mixer, add the unsalted butter, oil, granulated sugar, vanilla extract & coconut extract. Beat on medium-high speed until pale and fluffy. You can also use a handheld electric mixer.
- Scrape down the sides of the bowl then add all the eggs to the butter mixture. Mix again on low speed until completely incorporated.
- Add the dry ingredients along with the wet ingredients set aside earlier and mix on low speed until there are no more dry spots.
- Scoop the red velvet cupcake batter into a cupcake pan prepared with cupcake liners. Fill each cupcake about ⅔ the way with the batter.
- Bake the cupcakes at 400°F for 8-12 minutes or until the cupcake spring back when lightly pressed. If using a toothpick to check doneness, the cupcakes are ready when one comes out with a few crumbs.
- Allow the cupcakes to cool completely before frosting your finished red velvet cupcakes.
- Add the cream cheese and mascarpone cheese to the bowl of your stand mixer and beat on medium high speed until the mixture is easily spreadable. Transfer to another bowl/container and set aside. There's no need to clean the mixing bowl for the next step.
- Add the heavy cream & confectioner's sugar to the mixing bowl. Using the whisk attachment, start on low speed slowly bringing up to high speed & whipping until the heavy cream reaches soft peaks. When the whisk is inverted the peak should flop over easily like a Santa's hat .
- Add the beat mascarpone/cream cheese from earlier and whip again on high speed until the mixture stiffens and forms firm peaks.
- Transfer the frosting to piping bag affixed with your favorite piping tip. Pipe the frosting onto the red velvet cupcakes in the desired patterns/shapes.
- Serve at room temperature. Since the frosting contains dairy, they should refrigerated in an airtight container after 2 hours at room temperature as per USDA guidelines. Take the red velvet cupcakes out of the refrigerator about 10 minutes before serving again for them to soften as intended.
Nutrition
Video

Notes
- Spoon the flour into the measuring cups. This helps to prevent adding too much flour which can happen when flour is packed tightly into the measuring cups if its scooped directly from its container.
- Use an oven thermometer. These cupcakes bake at a much higher temperature compared to my other cake recipes. Using an oven thermometer takes out the guesswork since your oven can run higher or lower than the displayed reading or even have hotspots. Too low a temperature and the cupcakes won't rise enough. Too high, and you risk burning/drying out your cupcakes!
- If using a natural food coloring, allow it to sit mixed with only the lemon juice for a couple of minutes. This will help intensify the pigment.

Easy to make and moist!! My mom said this was the best red velvet cake she ever had!