Honey Lemon Layer Cake Inspired by Meghan Markle
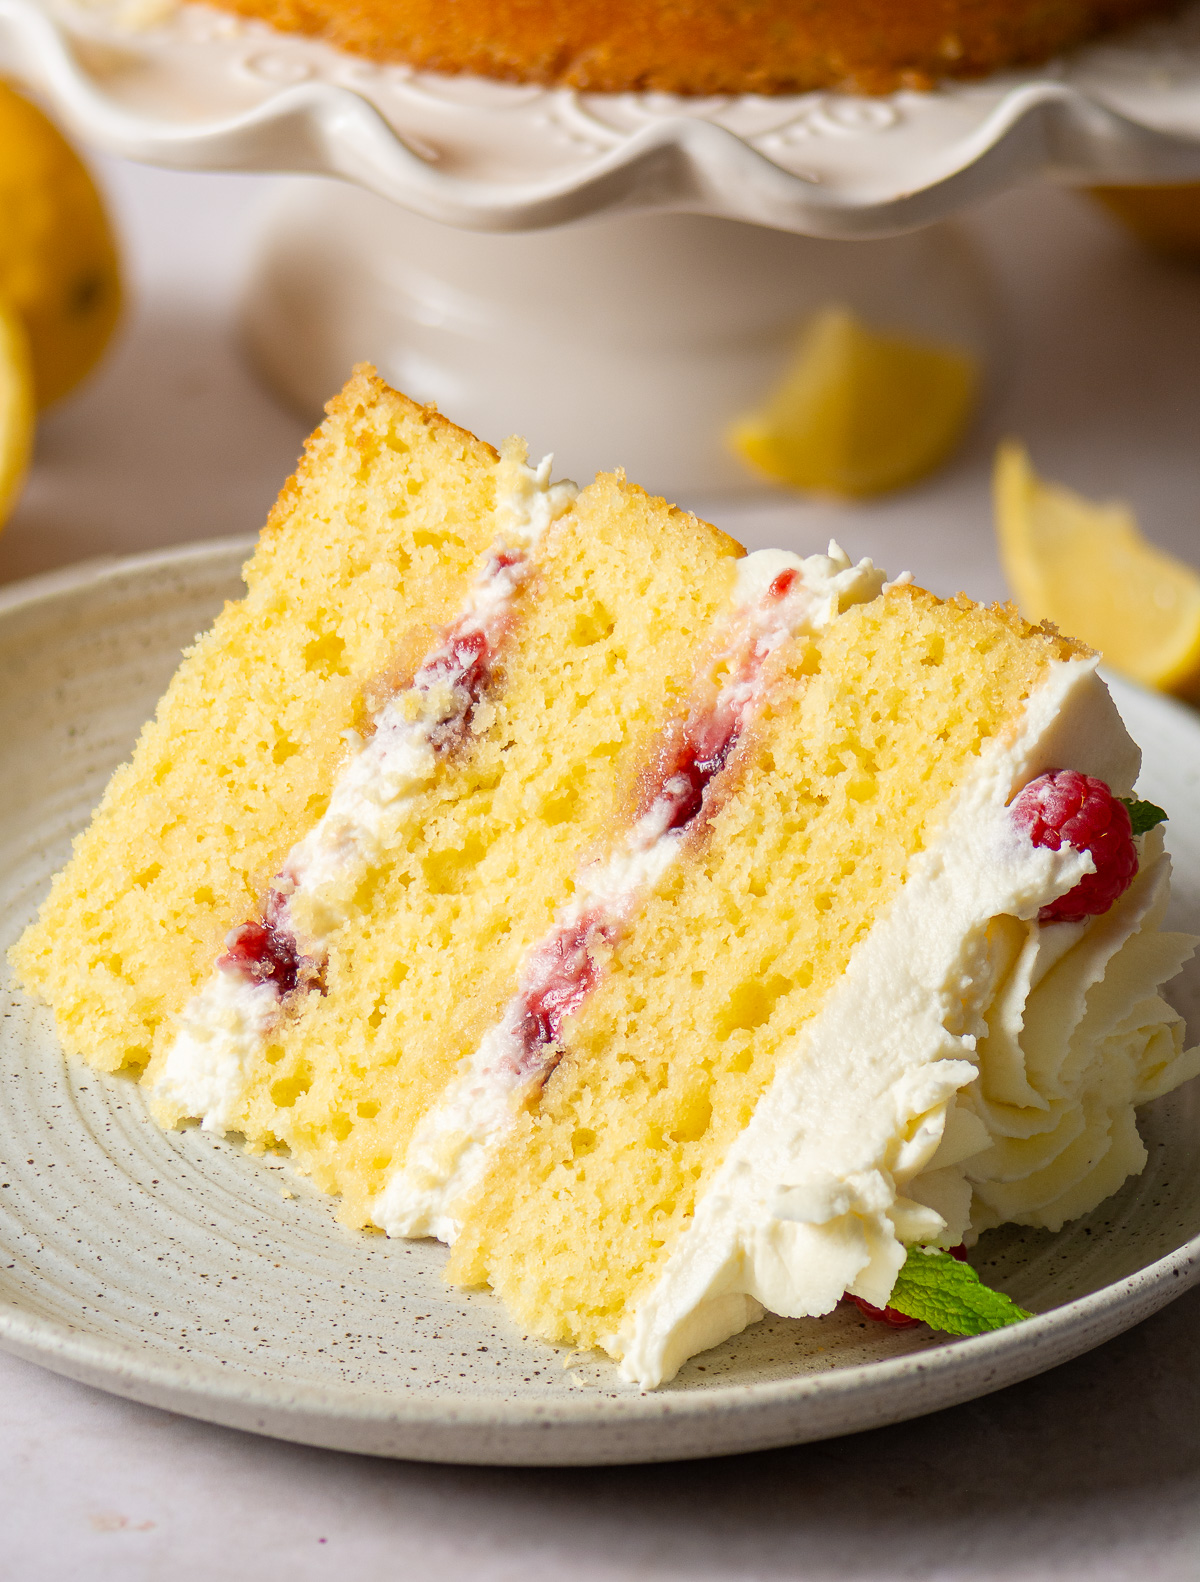
Light & tender cake layers infused with lemon zest, honey, and olive oil. Filled with luscious raspberry preserves and a silky mascarpone Chantilly cream. Inspired by Meghan Markle’s cake from With Love, Meghan.
Ingredients
Equipment
Method
How to Make the Cake Layers
- Preheat oven to 325°F.
- Add the lemon zest and sugar to a large mixing bowl and rub the zest into the sugar for about 2 minutes. The sugar will resemble kinetic sand when you're done.
- Add the rest of the dry ingredients - the sifted cake flour, baking powder & salt to the sugar/zest mixture and stir with a spoon to evenly distribute everything.
- In a separate bowl combine all the wet ingredients adding all the olive oil, sour cream and eggs. Whisk to break up the eggs and mix til smooth.
- Add the wet ingredients to the dry and stir until the batter is smooth.
- Prepare three 8-inch cake pans with baking spray and divide the batter equally among the 3 pans. You can also add a parchment circle to the bottom of the pan for added ease of removal.
- Bake on the middle rack of your oven for 20-30 minutes or until the top of the cake spring back when touched or when a skewer comes out with only a few crumbs.
- While the cakes bake, make the honey glaze. Add the hot water, honey and lemon zest to a heat-proof bowl and mix to incorporate. Set aside until the cakes are ready.
- When the cakes are done allow them to cool slightly then, while still warm, poke with a toothpick or cocktail pick. Spoon the honey-lemon syrup over the top of the cake and down the edges while the cake is still warm. Repeat this with all three cake layers. Allow the cakes to continue to cool. If leaving overnight to assemble the next day, over the layers with plastic wrap.
How to Make the Mascarpone Chantilly Whipped Cream
- Add the cold heavy whipping cream, confectioner's sugar & vanilla bean paste to the bowl of a stand mixer and whip on high speed until it forms soft peaks. The peak formed at the end of whisk should flop over like a Santa hat when inverted.
- Add all of the mascarpone cheese and whip until stiff peaks form and the whipped cream is smooth. This step should take less than a minute.
- Transfer the whipped cream to a piping bag affixed with a piping tip if using.
Assembling the Honey Lemon Cake
- Place your cooled cake layer on a cake stand or plate and pipe a border of whipped cream on top of the cake along the edge. Make sure the whipped cream border doesn't hang over the edge as this border will make the cake unstable. If you have any cake layers that are noticeably taller than the others, use this as the base since using them in the middle or top can cause your cake to topple or collapse on itself.
- Pipe another circle in the center of the cake and then a single dollop in the center. It should resemble a target. Fill the gaps in with your raspberry preserves.
- Repeat steps 1 & 2 with a second cake layer.
- Add your last cake layer on top. I like to invert this one so the perfectly flat bottom is now the top of the cake. This makes it easier for you to spread an even layer of the whipped cream that looks crisp!
- Using an offset spatula spread a thin layer of the whipped cream on the top of your cake. To get a clean edge, use a paddle motion to spread it over the edge slightly. Then, holding the offset spatula at a 45° angle pointed towards the floor, drag the excess frosting down the side of the top cake layer. Repeat this around the edge of the top layer.
- Skip this step if you want to forego the piped rosettes on top. Using a rosette tip, pipe some rosettes in a a crescent pattern on top of the cake. For the prettiest results, vary the size and pattern.
- Place your fresh raspberries wherever you like on top of the cake and add your herb leaves next to them.
- Slice and enjoy! Because of the whipped cream, this cake does need to be refrigerated if it won't be served immediately but since this is an oil-based cake it will be soft even if served cold!
Nutrition
Notes
- Make the whipped cream right before assembling your cake since it starts to "set" slightly about 10 minutes after being made which can result in piping that isn't as smooth since the cream is a little stiffer. If you do make it ahead of time though simply return it to you mixer and whip for 10-20 seconds.
- If you have any cake layers that are noticeably taller than the others, use this as the base since using them in the middle or top can cause your cake to topple or collapse on itself.
- When piping the rosettes for a full rosette, pretend you are piping a mini spiral. This'll be 2-D so only pipe one layer for the rosettes.
For little rosebuds simply pipe dots. Vary the size by applying more pressure to the piping bag or holding it place for longer amounts of time.