Classic Banana Pudding
Save this recipe for later!
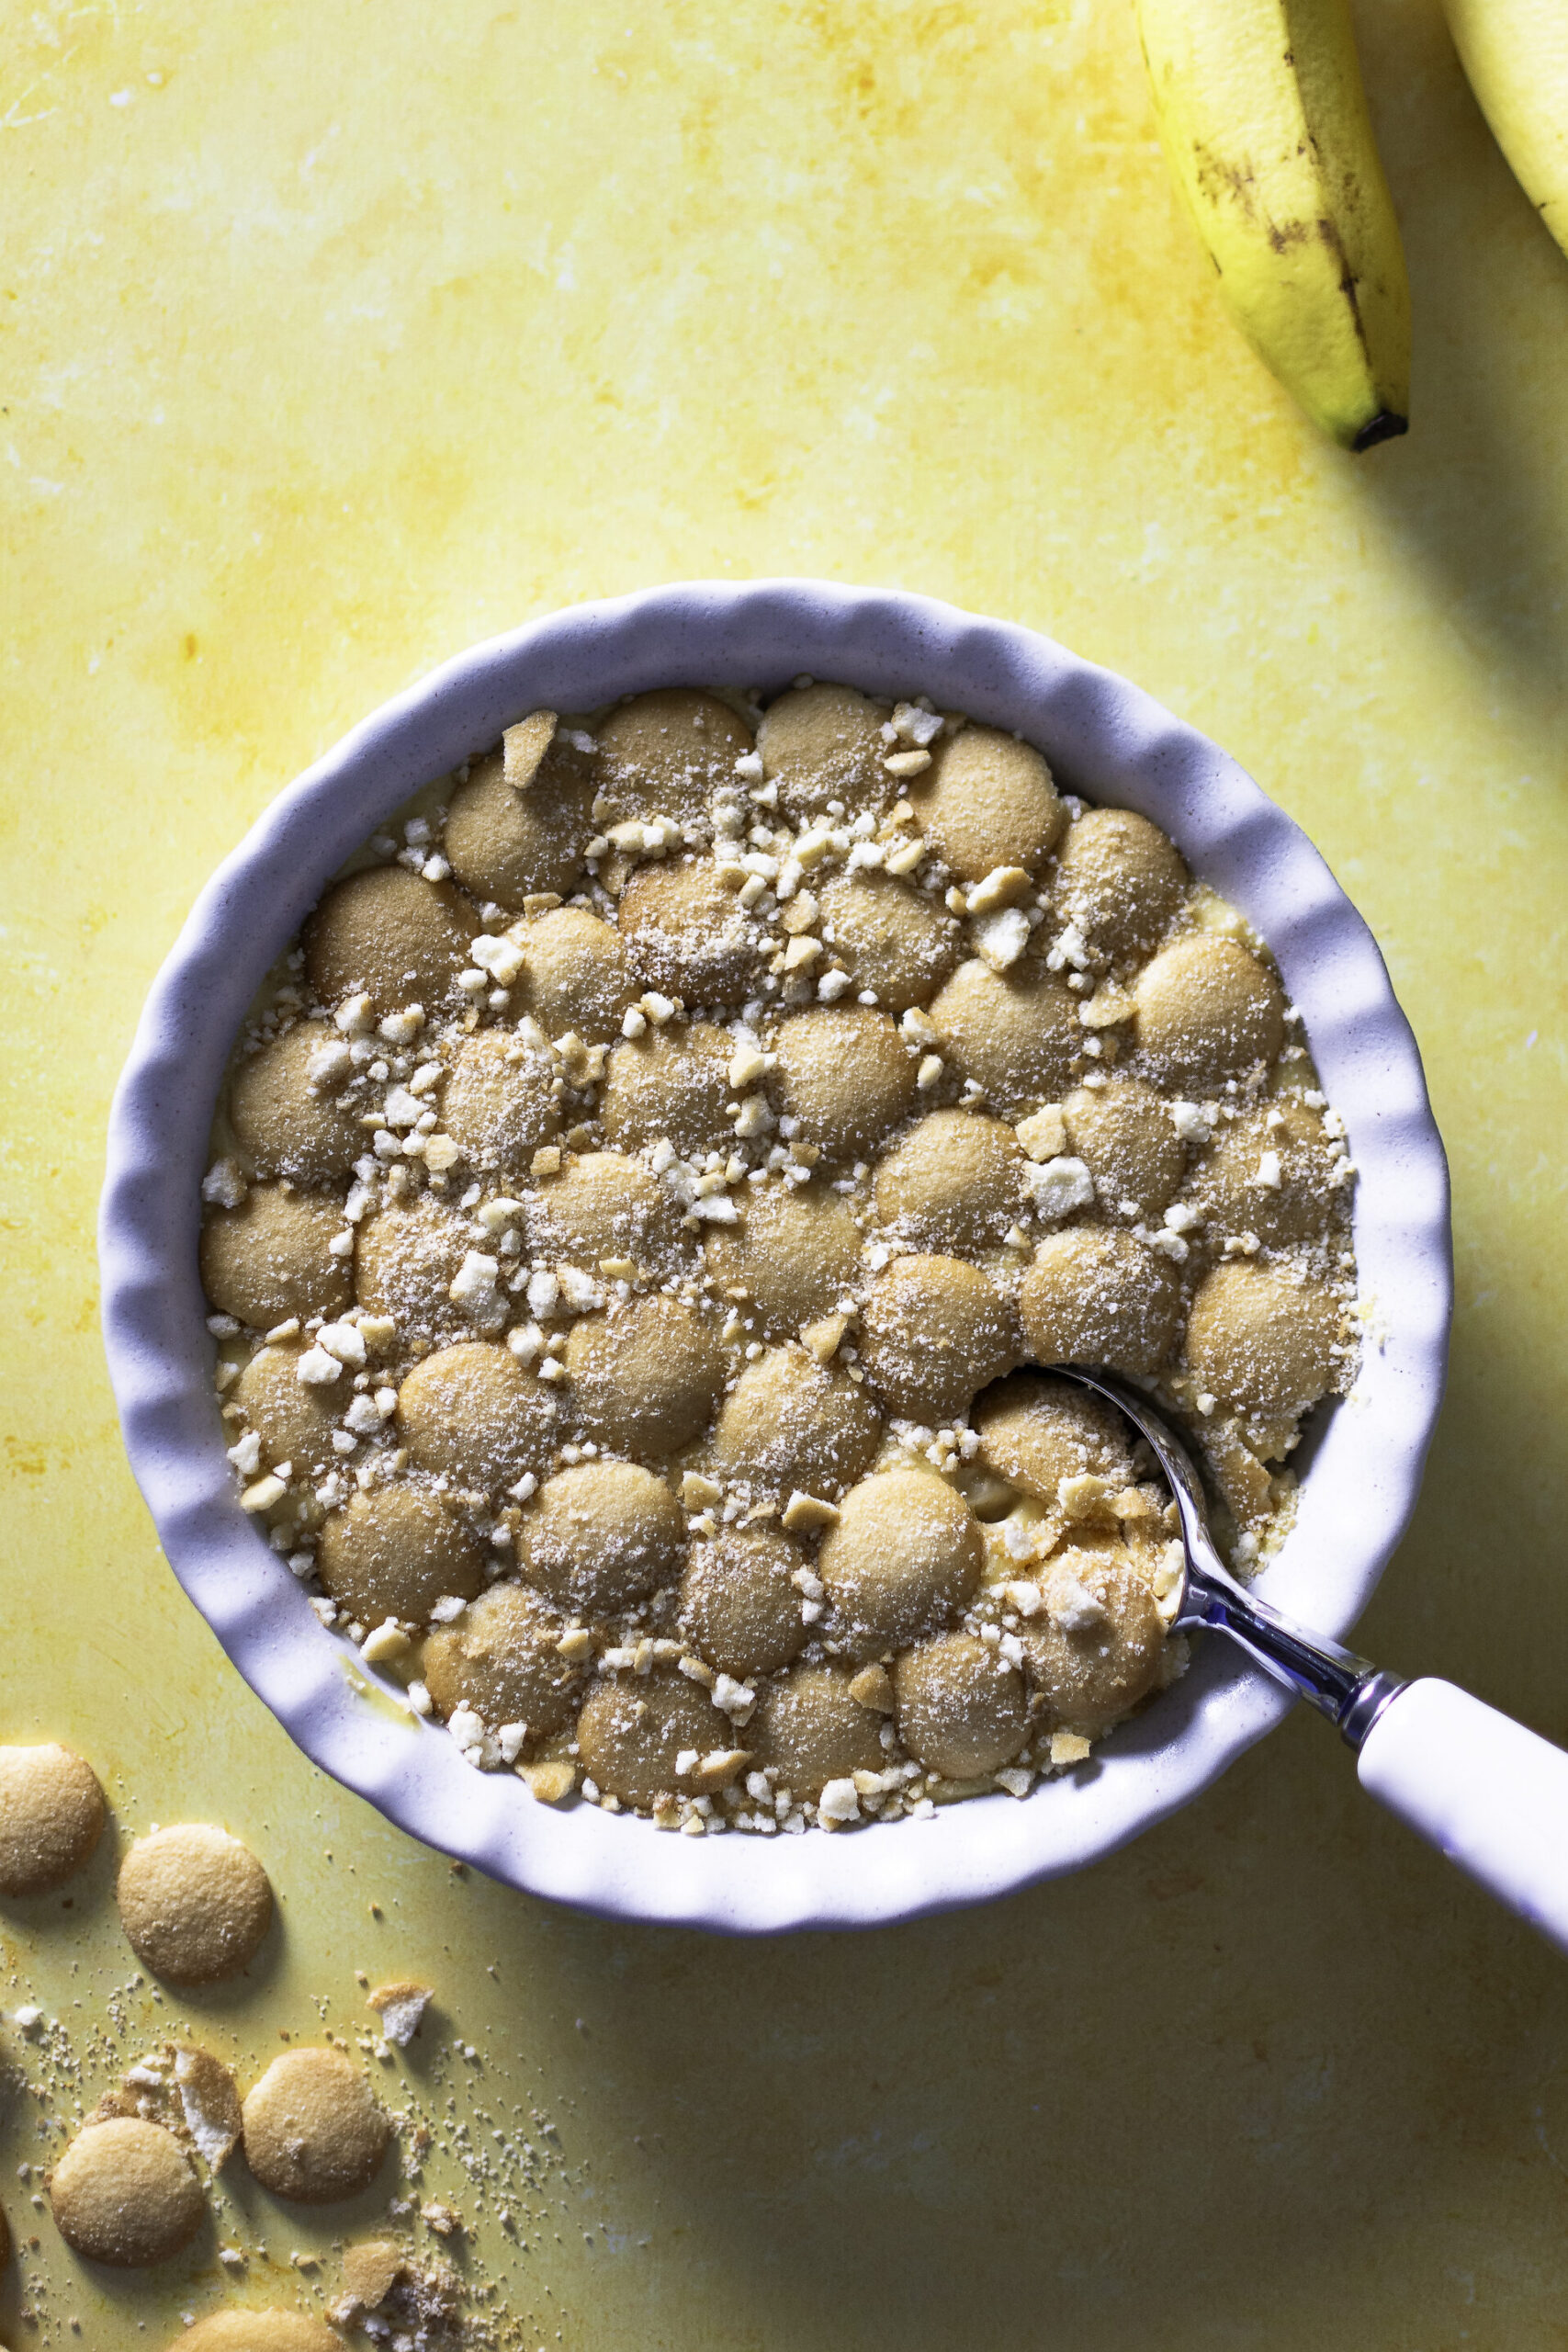
The holidays are fast approaching and no Thanksgiving or Christmas table spread would be complete without the perfect, classic banana pudding recipe and lucky for you, this recipe is Nana approved!
With layers of fluffy Nilla wafers and bananas sliced at their peak of ripeness blanketed with a beautiful, silky vanilla custard, this recipe is sure to be a winner and is perfect for both the experienced cook and the beginner.
This recipe uses a from-scratch vanilla custard for an unmatched flavor and texture. It's so insanely easy to make you'll wonder why anyone uses instant pudding plus its easily scalable so you can cut it in half for a small gathering or double it when you're expecting more guests!
tips for success with a classic banana pudding recipe
- Heat gently. Bringing your custard mixture to a simmer too quickly increases the chances of your custard curdling and ending up with scrambled eggs - no one wants that!
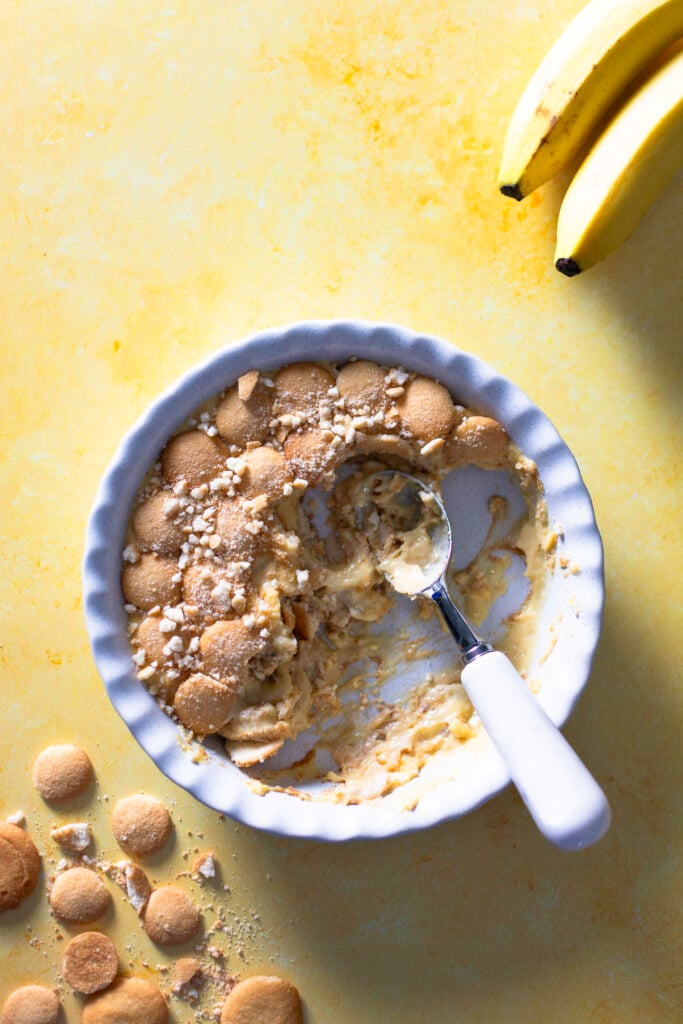
- Let your banana pudding set in the refrigerator overnight. This is a recurring theme on the blog but basically, just as with marinating meats, time equals flavor! The longer your banana pudding sets the more flavor is drawn out of your bananas to the rest of the layers. Plus the rest time ensures that your Nilla wafers have had time to soften into pillowy cake-like bites!
- Strike while the iron is hot - well your custard at least. When sugar containing fruits (& vegetables) are heated the heat draws the naturally occurring sugars and flavor to the surface making them more flavorful and aromatic so layering your banana budding with a hot custard helps to pull all that delicious banana flavor out to permeate throughout the entire dish!
- Select bananas at peak ripeness. For maximum banana flavor its important to choose bananas that are perfectly ripe with a high sugar content as more sugar will equal more flavor. Be careful not to pick bananas that are too ripe as these can sometimes have a slight fermented taste since the sugars will have started to turn into alcohol.
I go for the bananas with a couple of brown spots. - Steer clear of artificial banana flavoring. A true classic banana pudding is overflowing with natural banana flavor and sweetness. Using a banana extract really isn't needed for this recipe and it can result in an unpleasant and overwhelmingly artificial taste.
Substitutes
- For bananas that aren't quite as ripe theres still hope - you can macerate banana slices or bake whole bananas. Like I mentioned before, heat draws out more sugar and flavor. Bake your bananas at 300°F for 10-20 minutes for a deeper and sweeter flavor. Be sure to poke a few holes in them with a fork avoid any fruit explosions in your refrigerator.
Alternatively, you can macerate your bananas. This simply means adding sugar to your bananas and allowing to rest, letting the natural banana sugars and flavor mix in. This though will result in some extra liquid which is essentially banana syrup. To avoid pockets of syrup be careful when layering your bananas ensuring that the layer is even and not too thick and that the banana layer is either preceded or followed by Nilla wafers as these can help absorb some extra moisture. - Make this recipe gluten free by subbing in your favorite gluten free flour or cornstarch for all purpose flour and gluten free vanilla wafers. For this banana pudding recipe, to sub in cornstarch use 2 tablespoons (half of the flour called for).
For best results when using gluten free flour, follow the manufacturer's substitute ratio.

Classic Banana Pudding
Ingredients
Equipment
Method
- Slice bananas (into ¼-3/8" slices) and set aside.It's best to layer the banana pudding while the custard is hot so slicing the bananas before starting helps the layering process go much more smoothly
- Add evaporated milk, egg yolks, flour & sugar to a saucepan. Whisk to incorporate and bring to simmer over medium to medium-high heat until thickened, continuing to whisk/stir.When the mixture is ready it will have a consistency similar to a thinner (or boxed mix) cake batter. Don't worry it thickens as it cools and once refrigerated!
- Remove custard from heat and add vanilla (and dark rum if using). Give a quick stir to incorporate
- Start layering the banana pudding by covering the bottom of your chosen dish with Nilla wafer cookies followed by a layer of scattered bananas then pouring a layer of the custard.
- Repeat this layering method until all custard is used then finish with a final layer of Nilla wafers.As the custard cools & thickens you may have to use a spatula to spread it in an even layer
- Crush a couple cookies and sprinkle on top to cover gaps left by whole Nilla wafer cookies. If topping with whipped cream you can skip this or do it after adding the whipped cream since this step is purely aesthetic.
- Cover with plastic wrap or lid and refrigerate for a minimum of 6 hours or preferably overnight to allow cookies to soften into cakey bites.
- Enjoy within 3-4 days refrigerating any leftovers in an airtight container.
- Add the cold whipped cream and confectioners' sugar to the bowl of a stand mixer affixed with a whisk attachment.
- Whip on high speed until it forms firm peaks.
- You may top the banana pudding with the whipped cream before refrigerating or right before serving. This is up to personal preference.
Nutrition
Notes
- To fill a standard trifle dish multiply this recipe by 1.5. To avoid manually calculating the amount for each ingredient to scale, click on the question mark (?) button (shown below) next to the word "Ingredients" and change the serving size to "15" (x1.5 of the original serving size). The recipe card should recalculate to give you scaled measurements.


Amazing recipe! I am a banana pudding snob and this one is perfect and super easy to follow! It will definitely be a staple.
This banana pudding is one of my favorite deserts.
Delicious, perfect dessert after a good meal.
Absolutely delicious! Literally amazing! Must try. Taste like grandmas old school banana pudding.
Pleasant dessert…perfect consistency! Not overly sweet
Mmmmm, mmmmm, mmmmmm! Perfect balance of creamy, delicious & wafers!!!
I’m looking forward to making this. I can tell this recipe has the flavor and texture we love! Yummy.