
Italian Meringue Buttercream: The Only Frosting Recipe You Need!
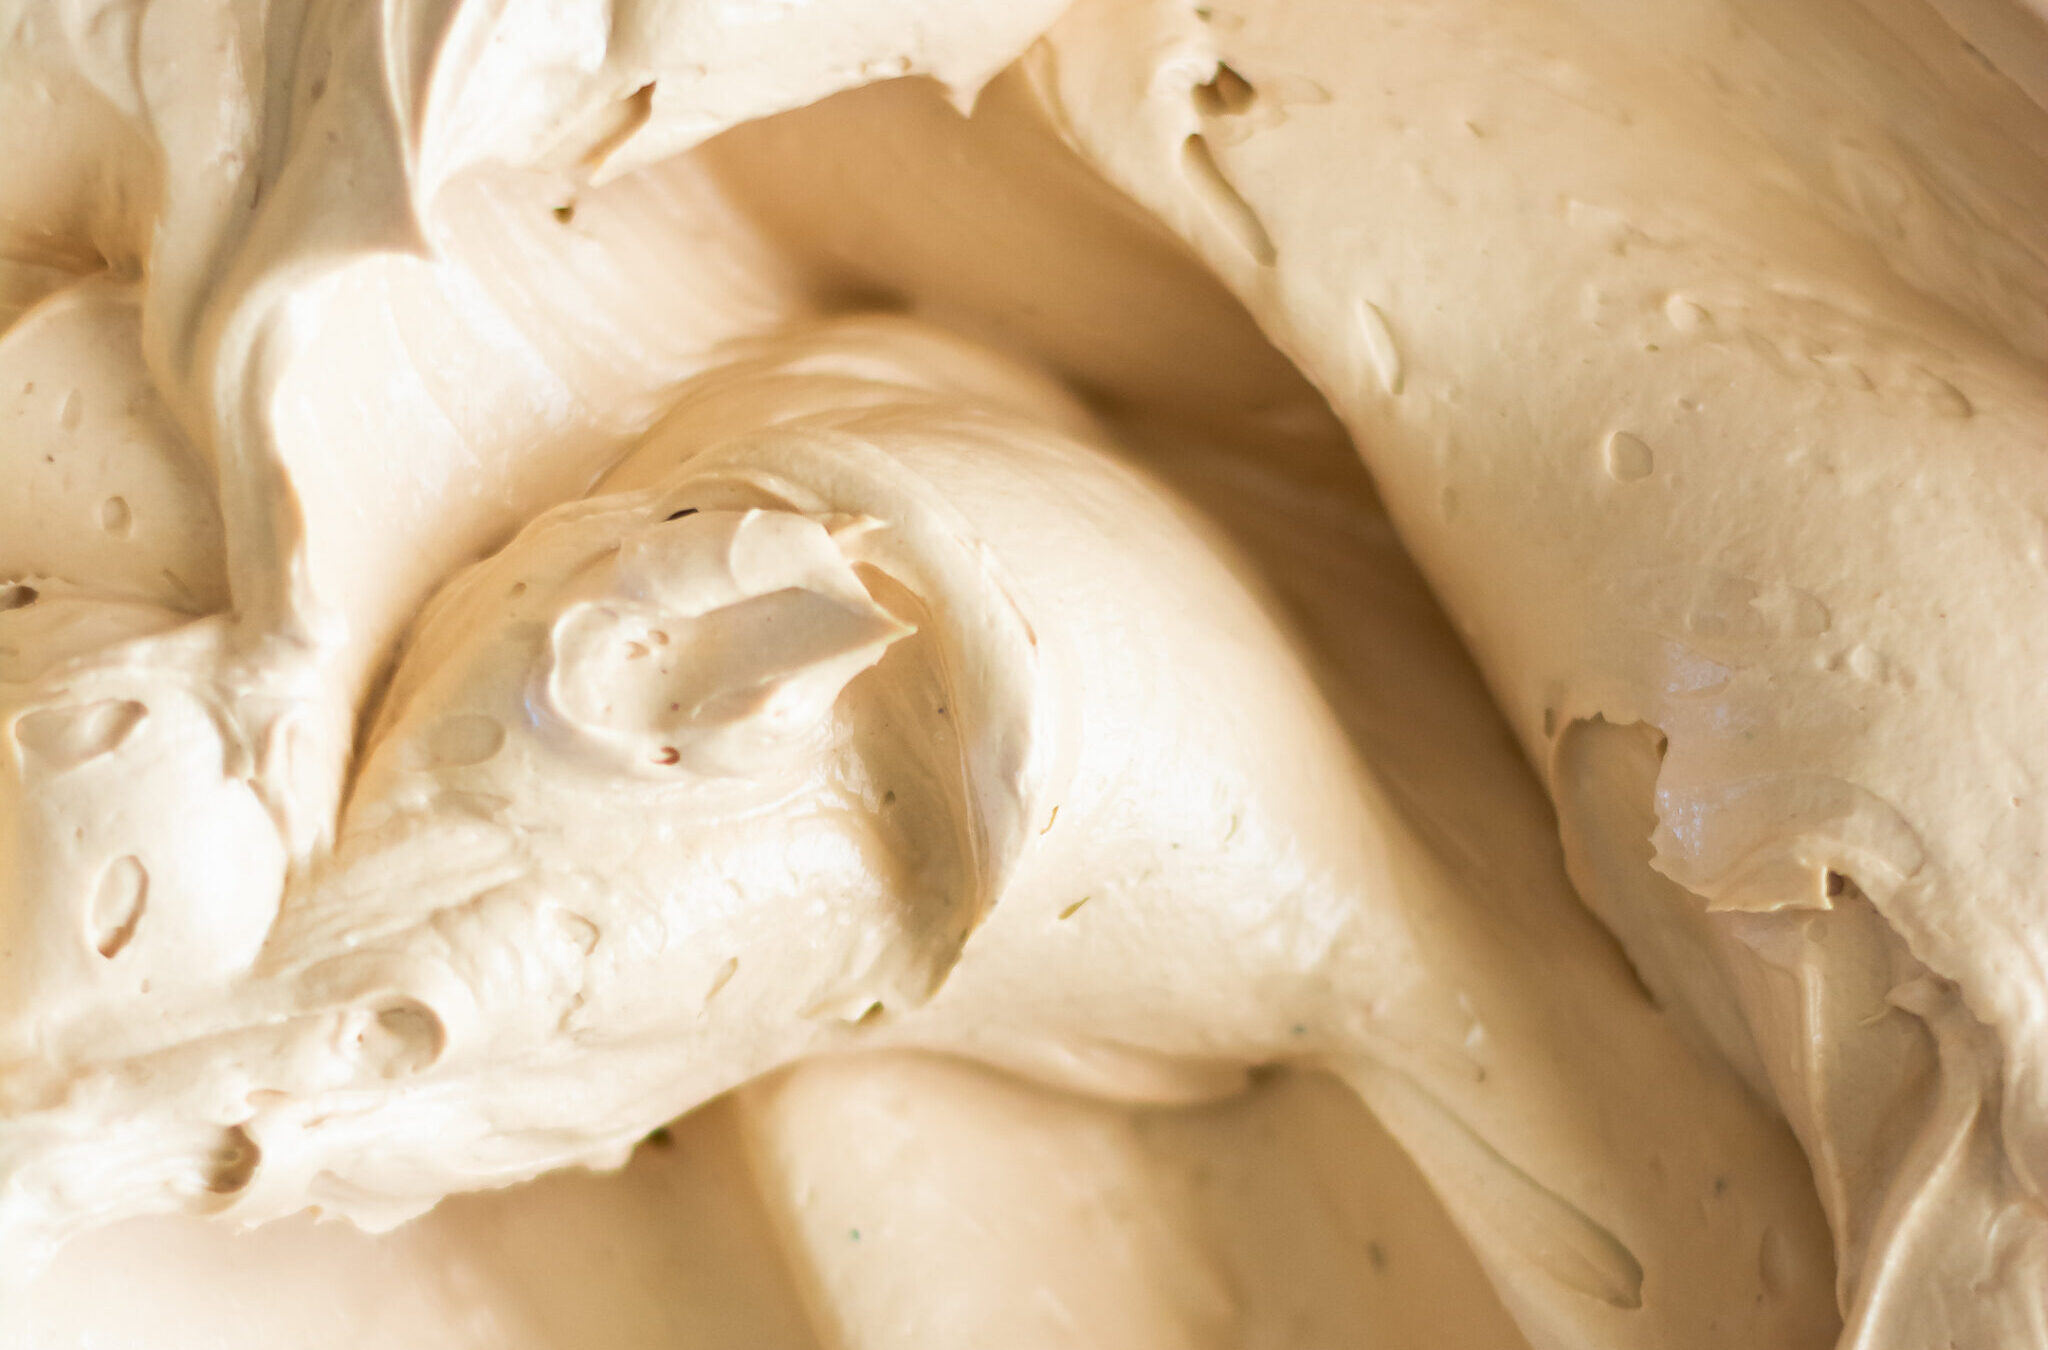
Italian meringue buttercream is THE creme de la creme of buttercreams! Imagine this: a silky, dream-like smooth buttercream, lighter than air with a beautiful sweetness that doesn't overpower and instead complements any dessert.
It quite literally melts in your mouth! This recipe is a labor of love since there are a couple extra steps involved compared to a classic American buttercream. But I promise its worth it!
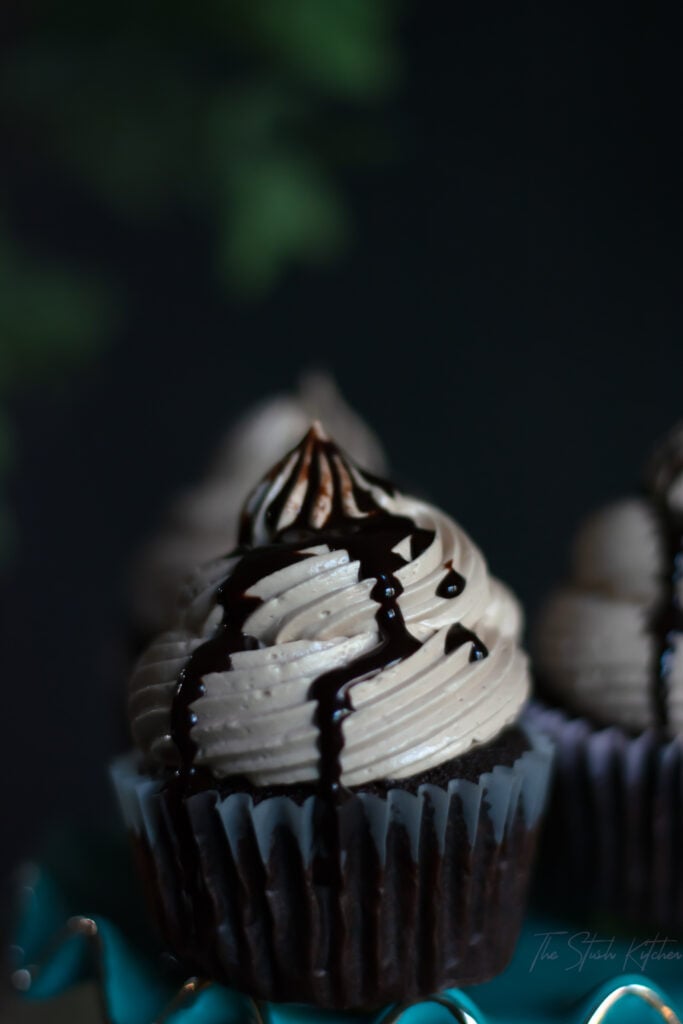
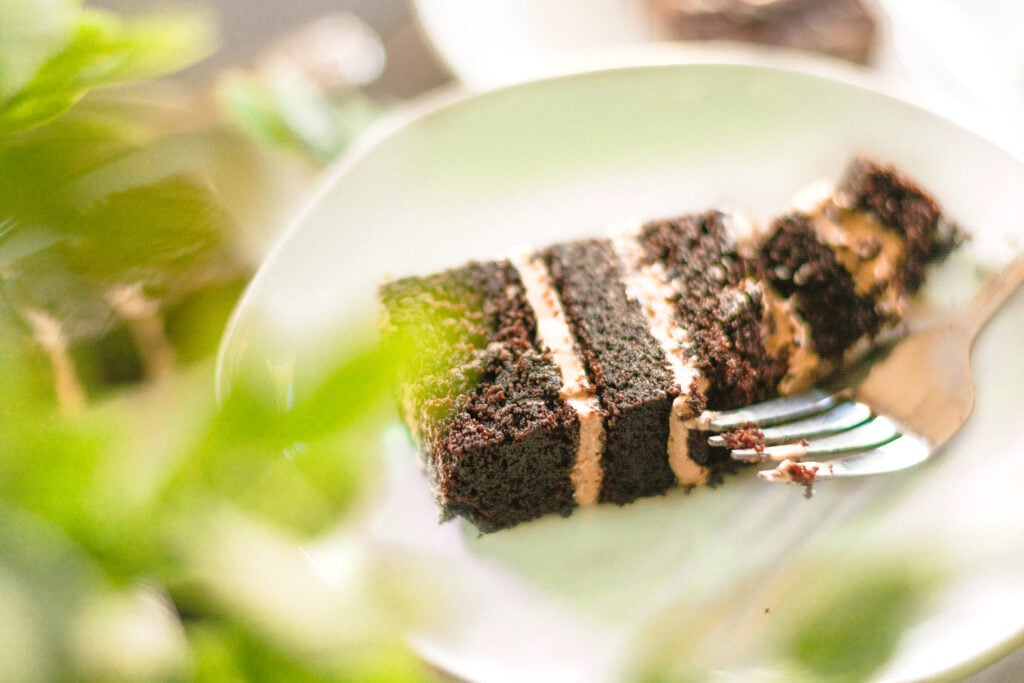
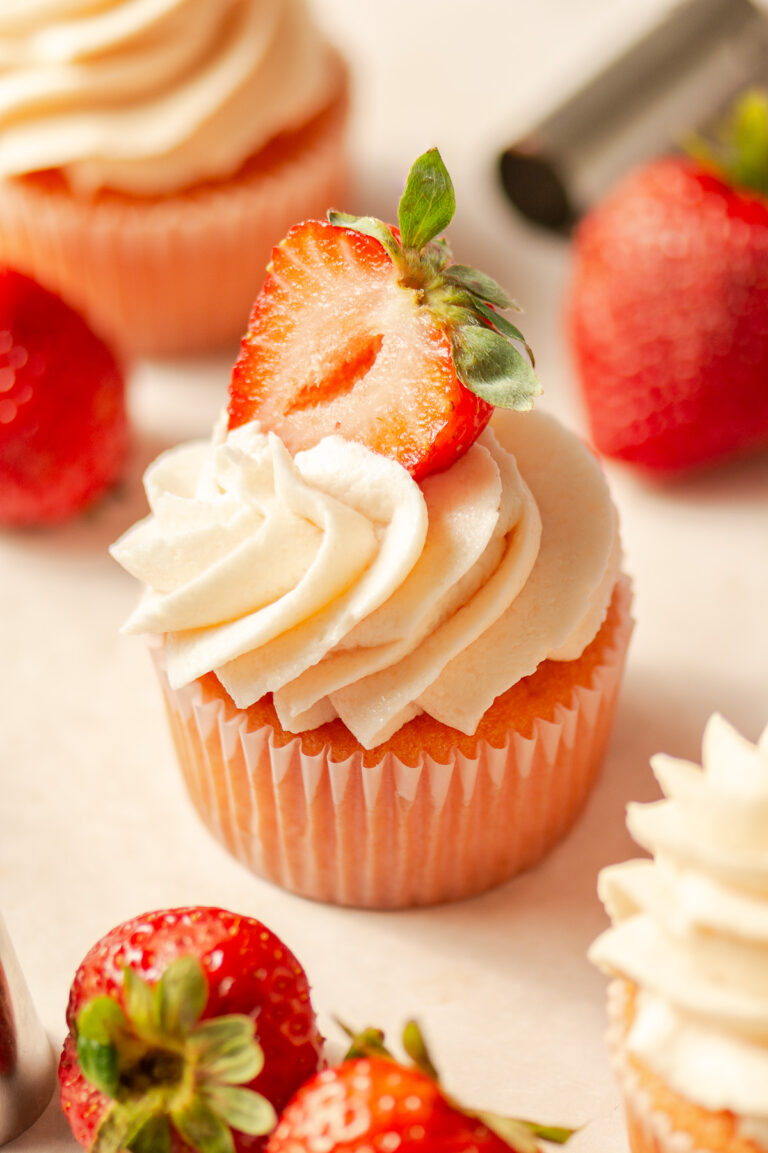
Even though this recipe has a delicate flavor and cloud-like texture, it is stable enough to be used in stacked/tiered cakes and for piping decorations and cupcakes.
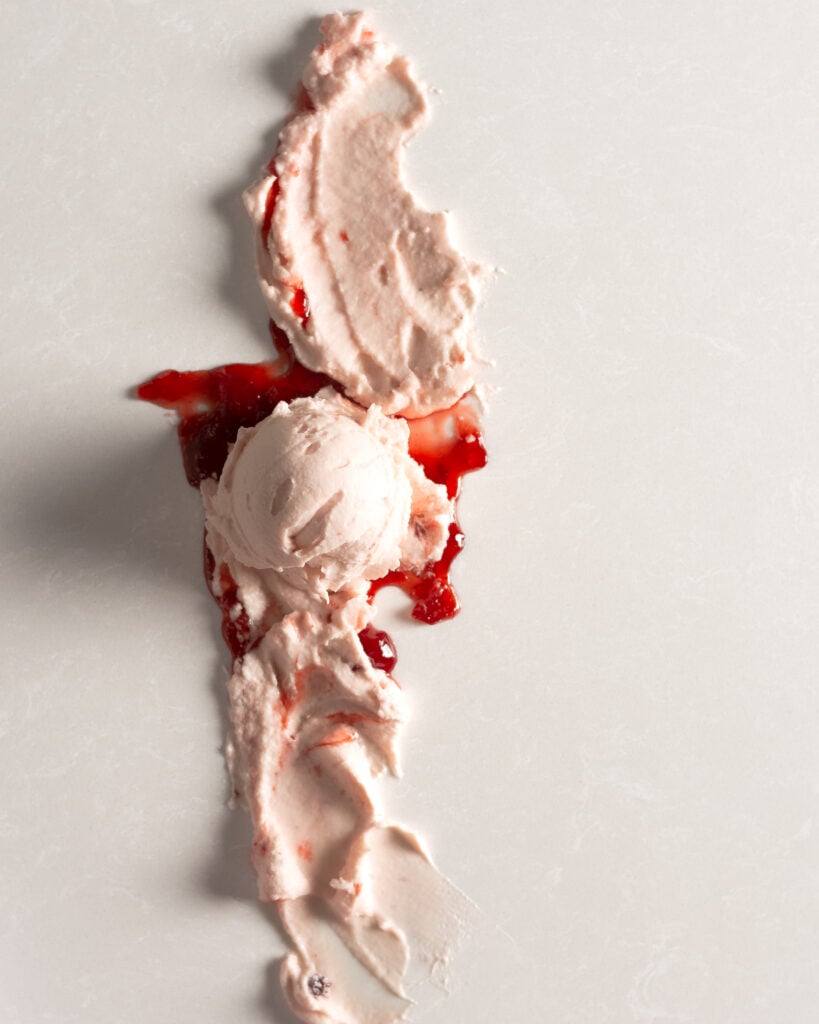
And if you're not sold yet this recipe is 100% customizable! A couple tablespoons of your favorite jam or melted chocolate is all you need for a brand new flavor!
Key tips for a successful recipe:
- Pay attention when whipping your egg whites. For this recipe, your egg whites need to be whipped to stiff peaks. This is when they are still glossy and hold their shape at the tip of a whip without flopping over (almost like a Santa hat). If your'e nervous about over whipping your egg whites, meringue powder is a suitable substitution. You'll need to use the equivalent of 6 egg whites for this recipe to work.
- Ensure your butter is at room temperature. Using cold butter can cause your buttercream to curdle, resulting in a grainy looking texture and greasy mouthfeel. If your buttercream does start to curdle however, don't panic! Finish adding all your butter, then gently microwave a couple tablespoons (for no more than about 7 seconds), add back into your buttercream and allow to beat at medium-high speed until smooth
- Patience is key! Before adding butter, you'll want to make sure that your mixing bowl is not hot/warm to the touch. It should feel like it is at room temperature. If your meringue is still warm, your butter will melt when added results in a runny buttercream. Patience is also important when adding our butter. If added to0 fast, our buttercream will curdle. I like to add 2 tablespoon at a time, waiting until the last is completely incorporated.
- Keep an eye on your candy thermometer. Our sugar syrup is ready when the mixture reaches 240° F. This is the soft ball stage. It is hot enough where it essentially cooks our egg whites, making them safe to eat if you don't use pasteurized eggs and also it gives out buttercream added stability!
- Make sure your mixing bowl is clean! any trace of grease/fat will hinder your egg whites from whipping up and since nice fluffy egg whites are a base for this recipe, its beast to give your bowl a nice scrub before use followed by a rinse of hot water.
Don't stir the syrup! When making a sugar syrup over heat, any agitation of the syrup causes the sugar to crystallize and not melt. You'll end up with chunks or sugar in your buttercream (trust me, I've failed in the past for both of us!) Crystallization is even more prone to happen when the ratio of sugar to water is higher (like in this recipe). To help mitigate that, I opt for an infrared thermometer - that way I can let the syrup get to the appropriate temperature undisturbed!
As I mentioned, this recipe is extremely versatile! Try adding ¼-1/2 cup of your favorite preserves, compote, melted chocolate or caramel! Or if you're really adventurous swap out the granulated sugar for dark brown sugar - a dream!!
Meringue-based buttercream may seem intimidating but once you do it you'll see that there really isn't that much to it and of course after tasting it and having to remind yourself that it's not ice cream you'll never go back! Enjoy!
Italian Meringue Buttercream: The Only Frosting Recipe You Need!
Ingredients
Equipment
Method
- In a mixing bowl, add separated egg whites. Ensure that bowl is clean and not greasy as any presence of fat (including any broken egg yolks) will inhibit egg whites from whipping properly. Start whipping egg whites on low speed until frothy and then bump to high speed until whipped to stiff peaks. Stop mixer and prepare sugar syrup.
- Prepare sugar syrup by combining sugar and water in a saucepan. Insert candy thermometer in pan if applicable and let allow syrup to come to 240° F without disturbing. Do not mix or stir!
- Once syrup has reached appropriate temperature, remove from heat and allow bubbles/boiling to settle. Return to whipped egg white and, positioning lip of the saucepan at the edge of the mixing bowl, turn mixer on to high speed and slowly drizzle in sugar syrup until complete.
- Once all sugar syrup is added allow mixer to continue to whip on high speed for another 1 minute then turn down to medium speed until mixing bowl feels like room temperature to touch.
- Once mixing bowl contents are at room temperature, add in butter, about 2 tablespoons at a time, making sure that each addition is completely incorporated before adding another.
- Add vanilla extract & confectioner's sugar (and if you are experimenting with jam or chocolate flavoring add at this stage as well).
- Spread onto cake or pipe onto cupcakes and enjoy!
- Store in an airtight container in the refrigerator and allow to come to room temperature before using again.


I’ve been afraid of merengue buttercream for forever, but your recipe really makes this seem super easy to accomplish! Looking forward to testing it out for myself.